Digital Prototyping for Design
This module is all about learning how to use different kinds of fabrication technologies for prototyping in all its forms, and then over a series of week long design tasks, we have to put the theory we learn into practice. We work with both traditional forms of fabrication (e.g. laser cutters, 3D printers, welding etc) but also with new and emerging forms of fabrication where we explore the potential of growing materials, manufacturing biomaterials and incorporating living organisms into our prototyping.
What follows are a series of entries, summarising the different design tasks, the design & thought process we went through, what we’ve learnt in each task and where it could go in the future.
I hope you enjoy reading about them, all the files you’d need and recipes to make the materials are available for each challenge so that you can follow along or improve on the designs as you explore.
Enjoy 😃
Creating a gelatine-based inflatable as an alternative to single-use inflated packaging
Too Long Didn’t Read
For our first challenge, Jorge de La Mora and I explored 2D fabrication techniques with laser cutting and biomaterial creation to make an inflatable product. We aimed to develop a gelatine-based biopolymer sheet for inflatable packaging, as a sustainable alternative to single-use plastic. After experimenting with different material mixtures, we created a functional prototype with three air pockets, which can be sealed once inflated. The project involved extensive testing and adjusting the sealing process to ensure durability. The results show promise for creating eco-friendly packaging solutions for the future.
The first challenge was to work with 2D fabrication techniques, in this case, Laser cutting, and biomaterial fabrication to create a functional item. Over a week my classmate Jorge de La Mora and I decided to explore the possibility of using a gelatine biopolymer sheet to create an inflatable product.
Why?
We were both interested in the future of transportation and in this case, we were both interested in exploring how deliveries will change as the use of drones to deliver goods is going to increase in the coming years. However, we were struck by how just much single-use inflatable plastic packaging is used to ship goods around the world right now, and the unnecessary waste that this produces would only increase if nothing changes.
To explore this idea further, we decided to explore the possibility of making biobased inflatable packaging protection that could be dissolved in water and safely discarded without any harmful effects, which could be used as a potential readily available alternative to packaging for precious goods.
What?
After some initial exploration and ideation, we came up with the idea of a sheet with multiple air pockets that could be sealed once inflated. This sheet could then be wrapped around whichever item you were trying to protect during transport.
For the material, we landed on a gelatine-based biopolymer sheet that could be made using 3 simple ingredients.
Our prototype is a sample of this design, containing 3 air pockets evenly spaced apart, which allows the packaging sheet to fold around whatever object is placed inside once inflated.

How?
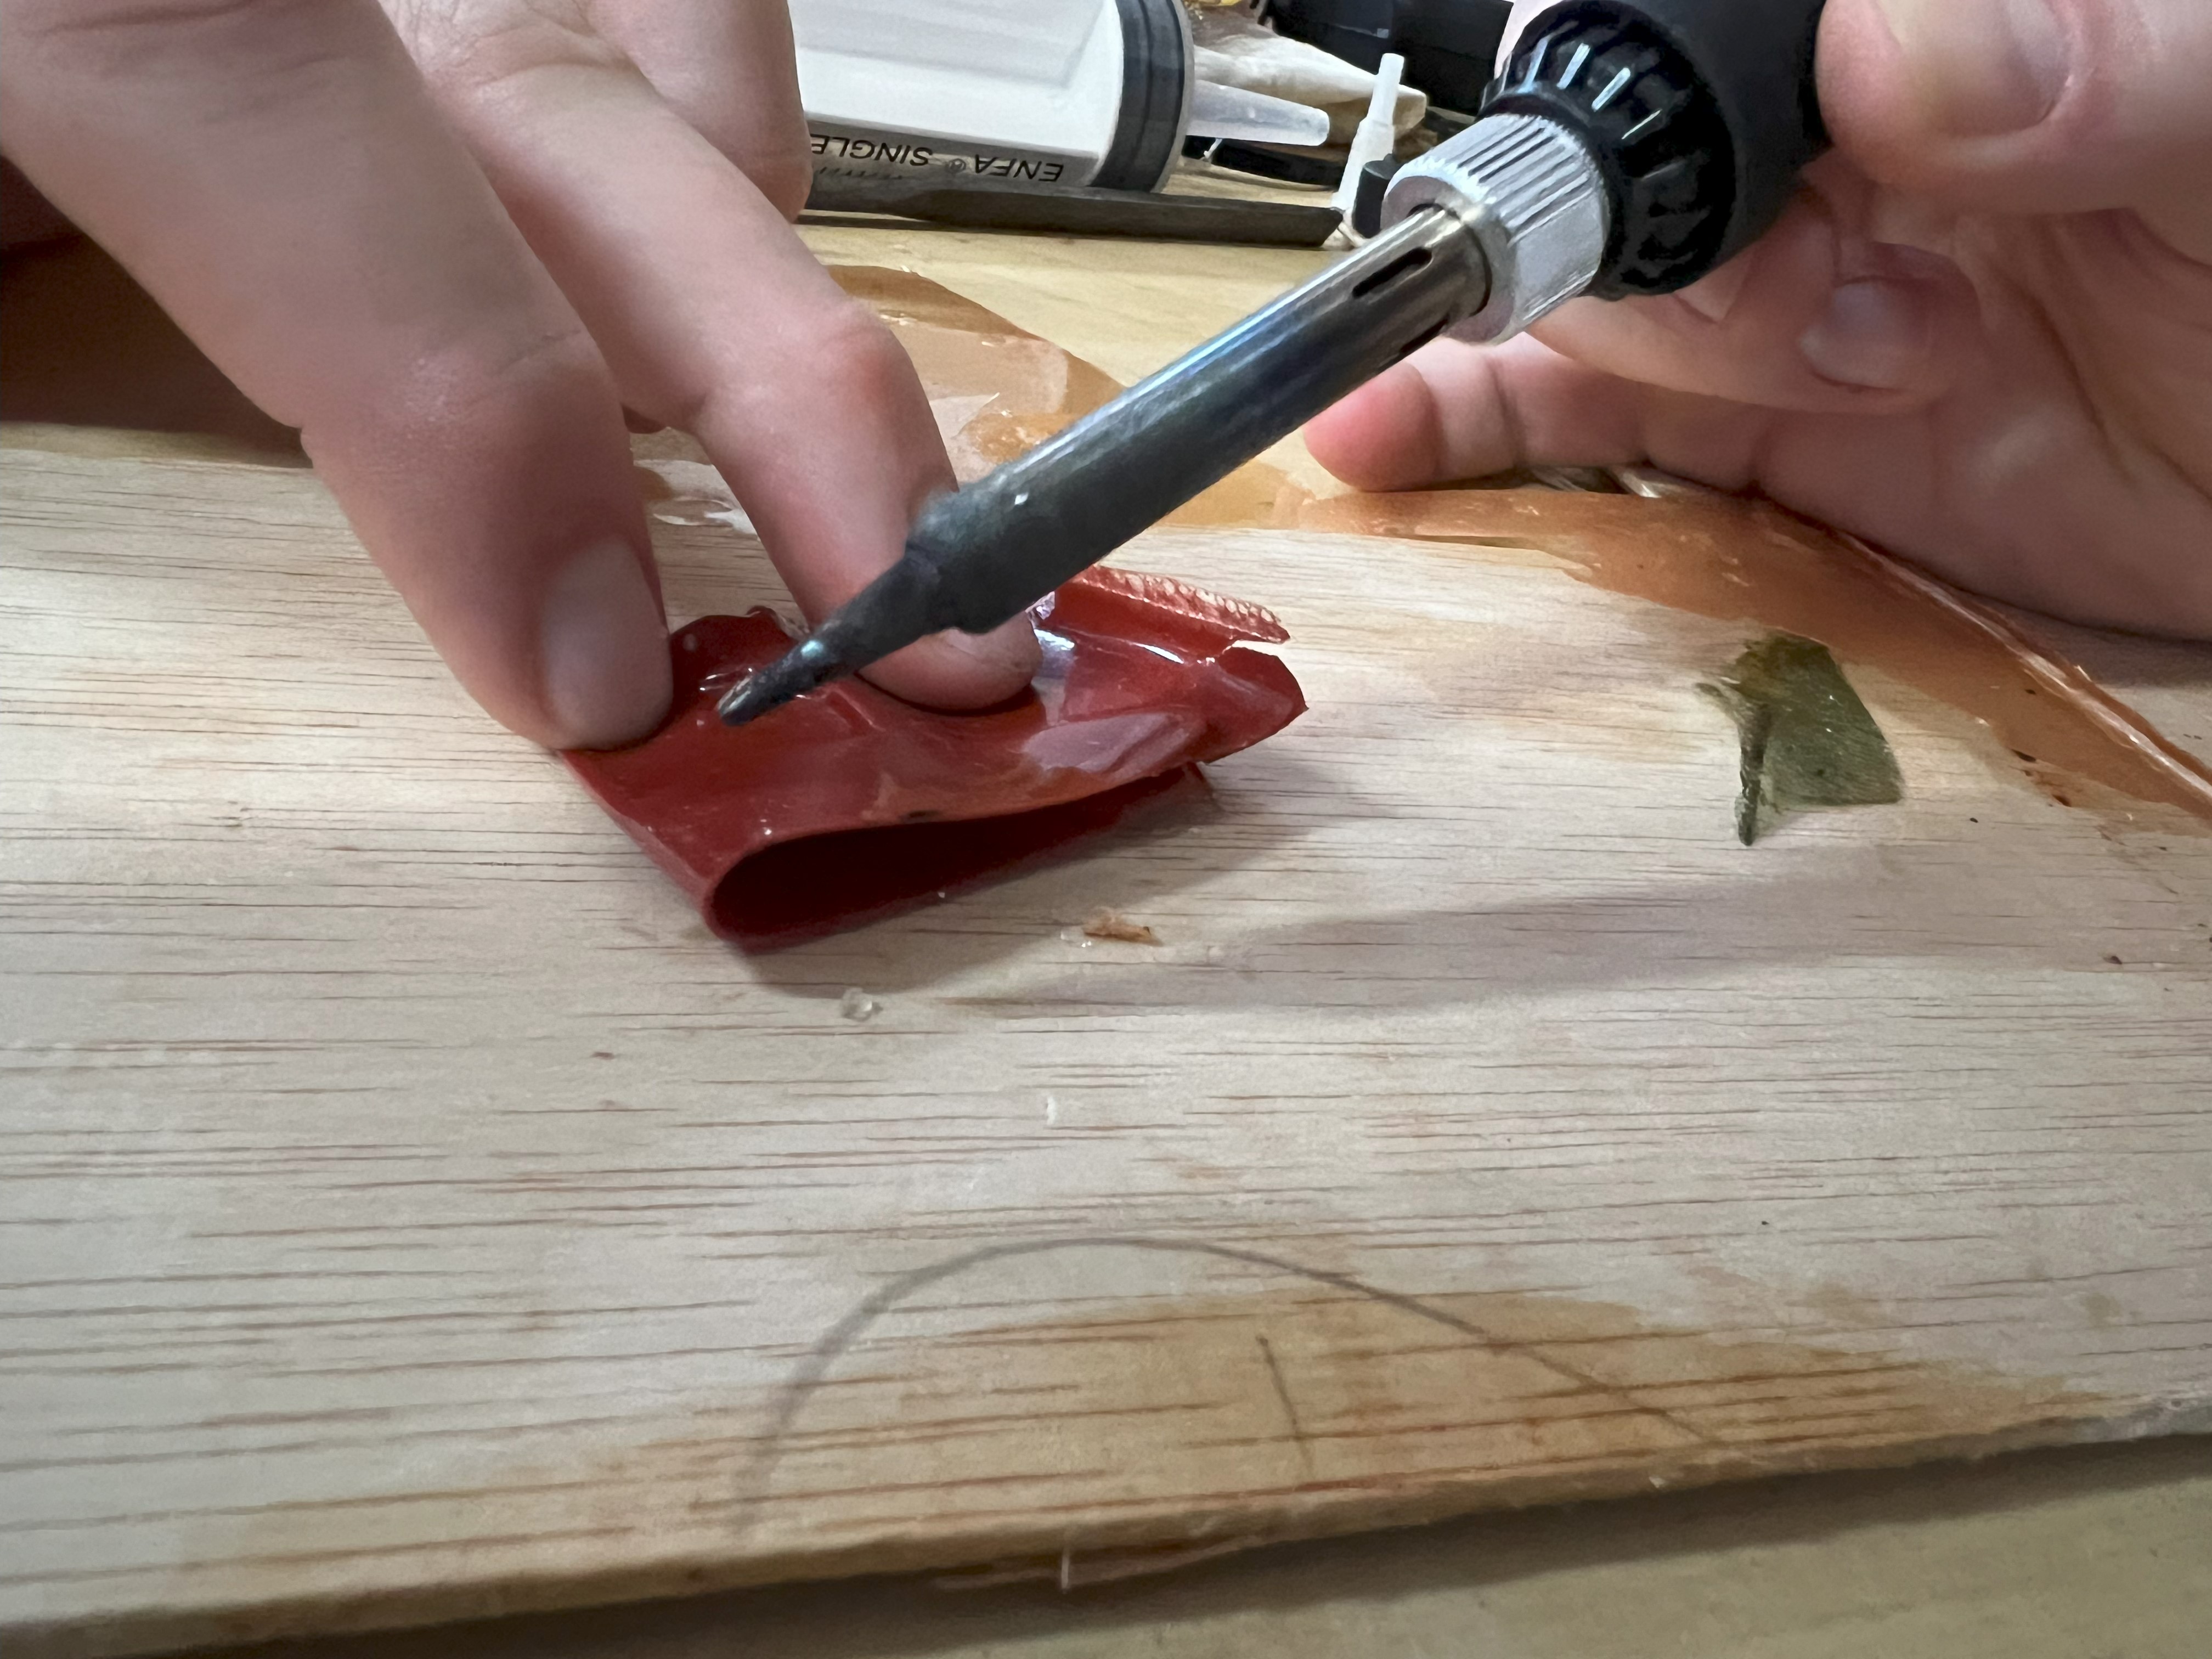
When we decided that we were going to attempt this, one of the first things we needed to test was whether or not we’d be able to seal the pockets we were going to fill with air. after some initial tests with the tip of a soldering iron on a few scrap pieces of gelatine-based material we borrowed from another classmate, we realised that sealing it was going to work, but only at a much lower temperature. The melting point of Gelatine is about 35 degrees Celsius, and anything hotter than that will cut right through it.
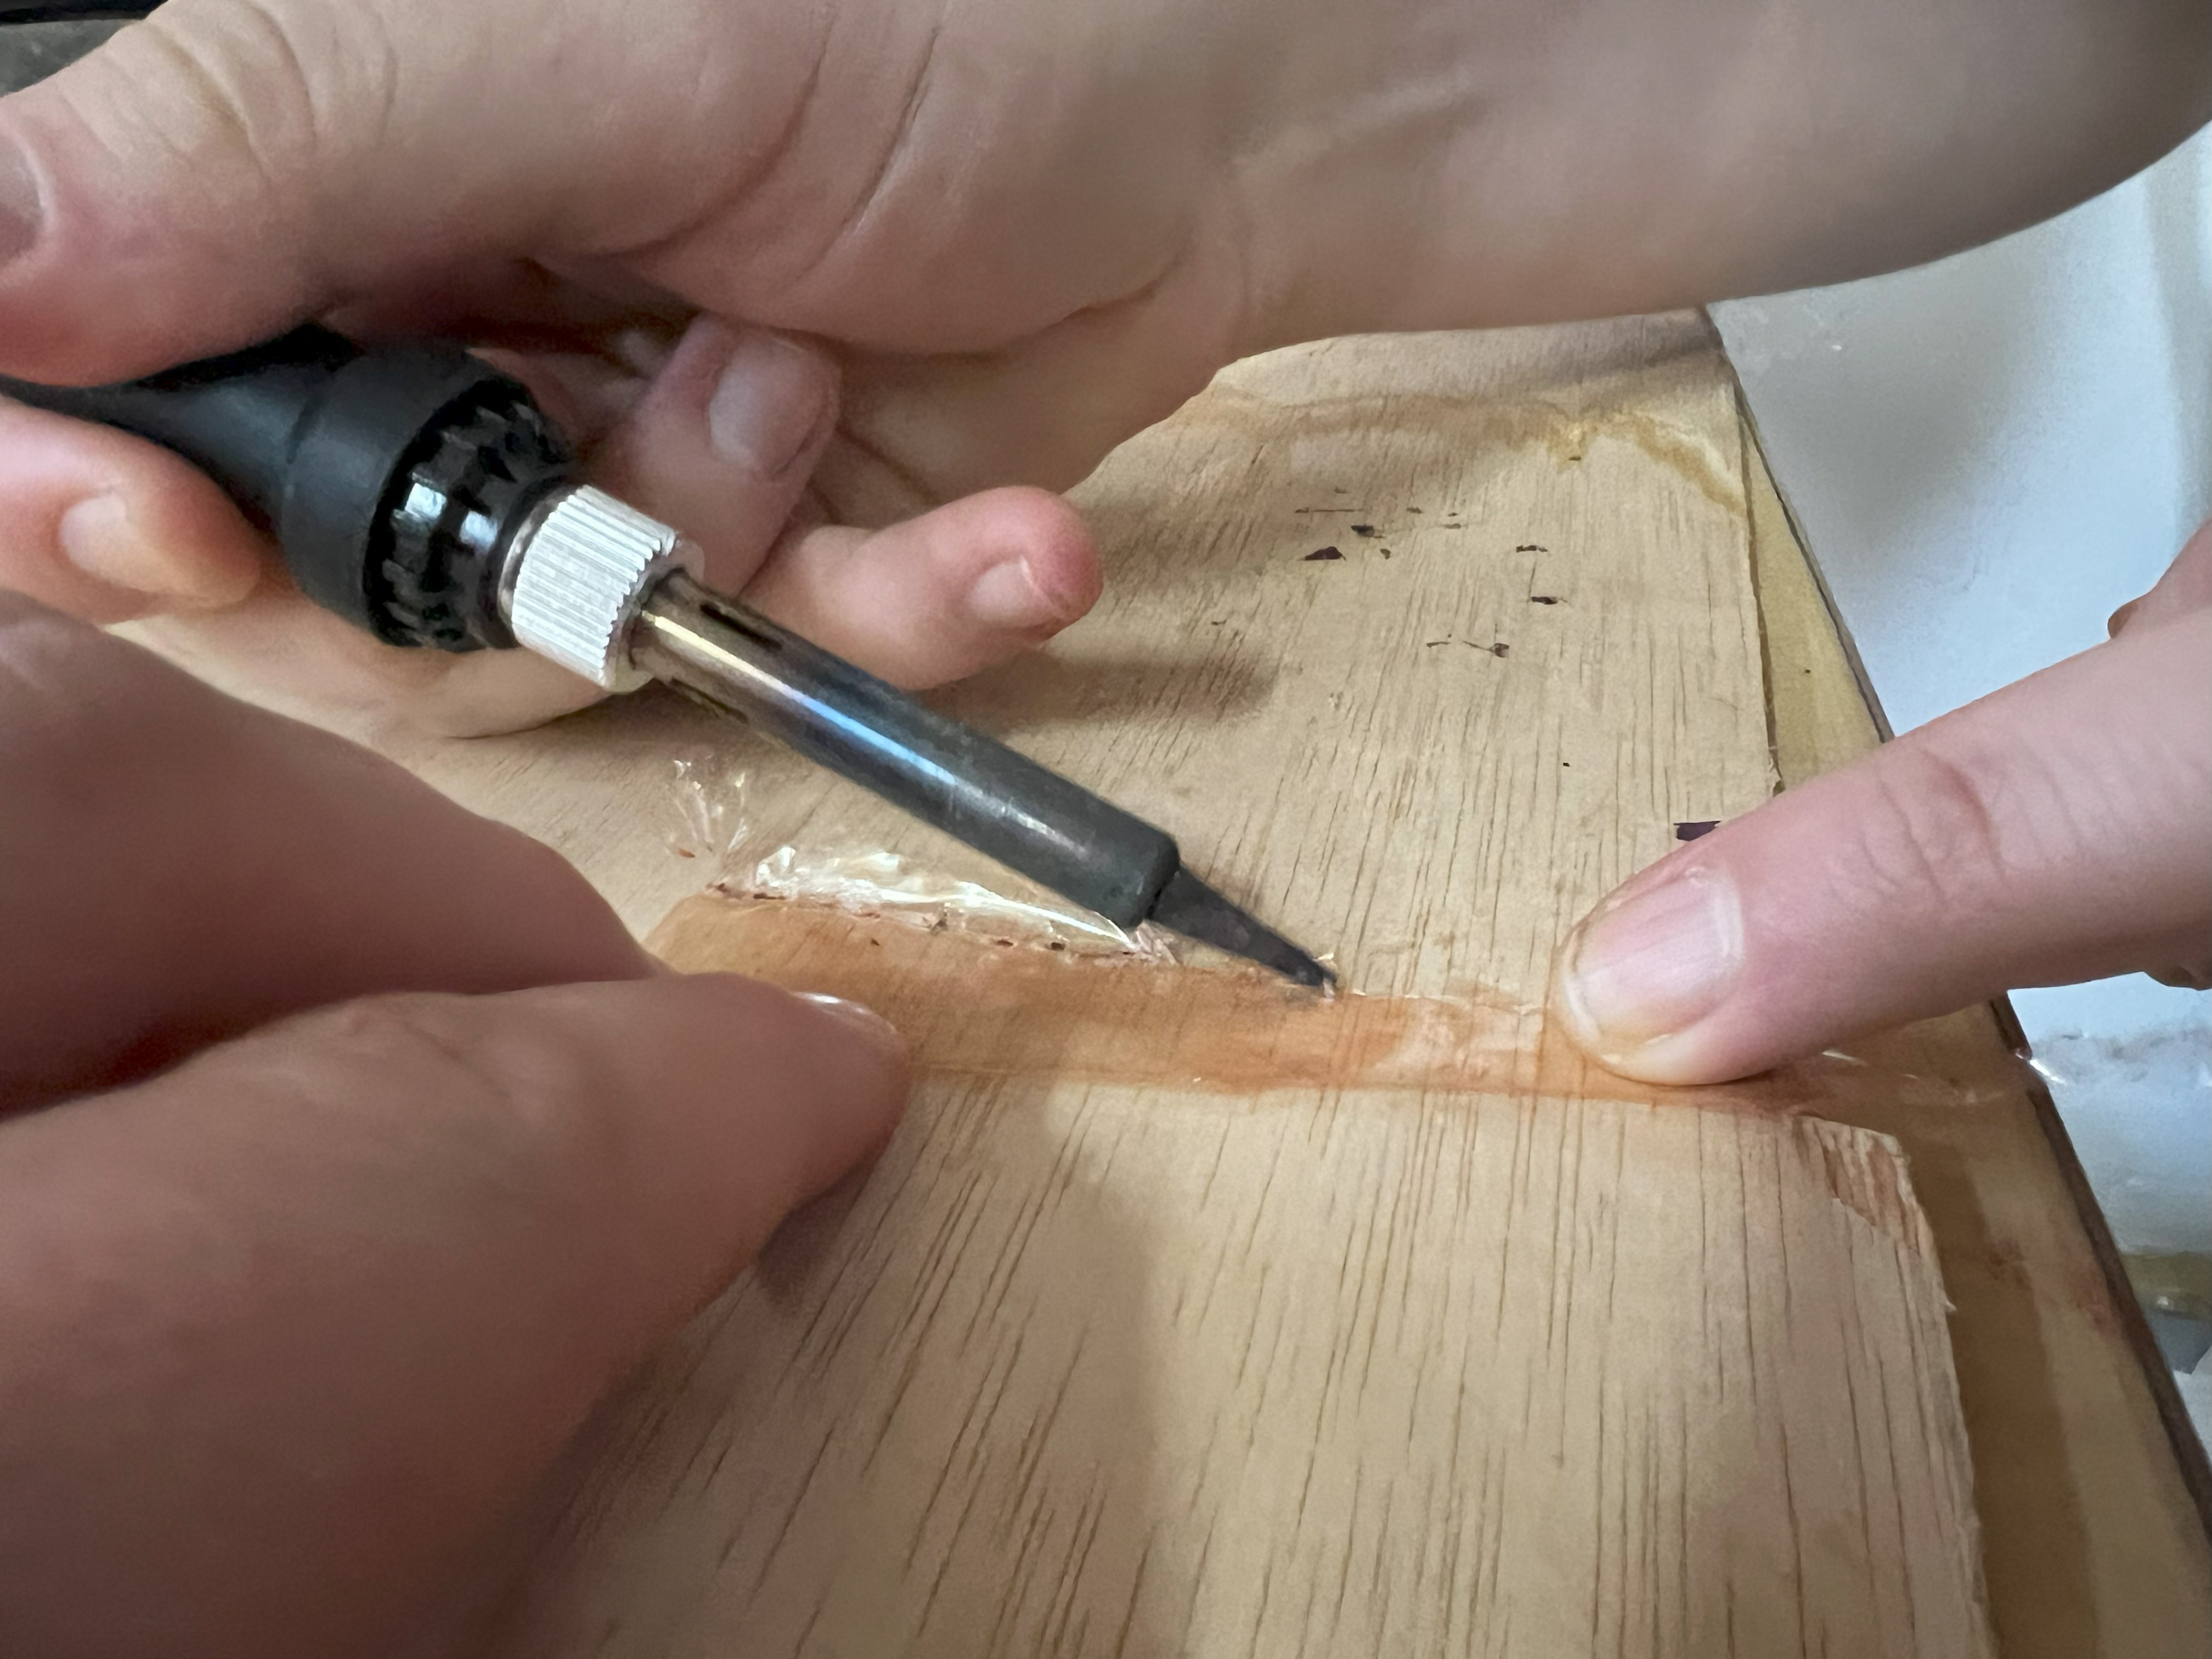
We realised that to ensure a tight seal in the material, we’d have to heat it to just below its melting point, enough that it became viscous enough to blend into a solid piece of material but without becoming completely liquid once again.
The optimum temperature we discovered for this is about 30 degrees Celsius.
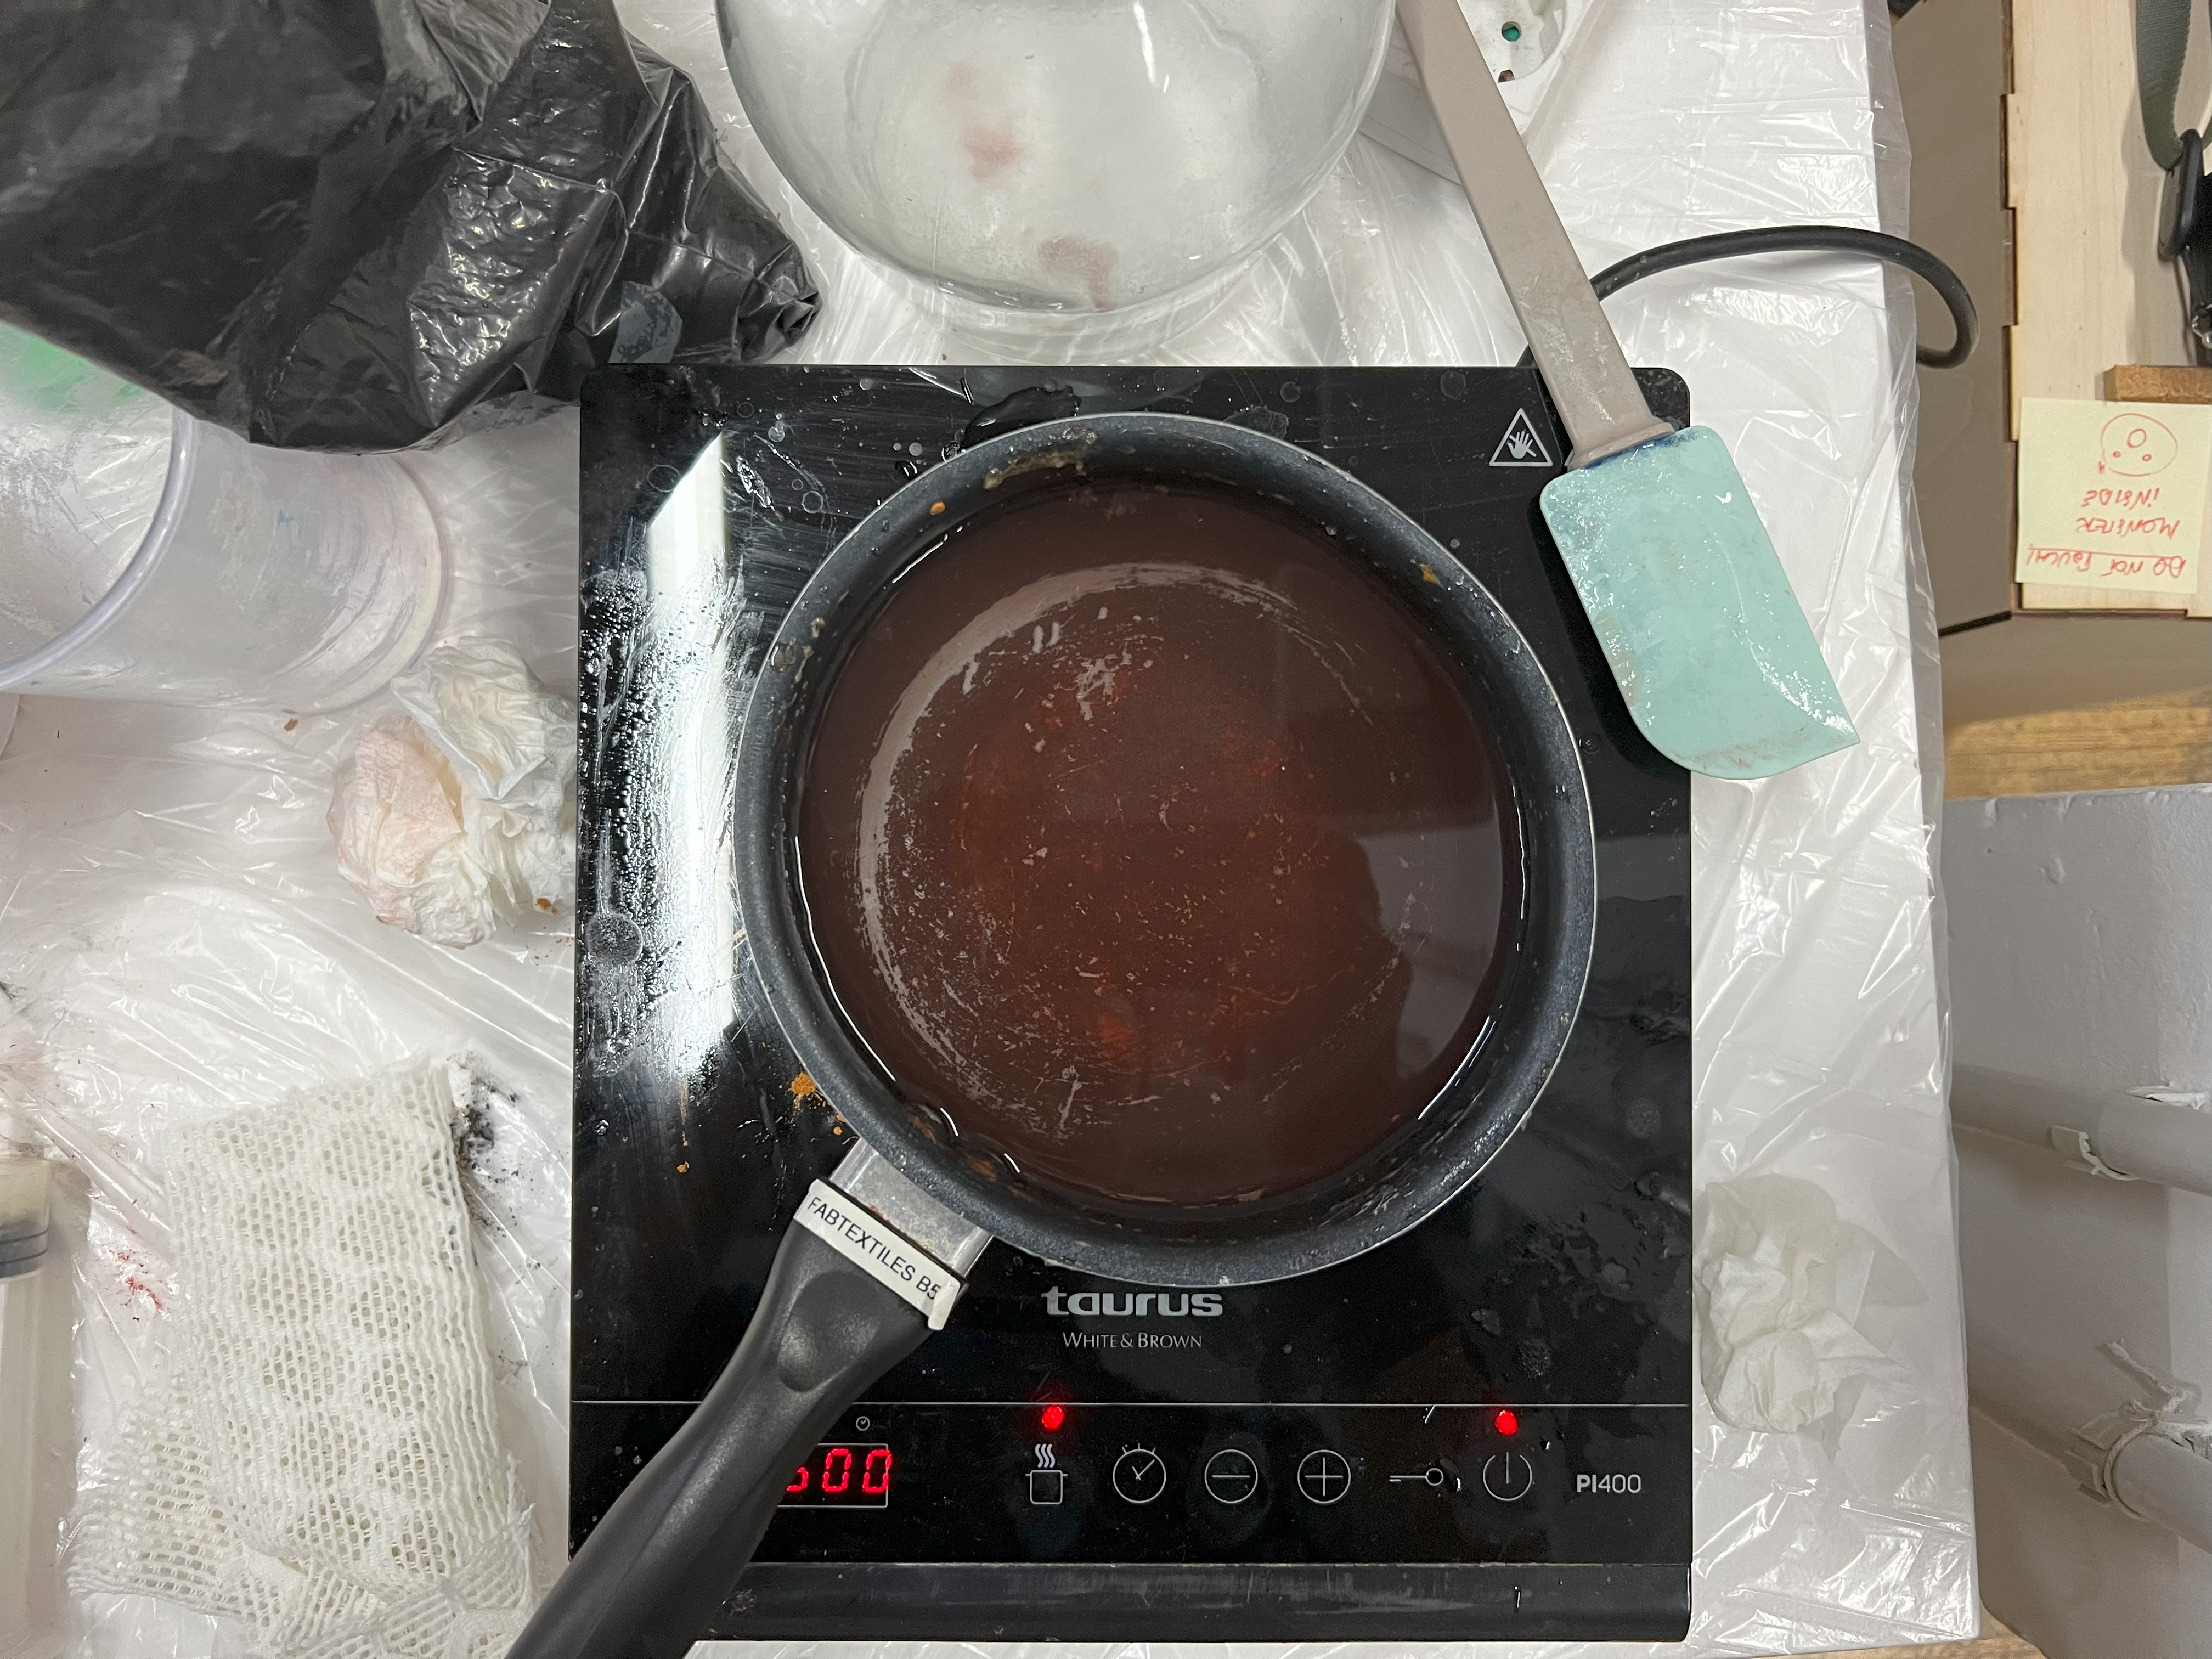
The Recipe:
To make the material, use the recipe below:
Water: 240 ml Glycerine: 48 g Gelatine: 48 g
This is the base recipe, (for larger batches like in our case, double each ingredient amount, and keep going till you get the amount you need) In our case, we needed 4 batches so:
Water: 960 ml Glycerine: 192 g Gelatine: 192 g
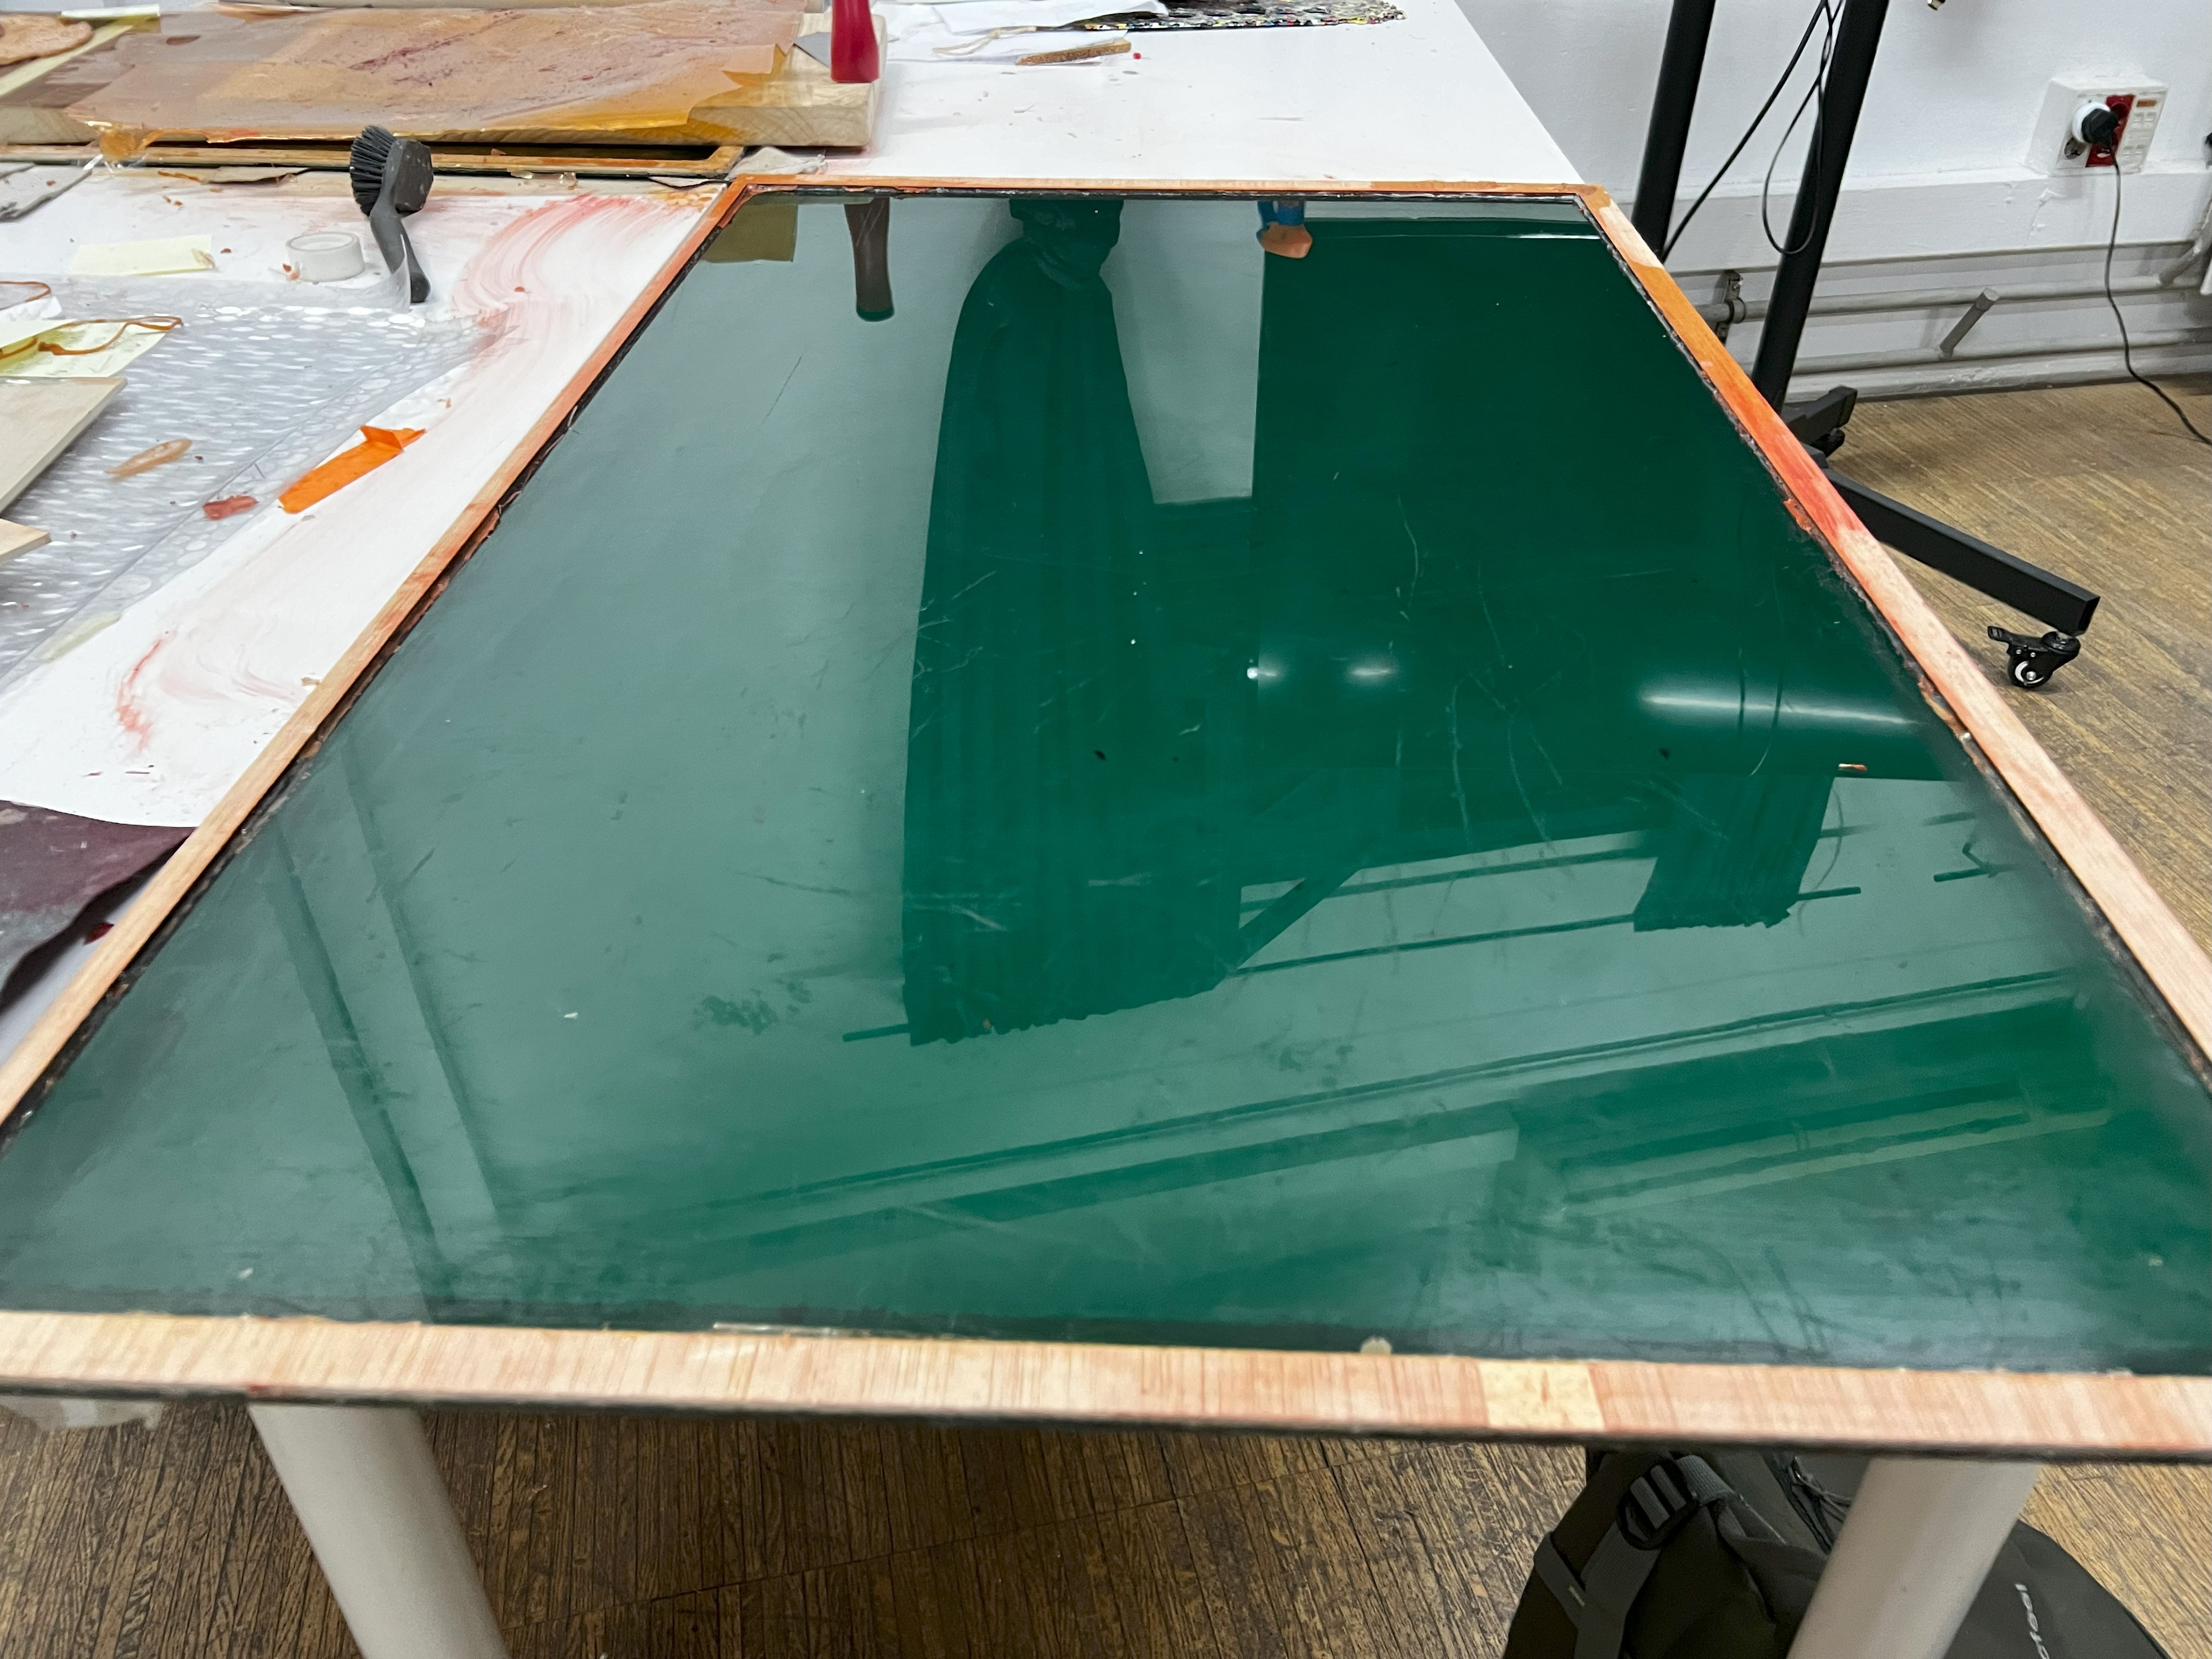
Next, we had to cast the material into a mould to give us a large rectangular sheet. This we achieved with a large acrylic sheet to which we added a wooden lip on each side to give us a cavity to pour the gelatine mixture into without it spilling.
You will need some kind of acrylic, silicone or glass to build this mould, using wood as a base will cause the gelatine to stick and not come out.
Important Learning!: Let the gelatine mixture cool just a little in the pot before pouring it in, otherwise, it will cause the acrylic to warp and you’ll have gelatine pouring all over the floor — as we unfortunately discovered.
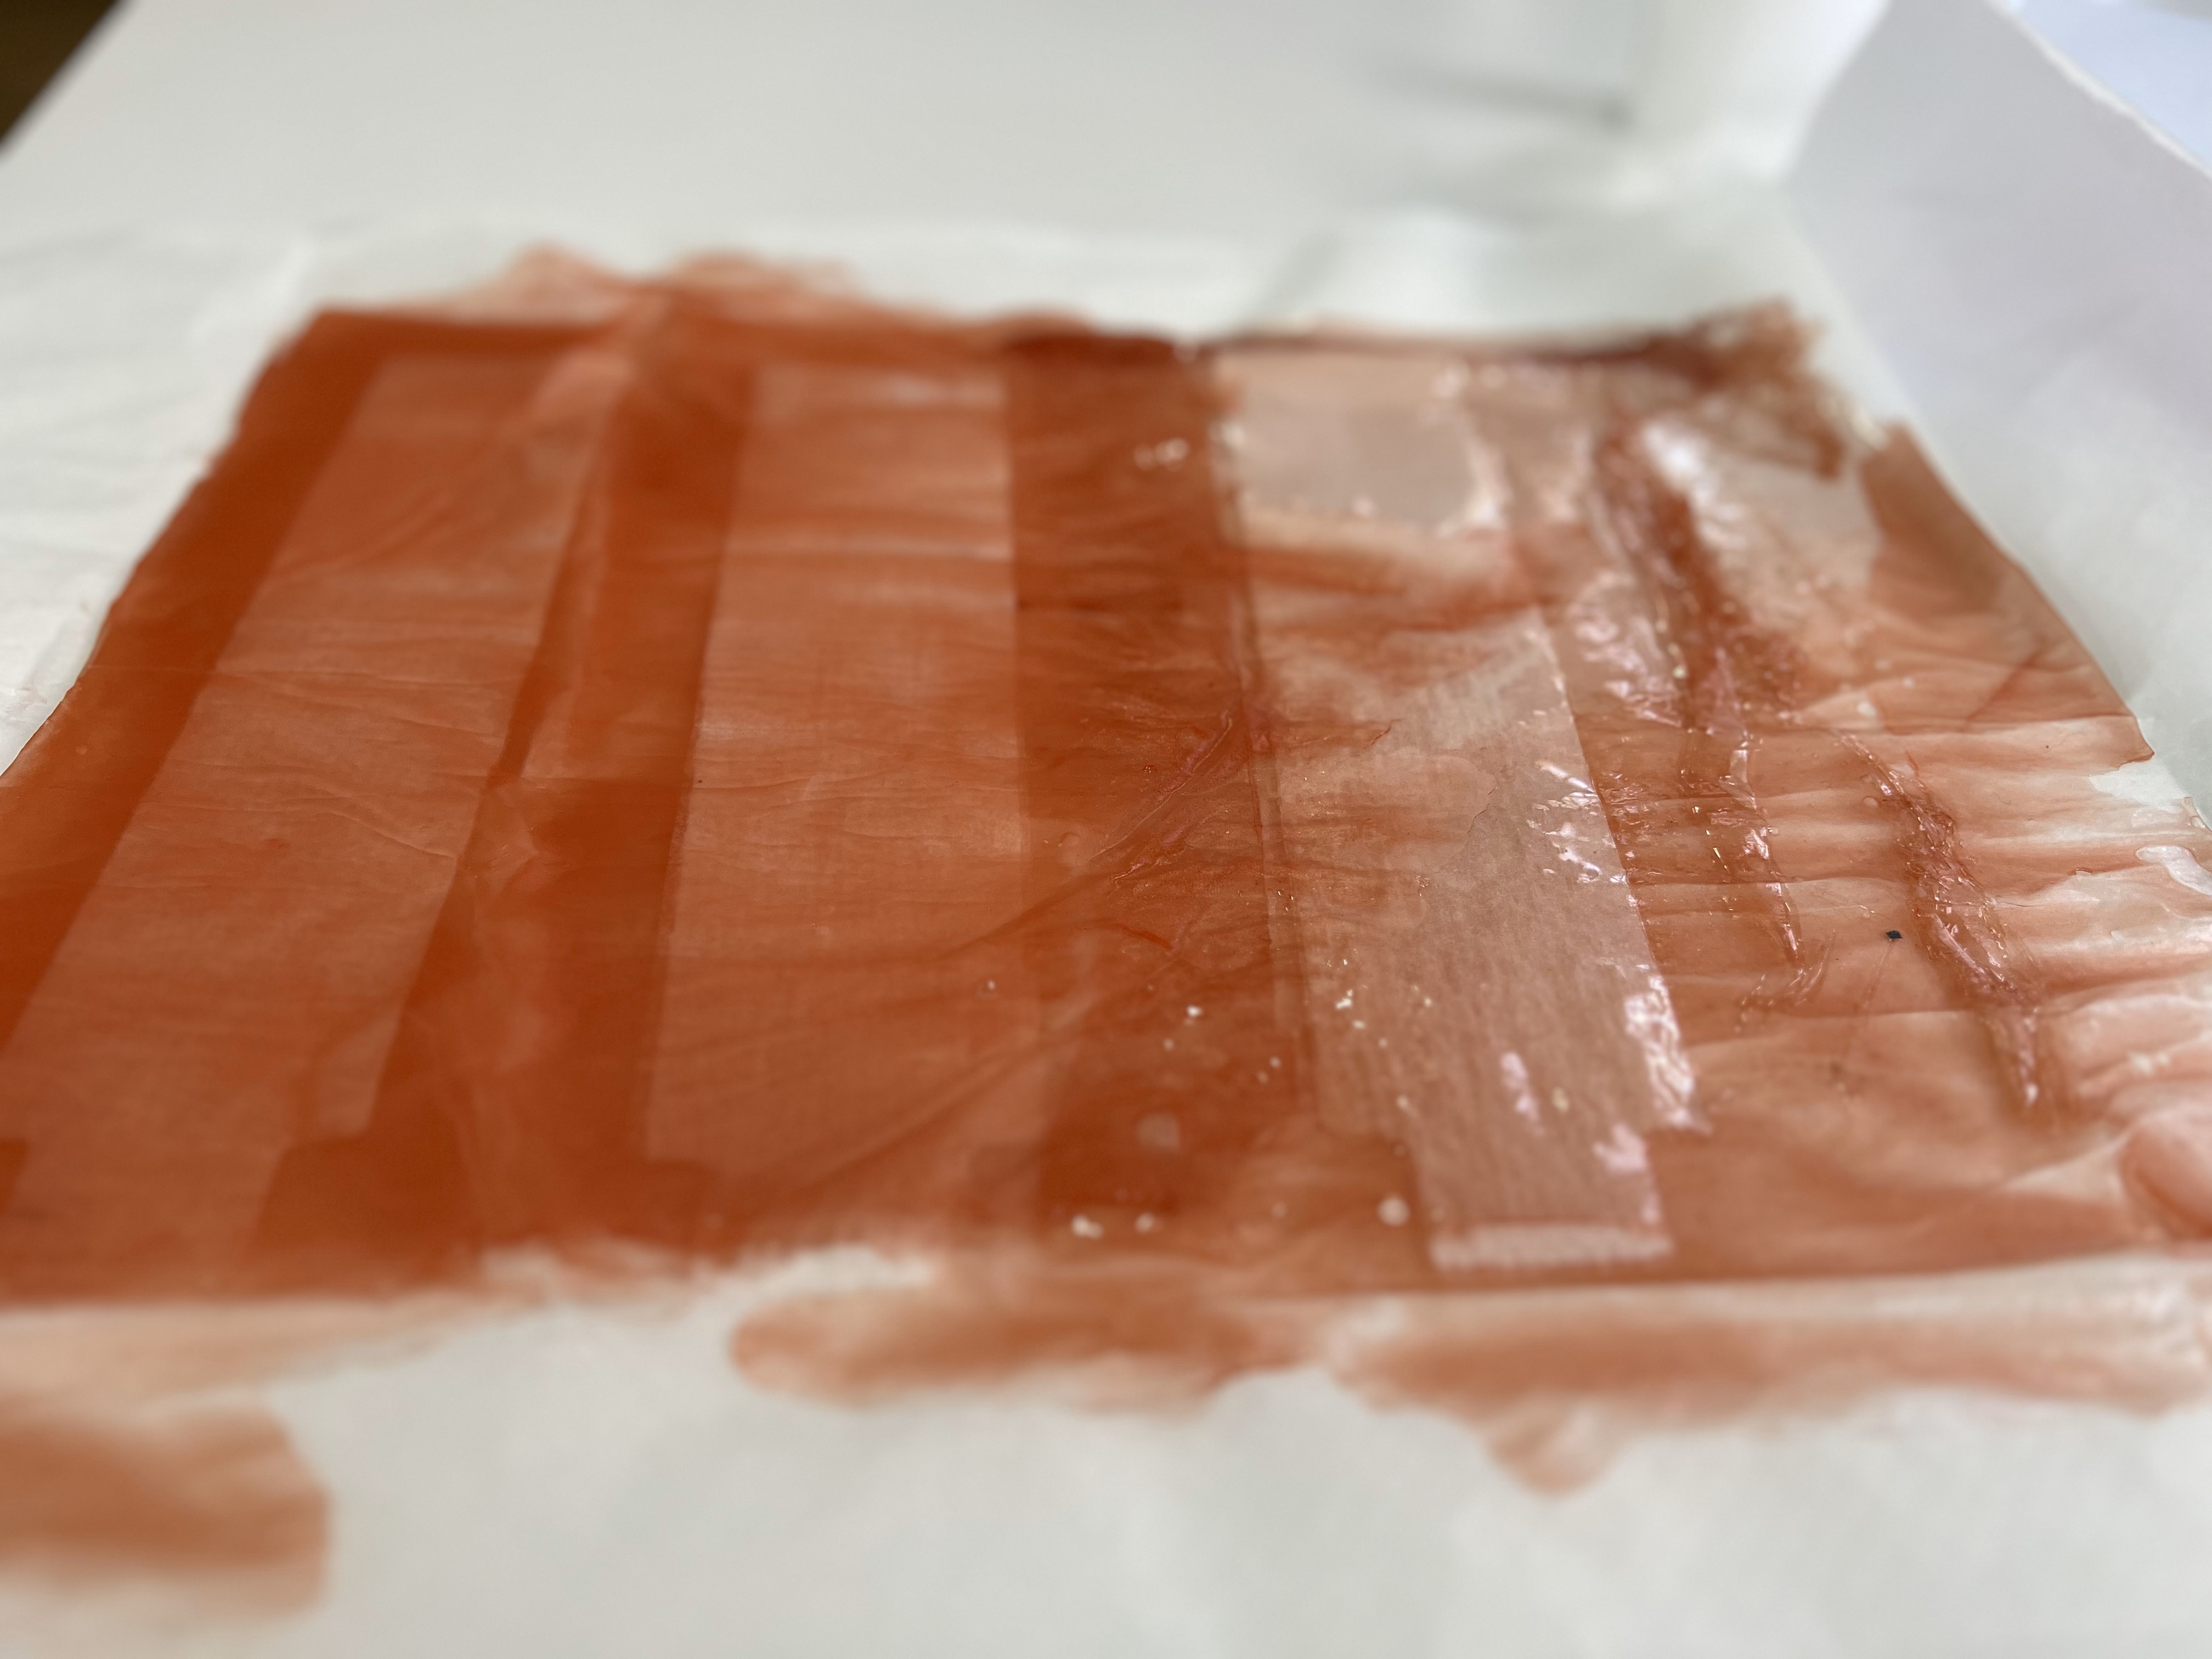
Once successfully removed, the sheet of gelatine was allowed to dry to make sure that would have enough strength to withstand being inflated while still maintaining the elasticity we needed.

Laser cutting
As the sheet dried, we designed some templates for the air pockets in Fusion 360, saved them as .DWG files (which you can find at the bottom of this page) and laser cut them out of baking paper(if you don’t have a laser cutter you can also use scissors, it will also work just fine).
It’s important to use something like baking paper, we learned from an instructable article that the grease properties of baking paper (when placed in between two sheets of the same material) will stop two sheets of material from sticking to each other when heat is applied across the material.
We used this exact process to make sure our gelatine sheet didn’t just congeal once more into one big solid sheet.

Putting it all together
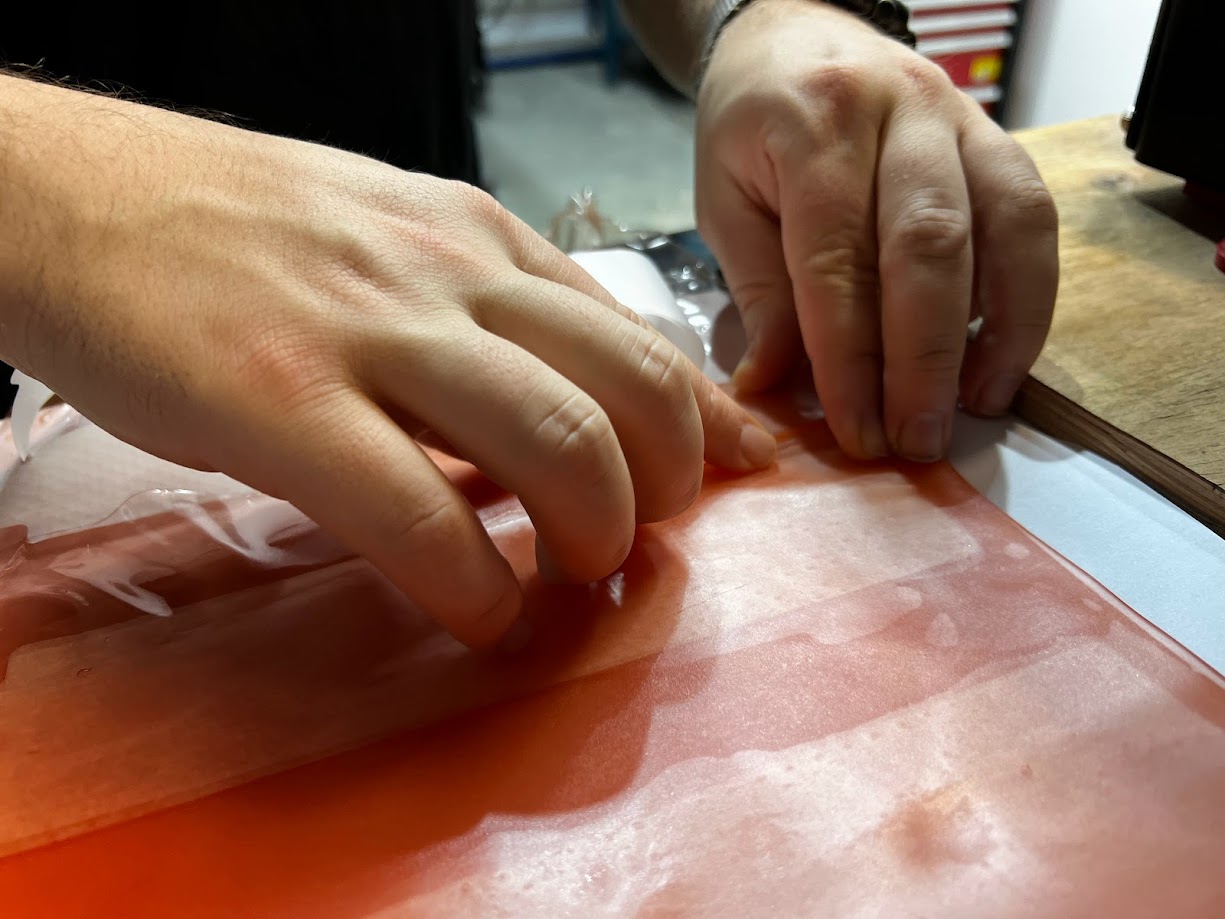
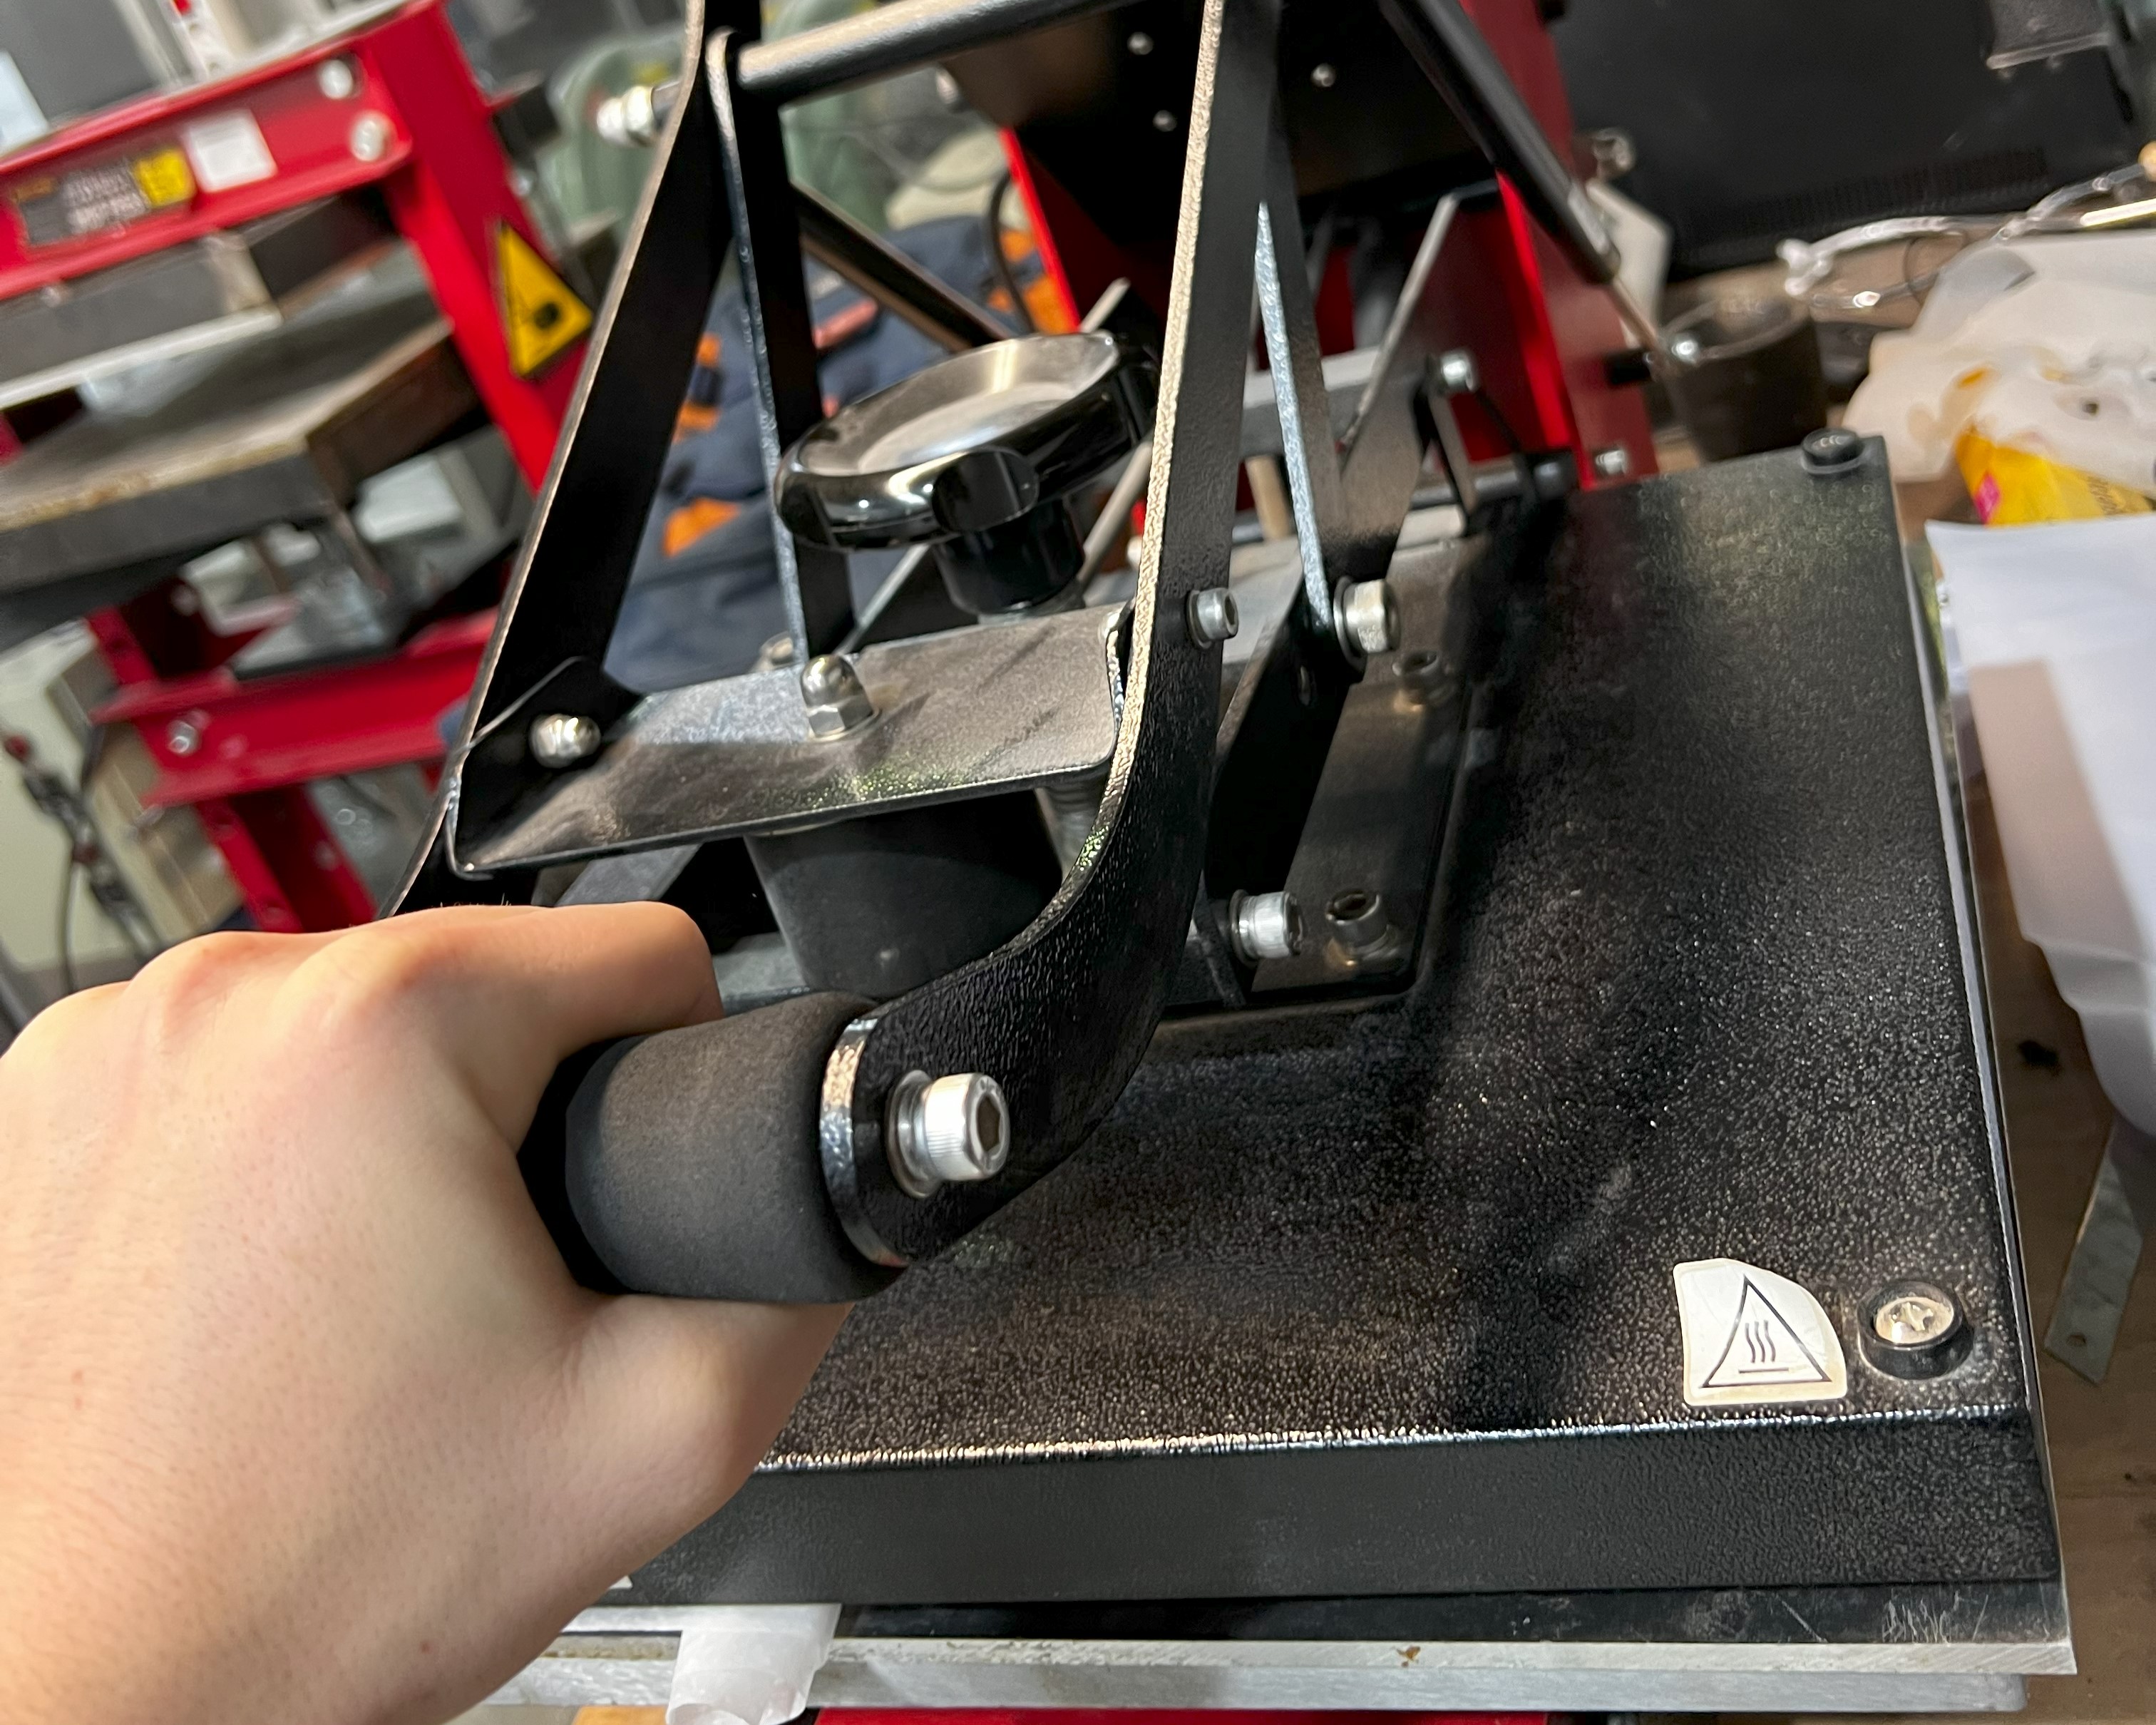
When the gelatine sheet was fully dry, we cut our sheet down to size, placed our templates onto one half of the sheet, folded the other half back over, making sure to leave a little exposed area as an inlet for the air, and placed our material in the heat press available in the FabLab.
If you can’t access a heat press, a hair dryer will work just as well, start on a medium heat setting and apply heat evenly over the surface of the material. make sure to place the material on another sheet of baking paper that covers both the top and bottom of the material. This makes sure it doesn’t melt and stick to whatever surface you are working on.
Once that was finished and fully cooled, we could begin inflating each pocket and testing out our newly made packaging material.
After the first few tests we discovered a few leaks in the material where we hadn’t sealed it properly. to melt these back down we used the edge of a hot pan, this works wonders for applying directional heat and can be done very easily and quickly.
After that, we tested again and success!
Each of the pockets was able to inflate without bursting.
Key Learning: We discovered that it’s easier to seal off the air entryway completely, with a few strips of gelatine, creating a completely sealed environment. Then inflate each pocket by inserting a needle connected to a small length of tubing into the air pocket and inflating it. This creates a much smaller hole for the air to escape out of and can be sealed up quickly without losing any of the air inside the pocket.
Once each pocket is successfully inflated, (you can either use a small pump like we did, or blow down the tube, both ways will work just as well as each other) you can wrap it around whatever object you’d like that fits and know that it will be decently protected in case it’s dropped during transit.
How we felt:
At first we weren’t all that confident that we’d get the gelatine material to inflate at all as we hadn’t managed to achieve a uniform consistency, with some parts of the sheet being much thicker than the other. We were worried it was going to burst when we first inflated it, but when it held we were extremely relieved and excited to keep learning and iterating with this material.
Key Findings:
- This material seems like it’s a suitable alternative to single-use inflatable packaging, it’s not difficult to make and if there are problems with casting it you can always remelt it and try again.
- It’s actually beneficial to have a slightly higher material thickness for this use case, you will need more power to inflate it but the benefit is higher durability and air retention.
- It seems that the material may be porous to air over time, and if left inflated for days it will being to deflate as air leaks out through the material itself, so its important to keep that in mind.
- Using corn starch or talcum powder gives the material a rubber like texture, we haven’t explored this much but it work to further enhance the durability of the material itself and make it even better for the packaging scenario we had imagined.
Into the Future:
Moving forward it would be interesting to explore further how this material could be adapted to the use case Jorge and I dreamt up, the most immediate steps would be to test the material further, exploring how well it can protect items placed inside from large drops simulating how a drone might deliver medicines to remote communities.
This weeks exercises have allowed me to explore an area that I hadn’t had any experience with before, both using laser cutters and making bio materials, and I’m excited to keep updating and using this knowledge as the course and my projects develop.
Project Video
You can check out a video showcasing our entire process here below! 👇 If you enjoy it or have any other questions please let us know! 😃
Laser cutter & 3D model file:
You can find the files for the laser cutter and the 3D model by clicking the button below, the 3D model is all parametric so you should be able to change it to fit your needs! 👇
Take me to the fabrication files!
Resources:
Airtight Self-Sealing Inflatable
MOT – making the invisible visible
Clay Printing & Coffee Grounds
Too Long Didn’t Read
For our second challenge, we explored the Clay/Paste Printer, a modified Ender 3 for extruding materials like clay and biomaterials. Partnering with Jorge, Carlotta, and Minnie, we aimed to create a closed-loop system using waste coffee grounds mixed with clay to produce new products for cafes. After extensive testing, we found a suitable mixture and managed to print successfully, despite several setbacks with the printer. Our next steps include kiln-firing the prints to test their structural integrity and exploring future applications for integrating other waste materials.
The second challenge was all about getting familiar with the Clay/Paste Printer. This is a modified Ender 3 that has been retrofitted with a new nozzle and extrusion system to be able to extrude in paste materials like clay, or various bio materials.
What is really cool about this machine is that all the files are open source, and the documentation on building one of these printers is incredibly clear. If you are interested in finding out more about this machine, click the button below that will take you the repository that contains all the files you will need for it 👇
For this challenge I was working once again with my classmate Jorge. This time we decided to explore a more circular approach:
“Would it be possible to create a closed loop system where waste coffee grounds are mixed in with clay to create new and exciting products that can be returned to the cafes from where the coffee was collected?”
After mentioning it in passing to our classmates Carlotta and Minnie, we learned we shared similar interests for this particular challenge so we decided to join forces and develop something all together.
What ~ Materials
We decided that it would be an interesting challenge to use the paste printer to try and print some new types of coffee cups and other paraphernalia that could be a fun and novel way to introduce circularity to the café industry.
We were inspired by other products we’d seen out in the world that attempted to close the material loop by either reusing the materials into new versions of the same products, or re-imagining other waste material into new products.
A really cool example of this is the work done by Design Studios Gomi and Super Local.
This started with a day of research in making different coffee-clay mixtures, testing different ratios of the two materials together that could fit the right criteria we were looking for:
- Adhesion ~ how well can the mixture hold itself together?
- Flow ~ How easily can the material flow out of the nozzle for easy printing
- Structural Integrity ~ How well can the material hold its shape when dry
- Look & Feel ~ Does the material look appealing and does it feel good when held in the hand?
Over the course of an afternoon (in between different classes) we tested a series of different mixtures to identify the right material make-up. After several batches we arrived at one we thought was suitable.
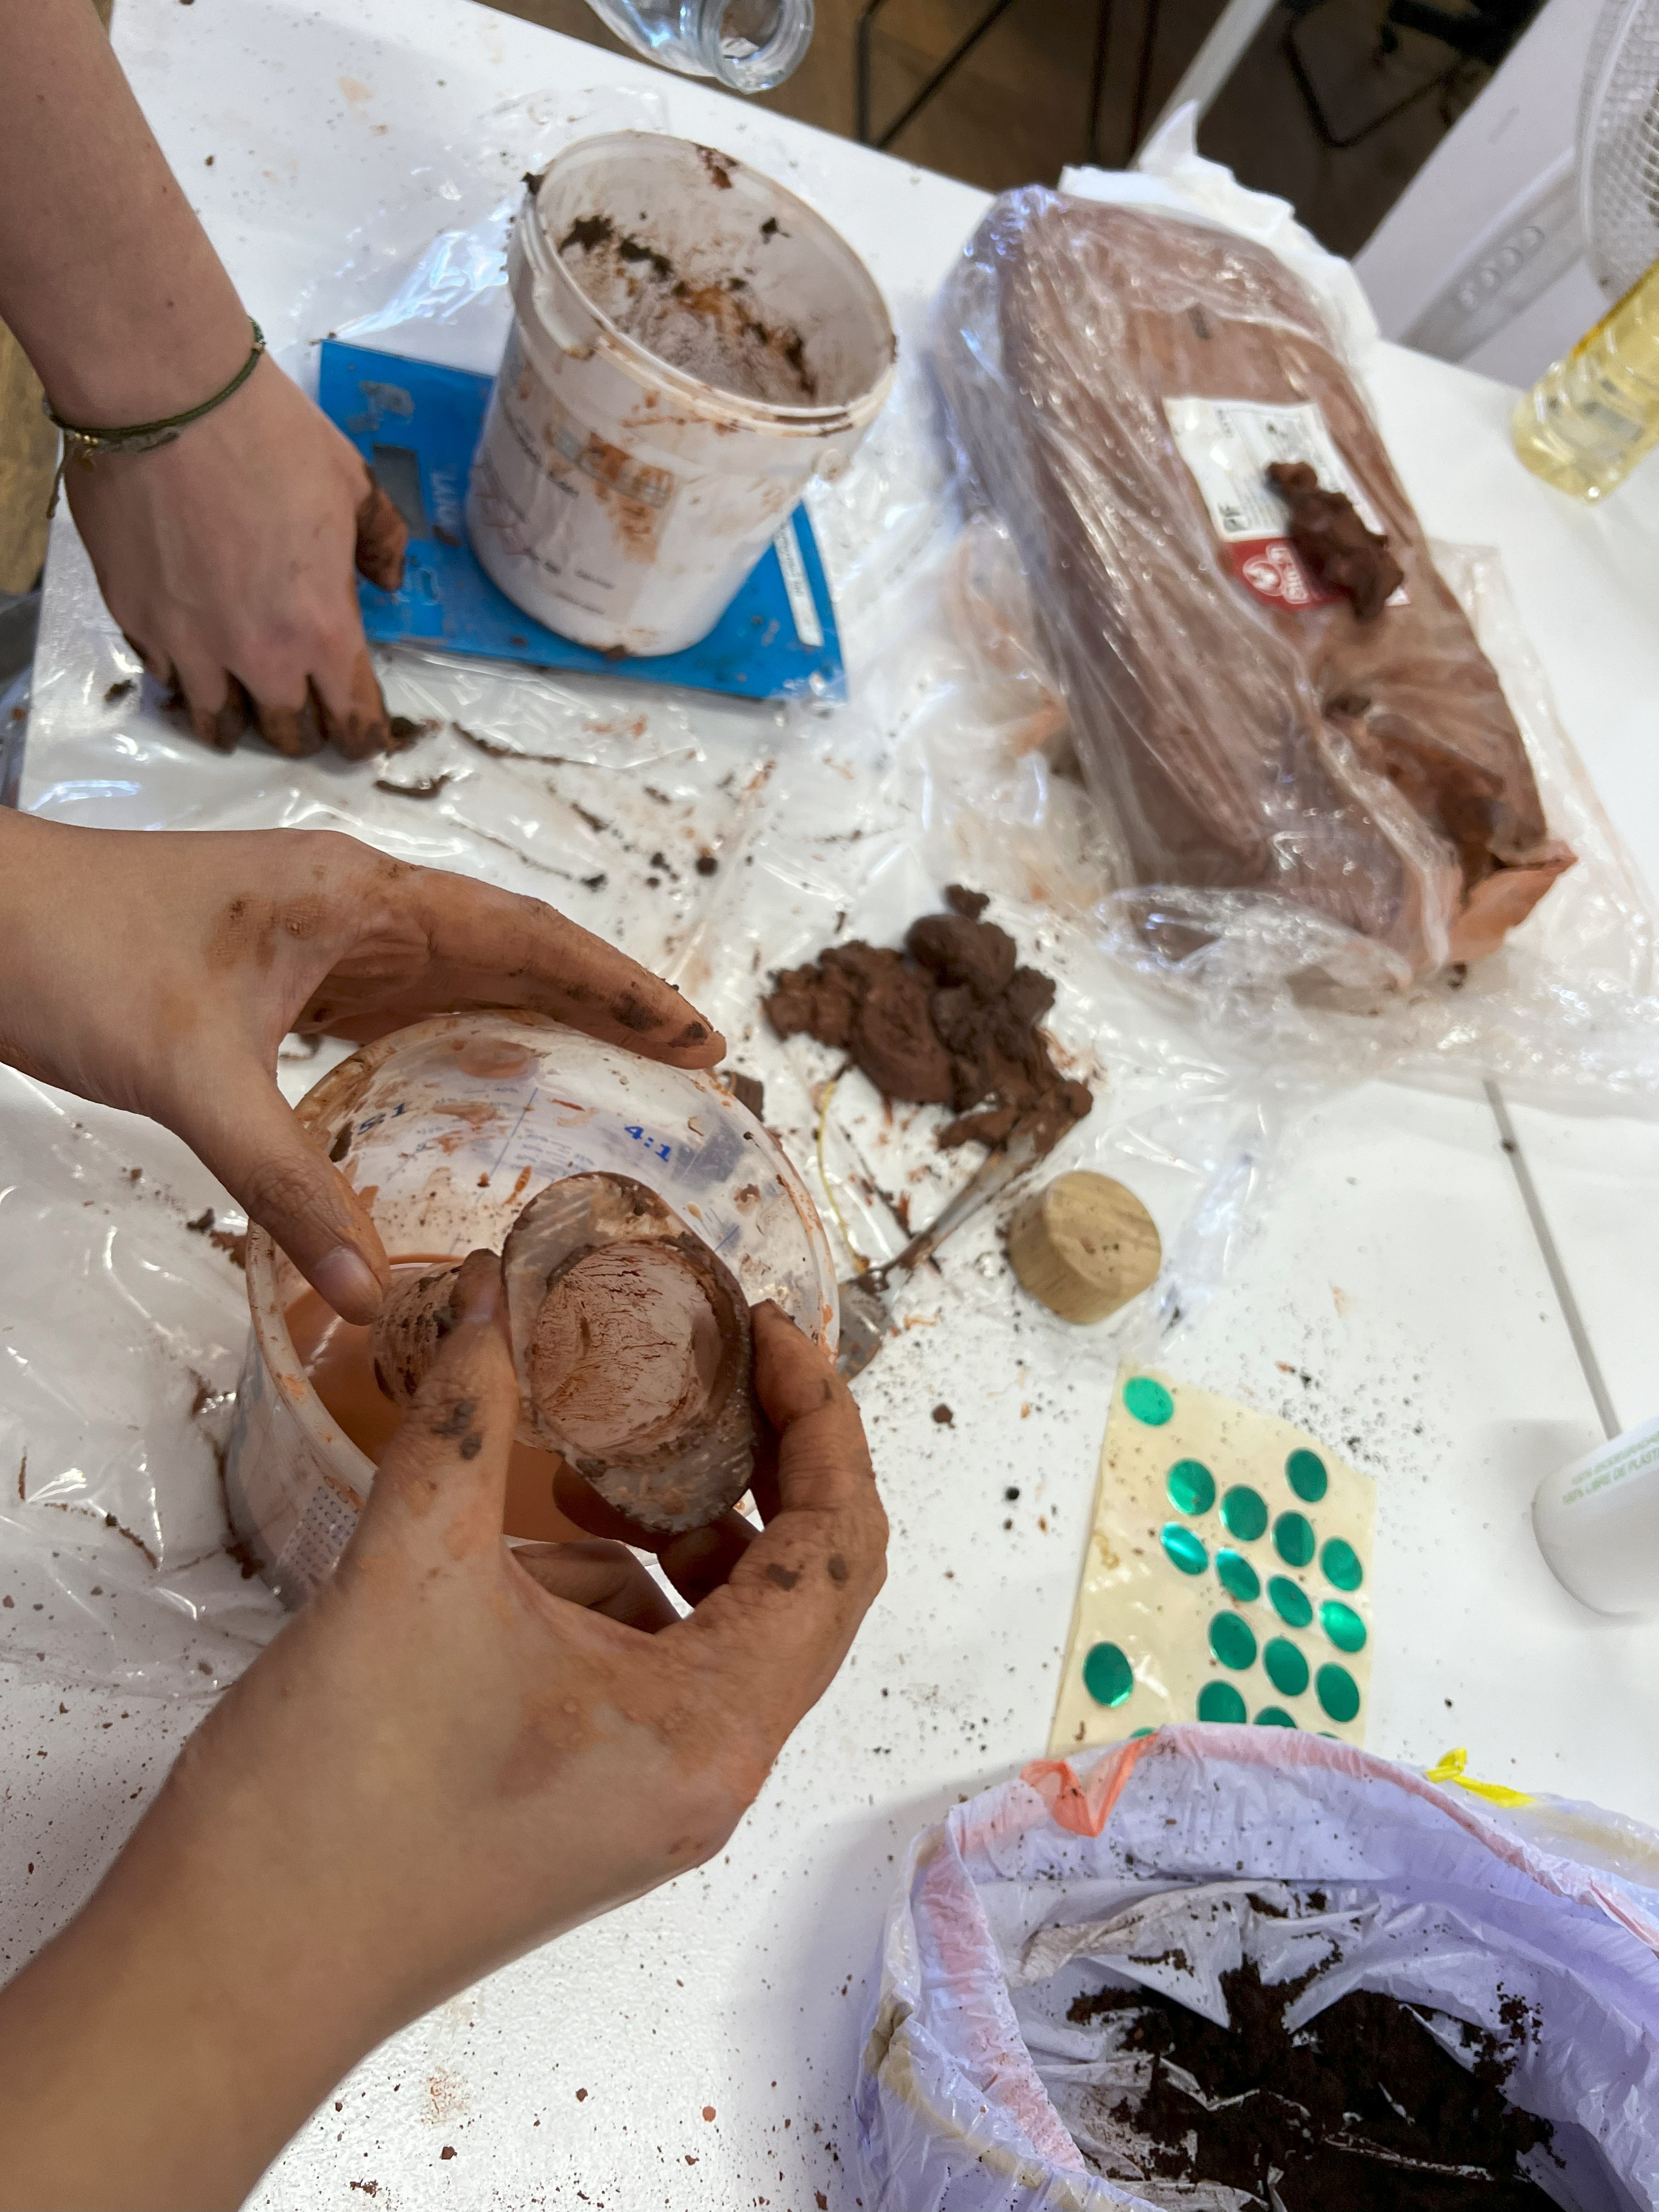

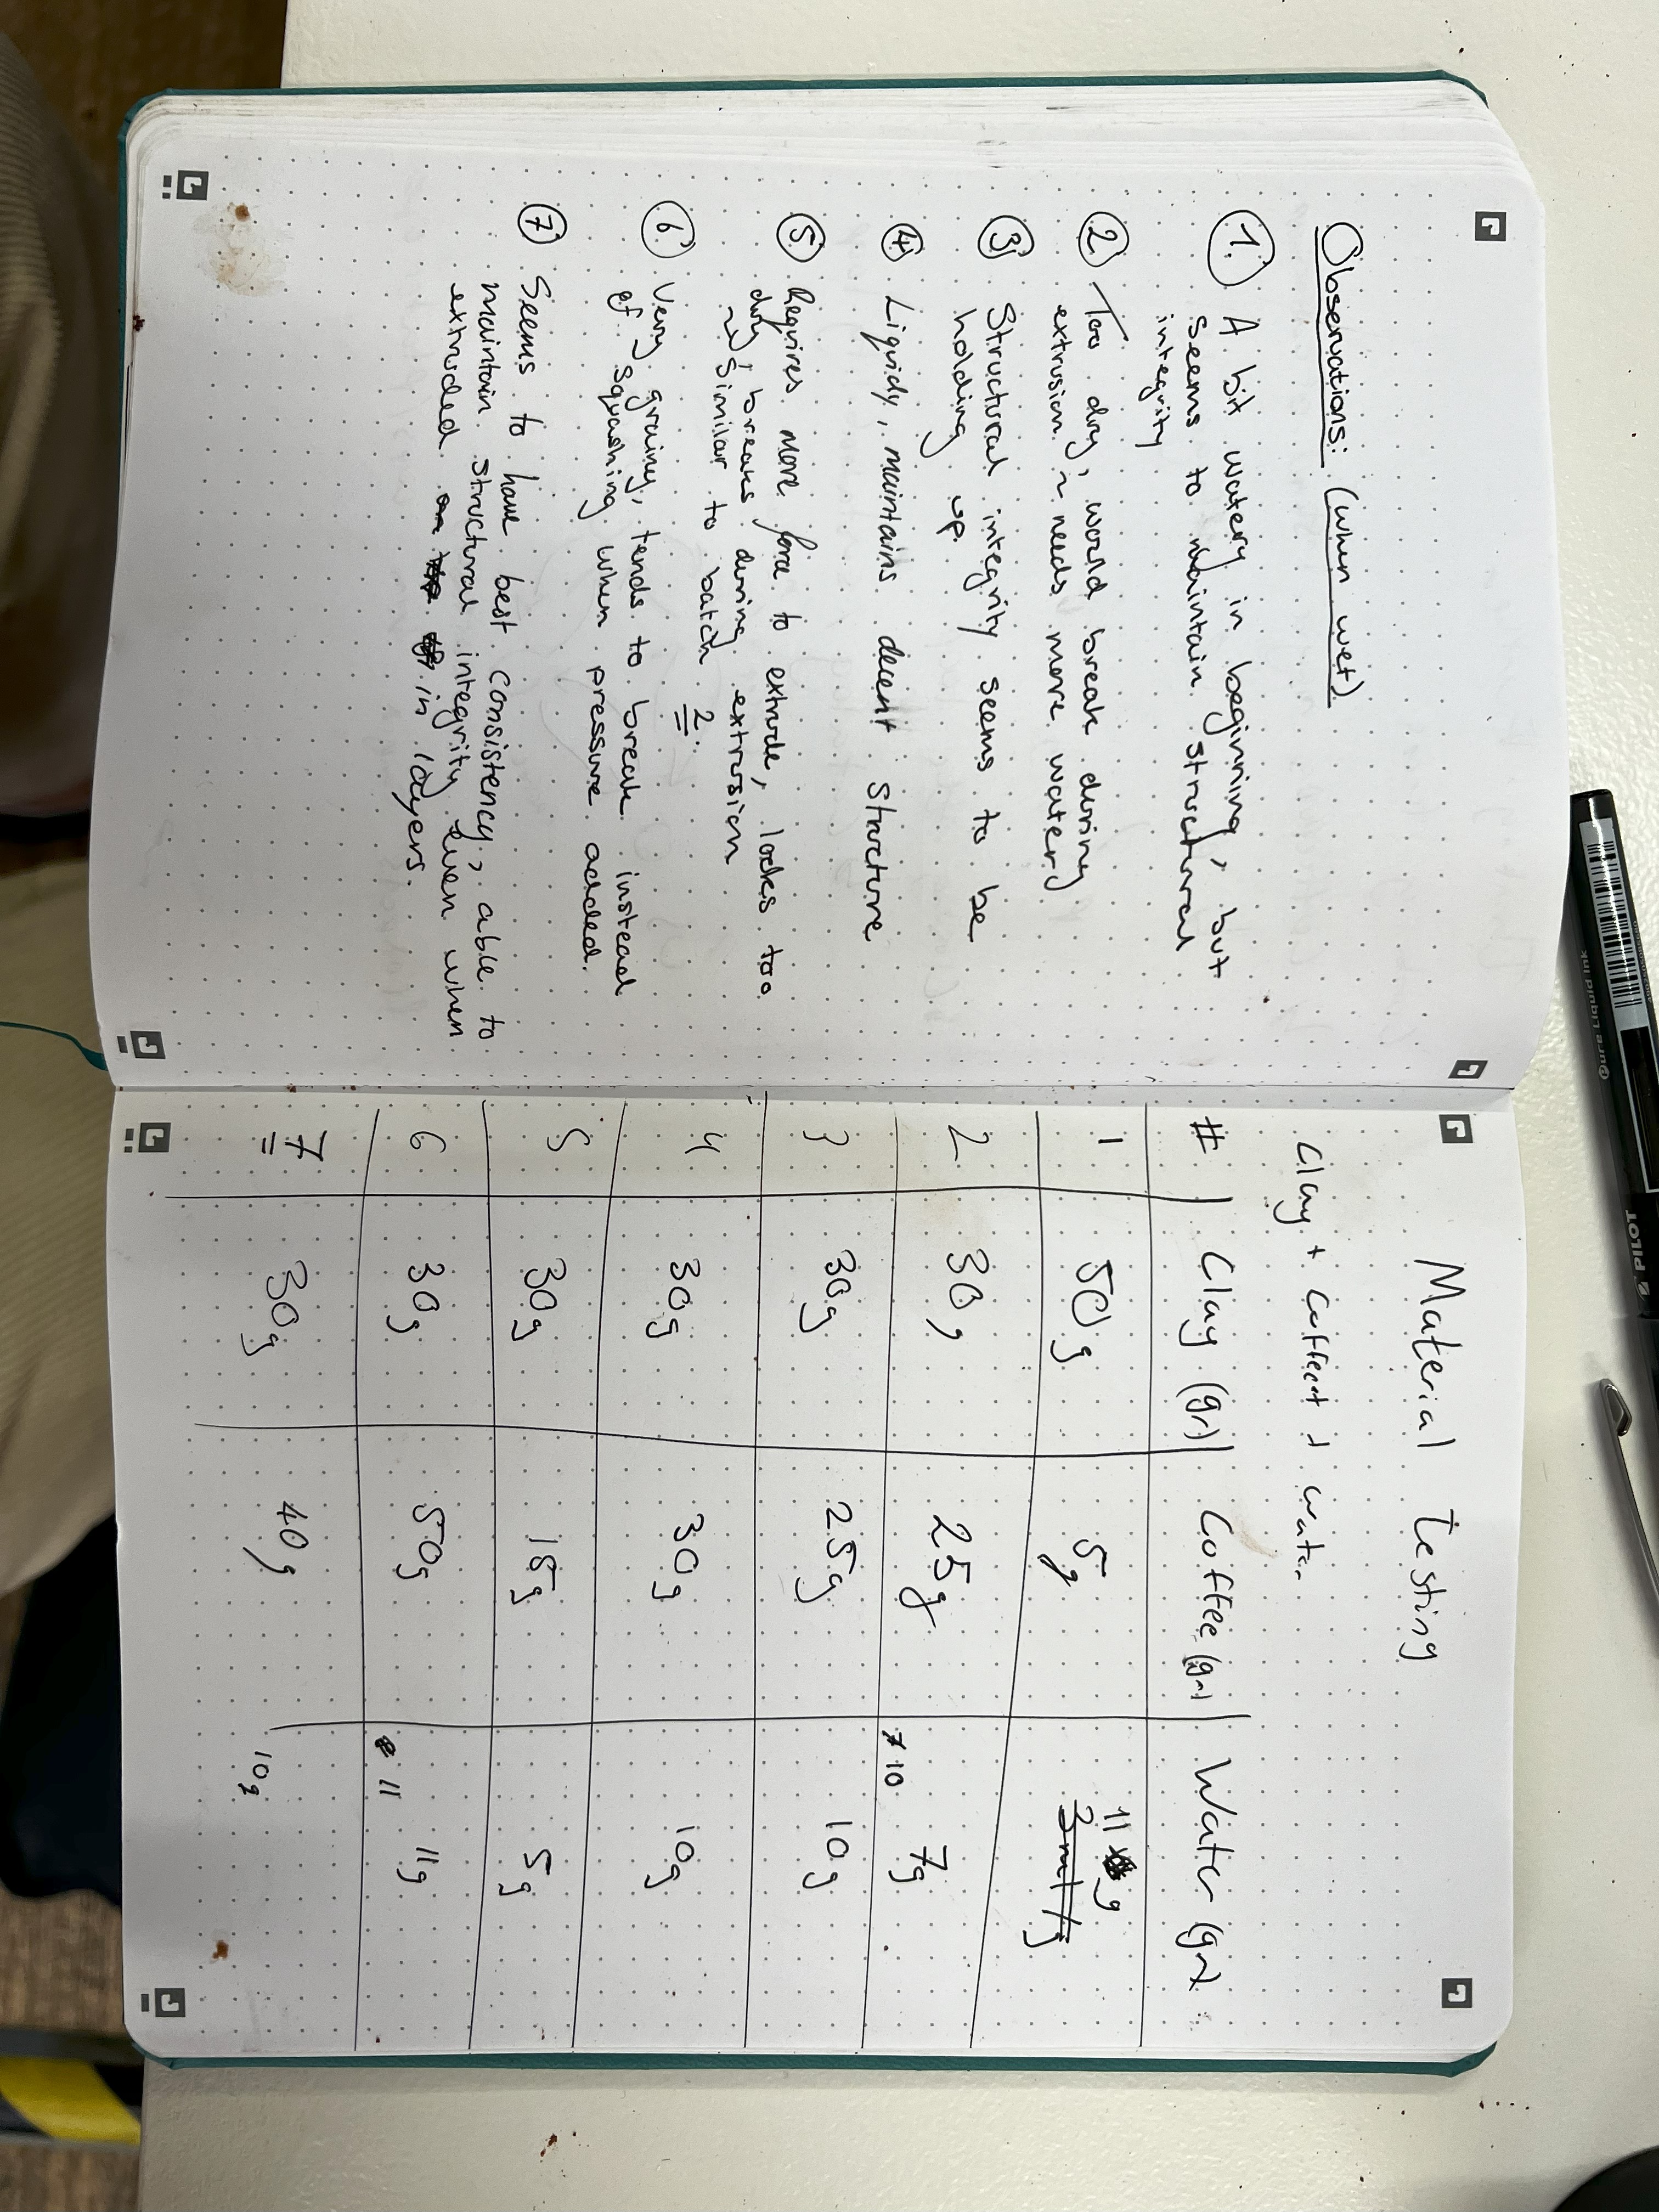
A mixture of 50g of clay to 15g of Coffee with about 10ml of water
We found that more coffee created too much of a grainy material, that couldn’t hold itself together well enough to be structurally sound, and when it dried it would simply disintegrate to the touch.
What ~ Printing
We then began our attempt at using the paste printer. What was supposed to be a 2-hour job turned into working with the printer the entire day. Getting the machine calibrated and set up was the easy part, it was everything that came after that was the challenge. First the mixture was too dense and dried out inside the extrusion tube due to us troubleshooting printer errors, then the extruder casing cracked and needed to be replaced as the motor would shoot out of the nozzle (not ideal), then the 3d printed nozzle heads we were using would crack and break if you screwed them on too tightly and finally the print layers were all wrong because we had forgotten to create our own custom print profile in Cura (our slicing software) for the clay material we were using.
But finally after all of that, exhausted and frustrated, and feeling like we’d wasted an entire day we managed to get it working and print out a successful test print (after many, many, many failed test prints)
Failed Tests

Successful Print
→
Fabrication Files
You can find all the fabrication files you’ll need to follow along with this project by clicking the button below, you’ll find the stl files we used for printing and recipes for clay mixtures. (this is still being updated so keep an eye out!)
Findings
I think our mixture was solid, we managed to create a successful material blend that was able to be smoothly extruded through the print nozzle and into a successfully stable 3D shape.
However, as of this moment we have yet to find out what these results will end up looking like after being put in the kiln and glazed. There is a very high chance that the organic compounds from the coffee will burn while in the kiln, this is something that might cause structural instability in the final finished product and is something that we still need to test.
We are currently waiting to use the kiln to test just this…(this page will be updated with these results when we find out!)
Future Directions
I think if it works out to fire these products with a coffee mixture in them, it could be possible to integrate other materials into the clay mixtures, these could come from further coffee related products (like coffee pods) and be integrated in some way into other products using this method of manufacturing. Maybe not cooking them but certainly including them in some way.
I could see this idea going further, to the point of maybe creating little circular material kiosks in supermarkets where people bring their old coffee related waste and it’s sorted and shredded into new products which people could buy back for a reduced rate to keep these materials in use.