The Machine Paradox
Too Long Didn’t Read
Over two weeks, we explored how old machines are replaced by newer technologies and the implications of these changes. We disassembled a broken microwave, identified its faults, and analyzed its components. Through hands-on testing, we discovered that the microwave’s magnetron or transformer was faulty. We repurposed its components to create an “anti-microwave” designed to cool food while highlighting the frustrations faced by people with eating difficulties. This exercise underscored the value of repurposing old technology, fostering collaboration, and emphasizing the importance of repairability and circular design.
We are constantly surrounded by a paradigm of interfaces, old interfaces being replaced by new ones.
i.e a simple light switch being replaced by a natural language processer like Alexa connected to the light bulb itself
As we create more and more complex machines, the interfaces change to become more hidden and obscure, by which I mean we are less able to discern straight away how one input will affect another. The course of the next two weeks is is known as the Machine Paradox, where we will be exploring and understanding just how our much our lives have changed as technology has developed, how machines that once served a vital purpose in our lives have been replaced by newer and different technologies, and figuring out how to hack and modify these old machines to serve a new purpose and bring new meaning to their existence, rather than just let them go to waste.
Day 1 (17/10/2023) - Unpacking & Disassembly
In groups, we had to get together and tear down a product, find out why it failed, how it failed, how it could be repaired, where it was made and create a forensics report to document this entire process.
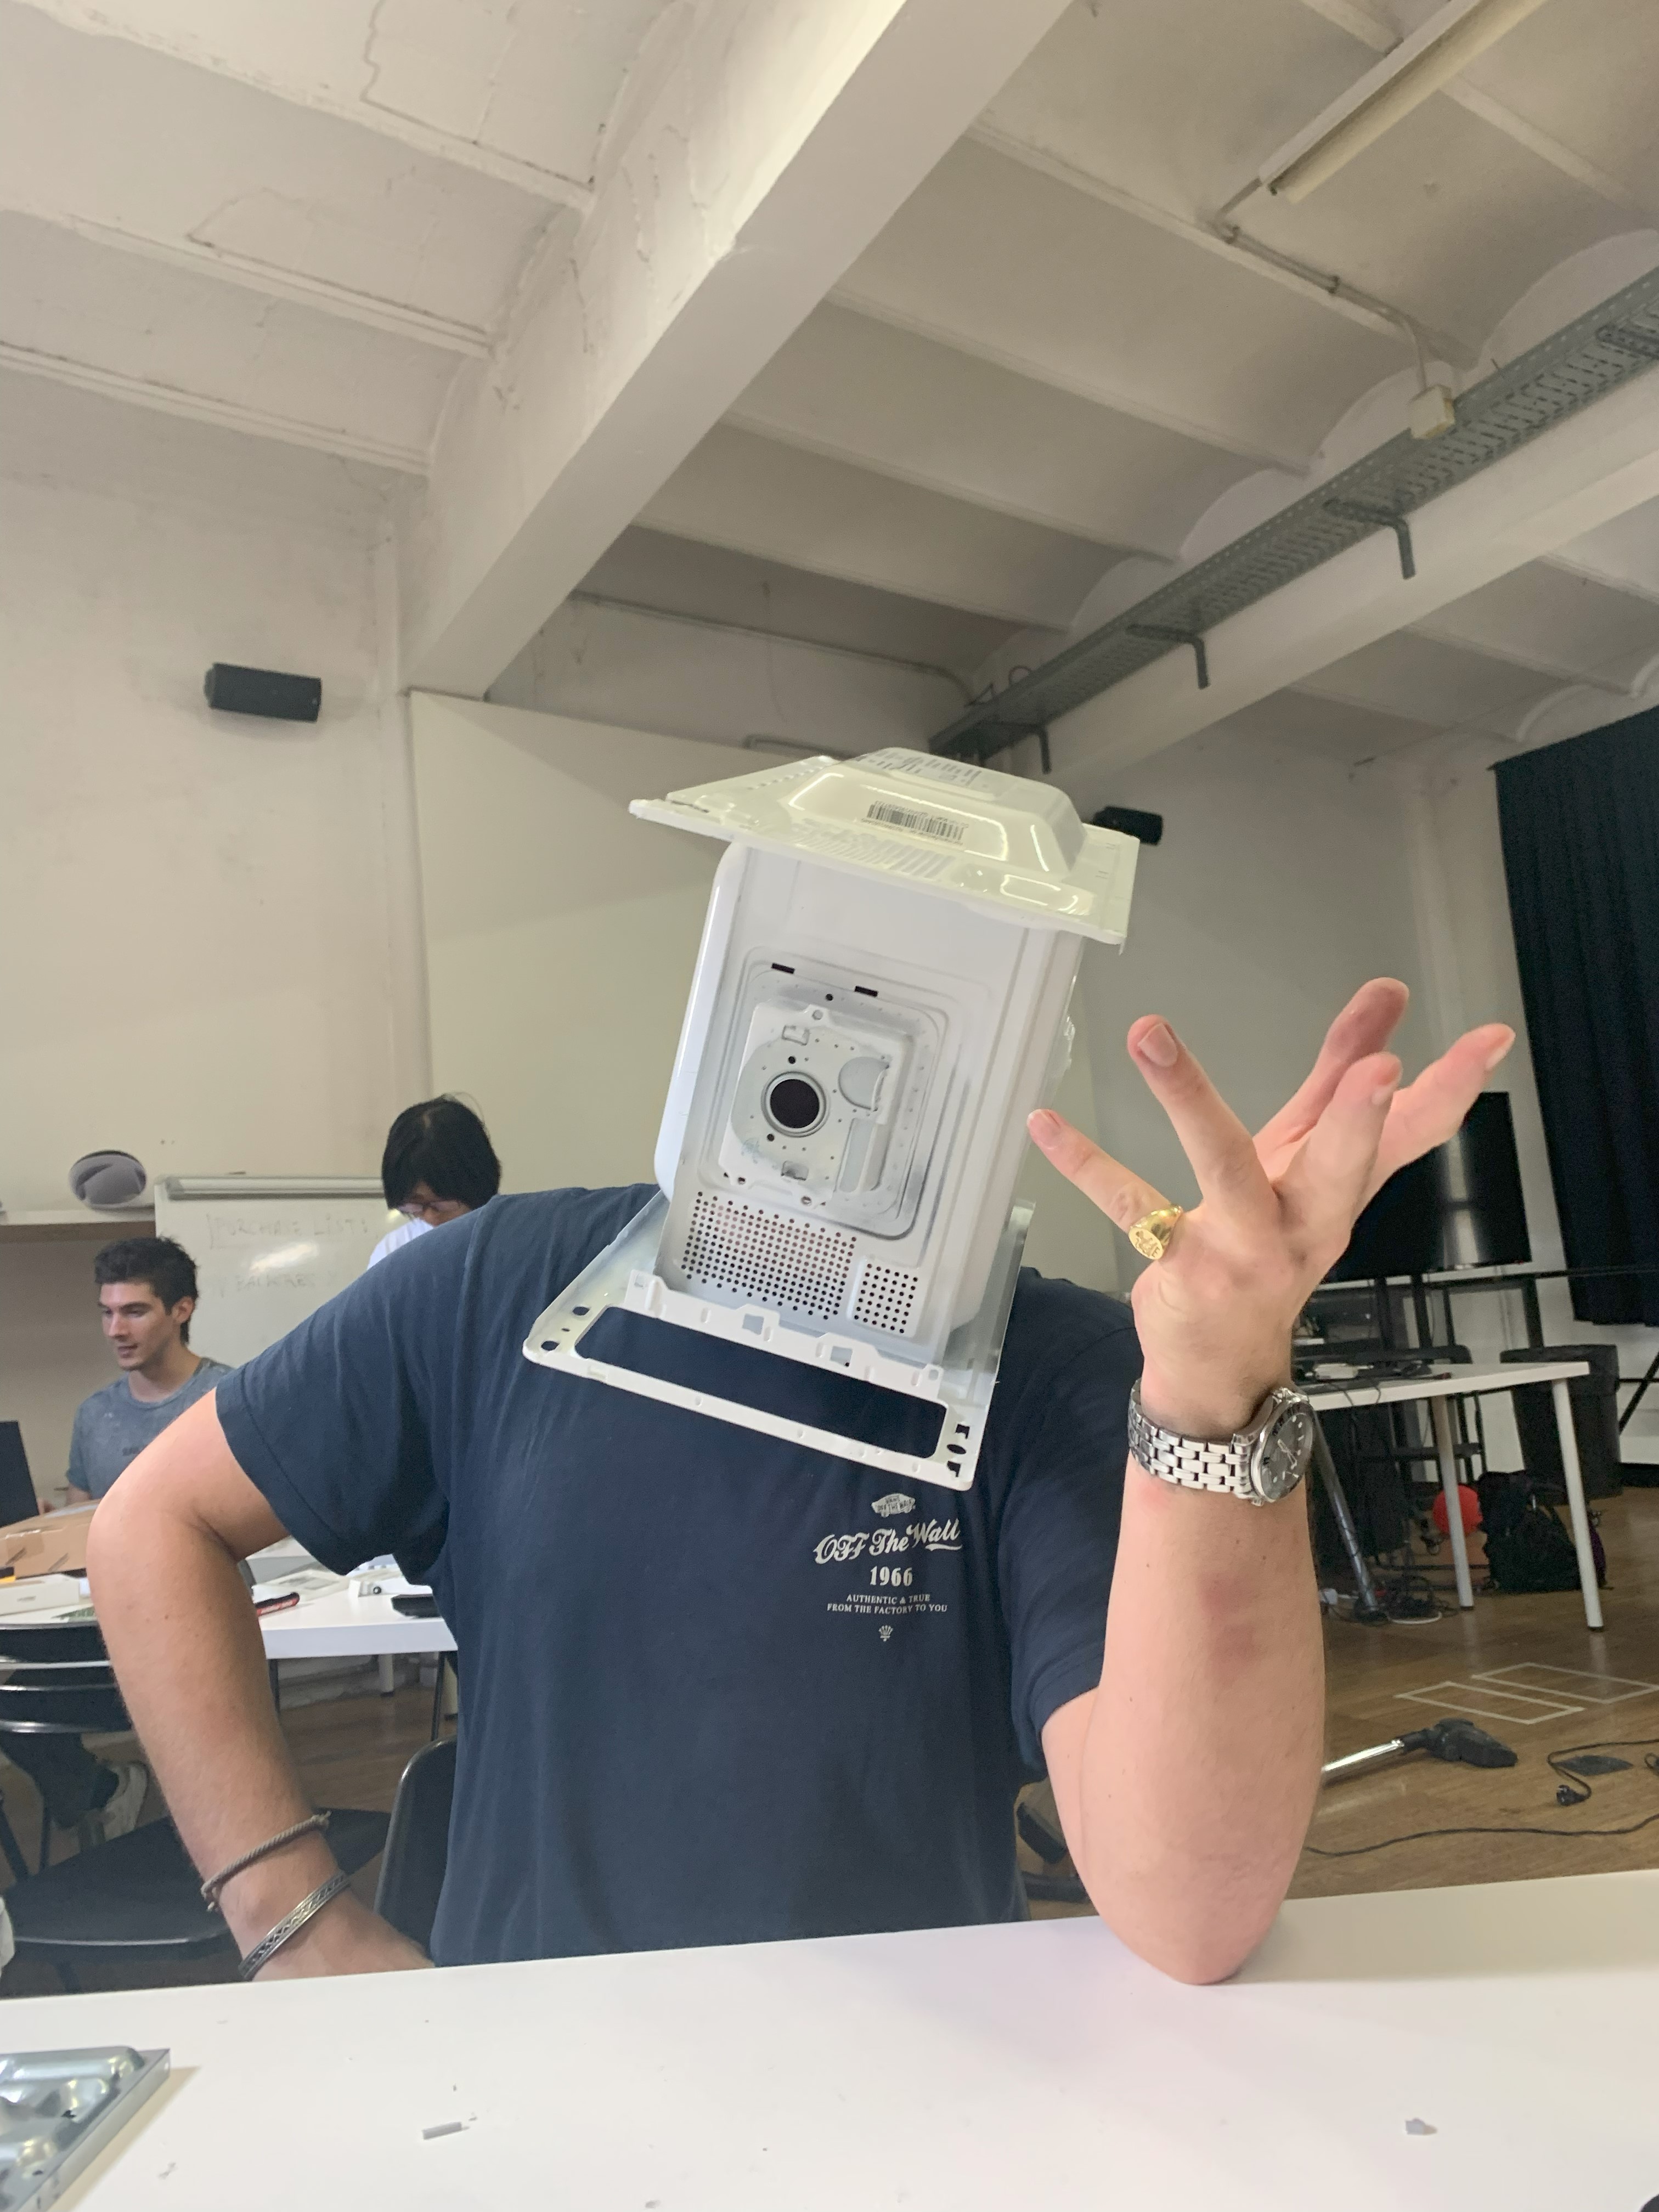
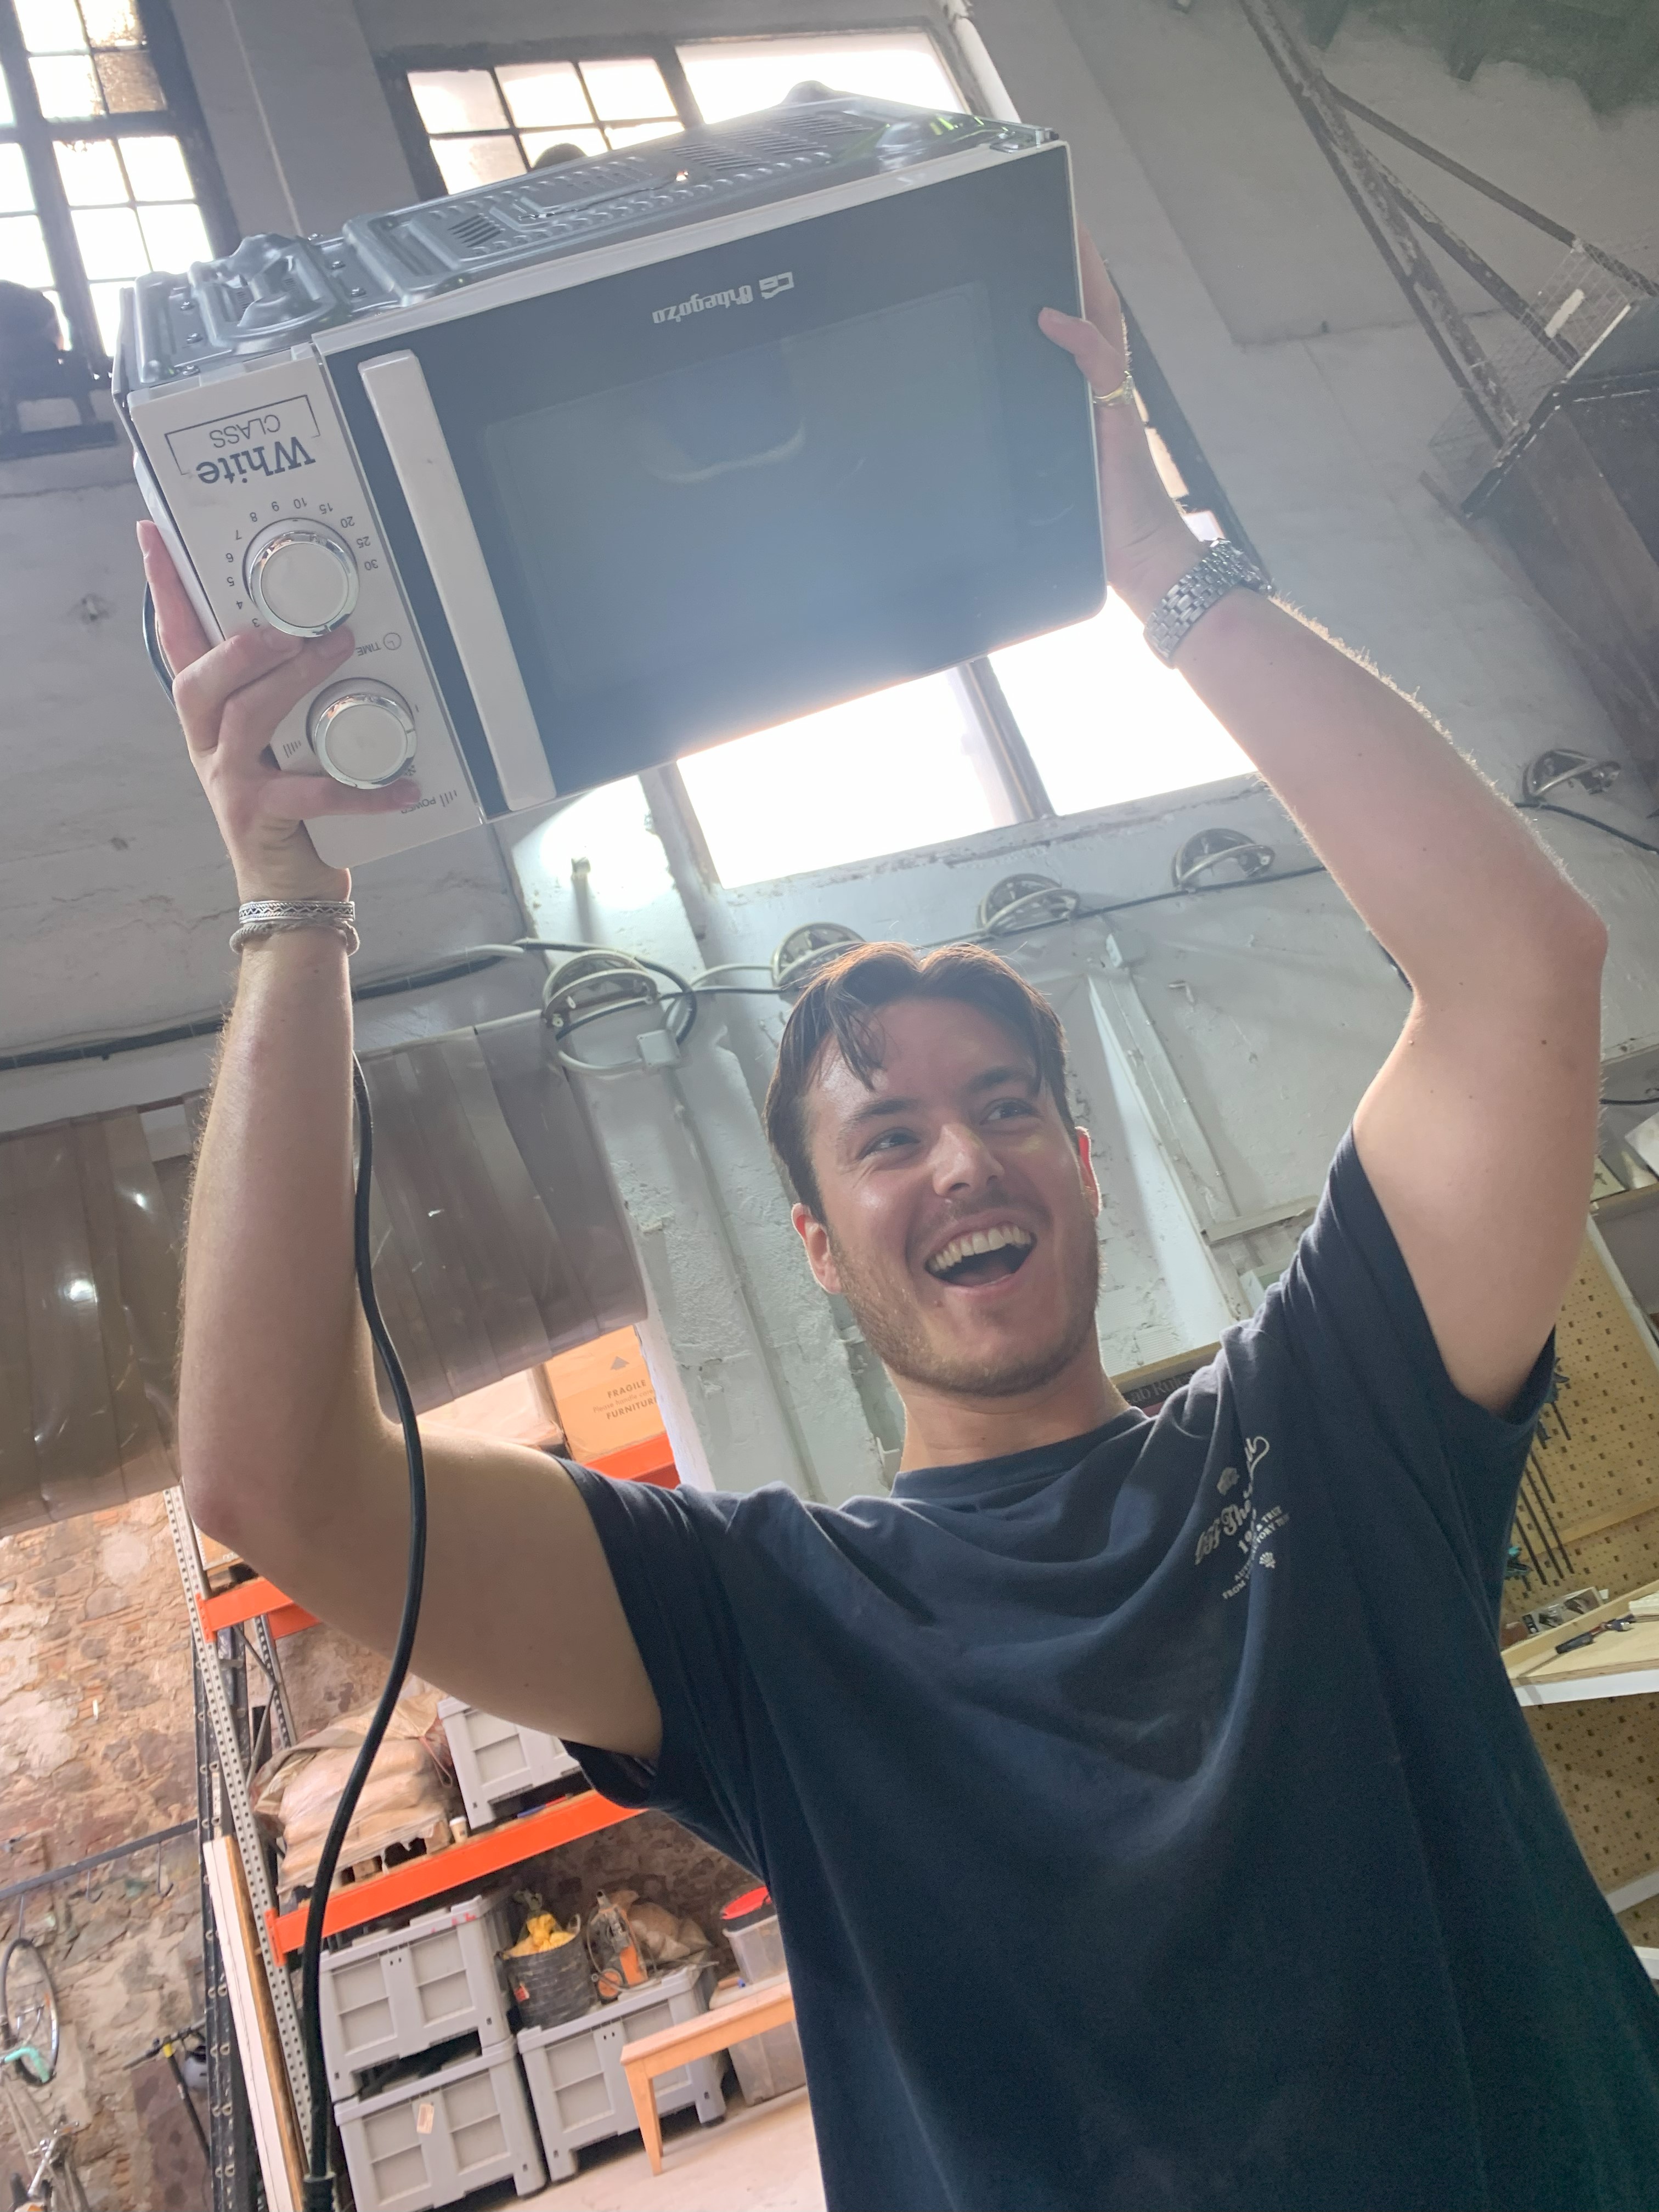
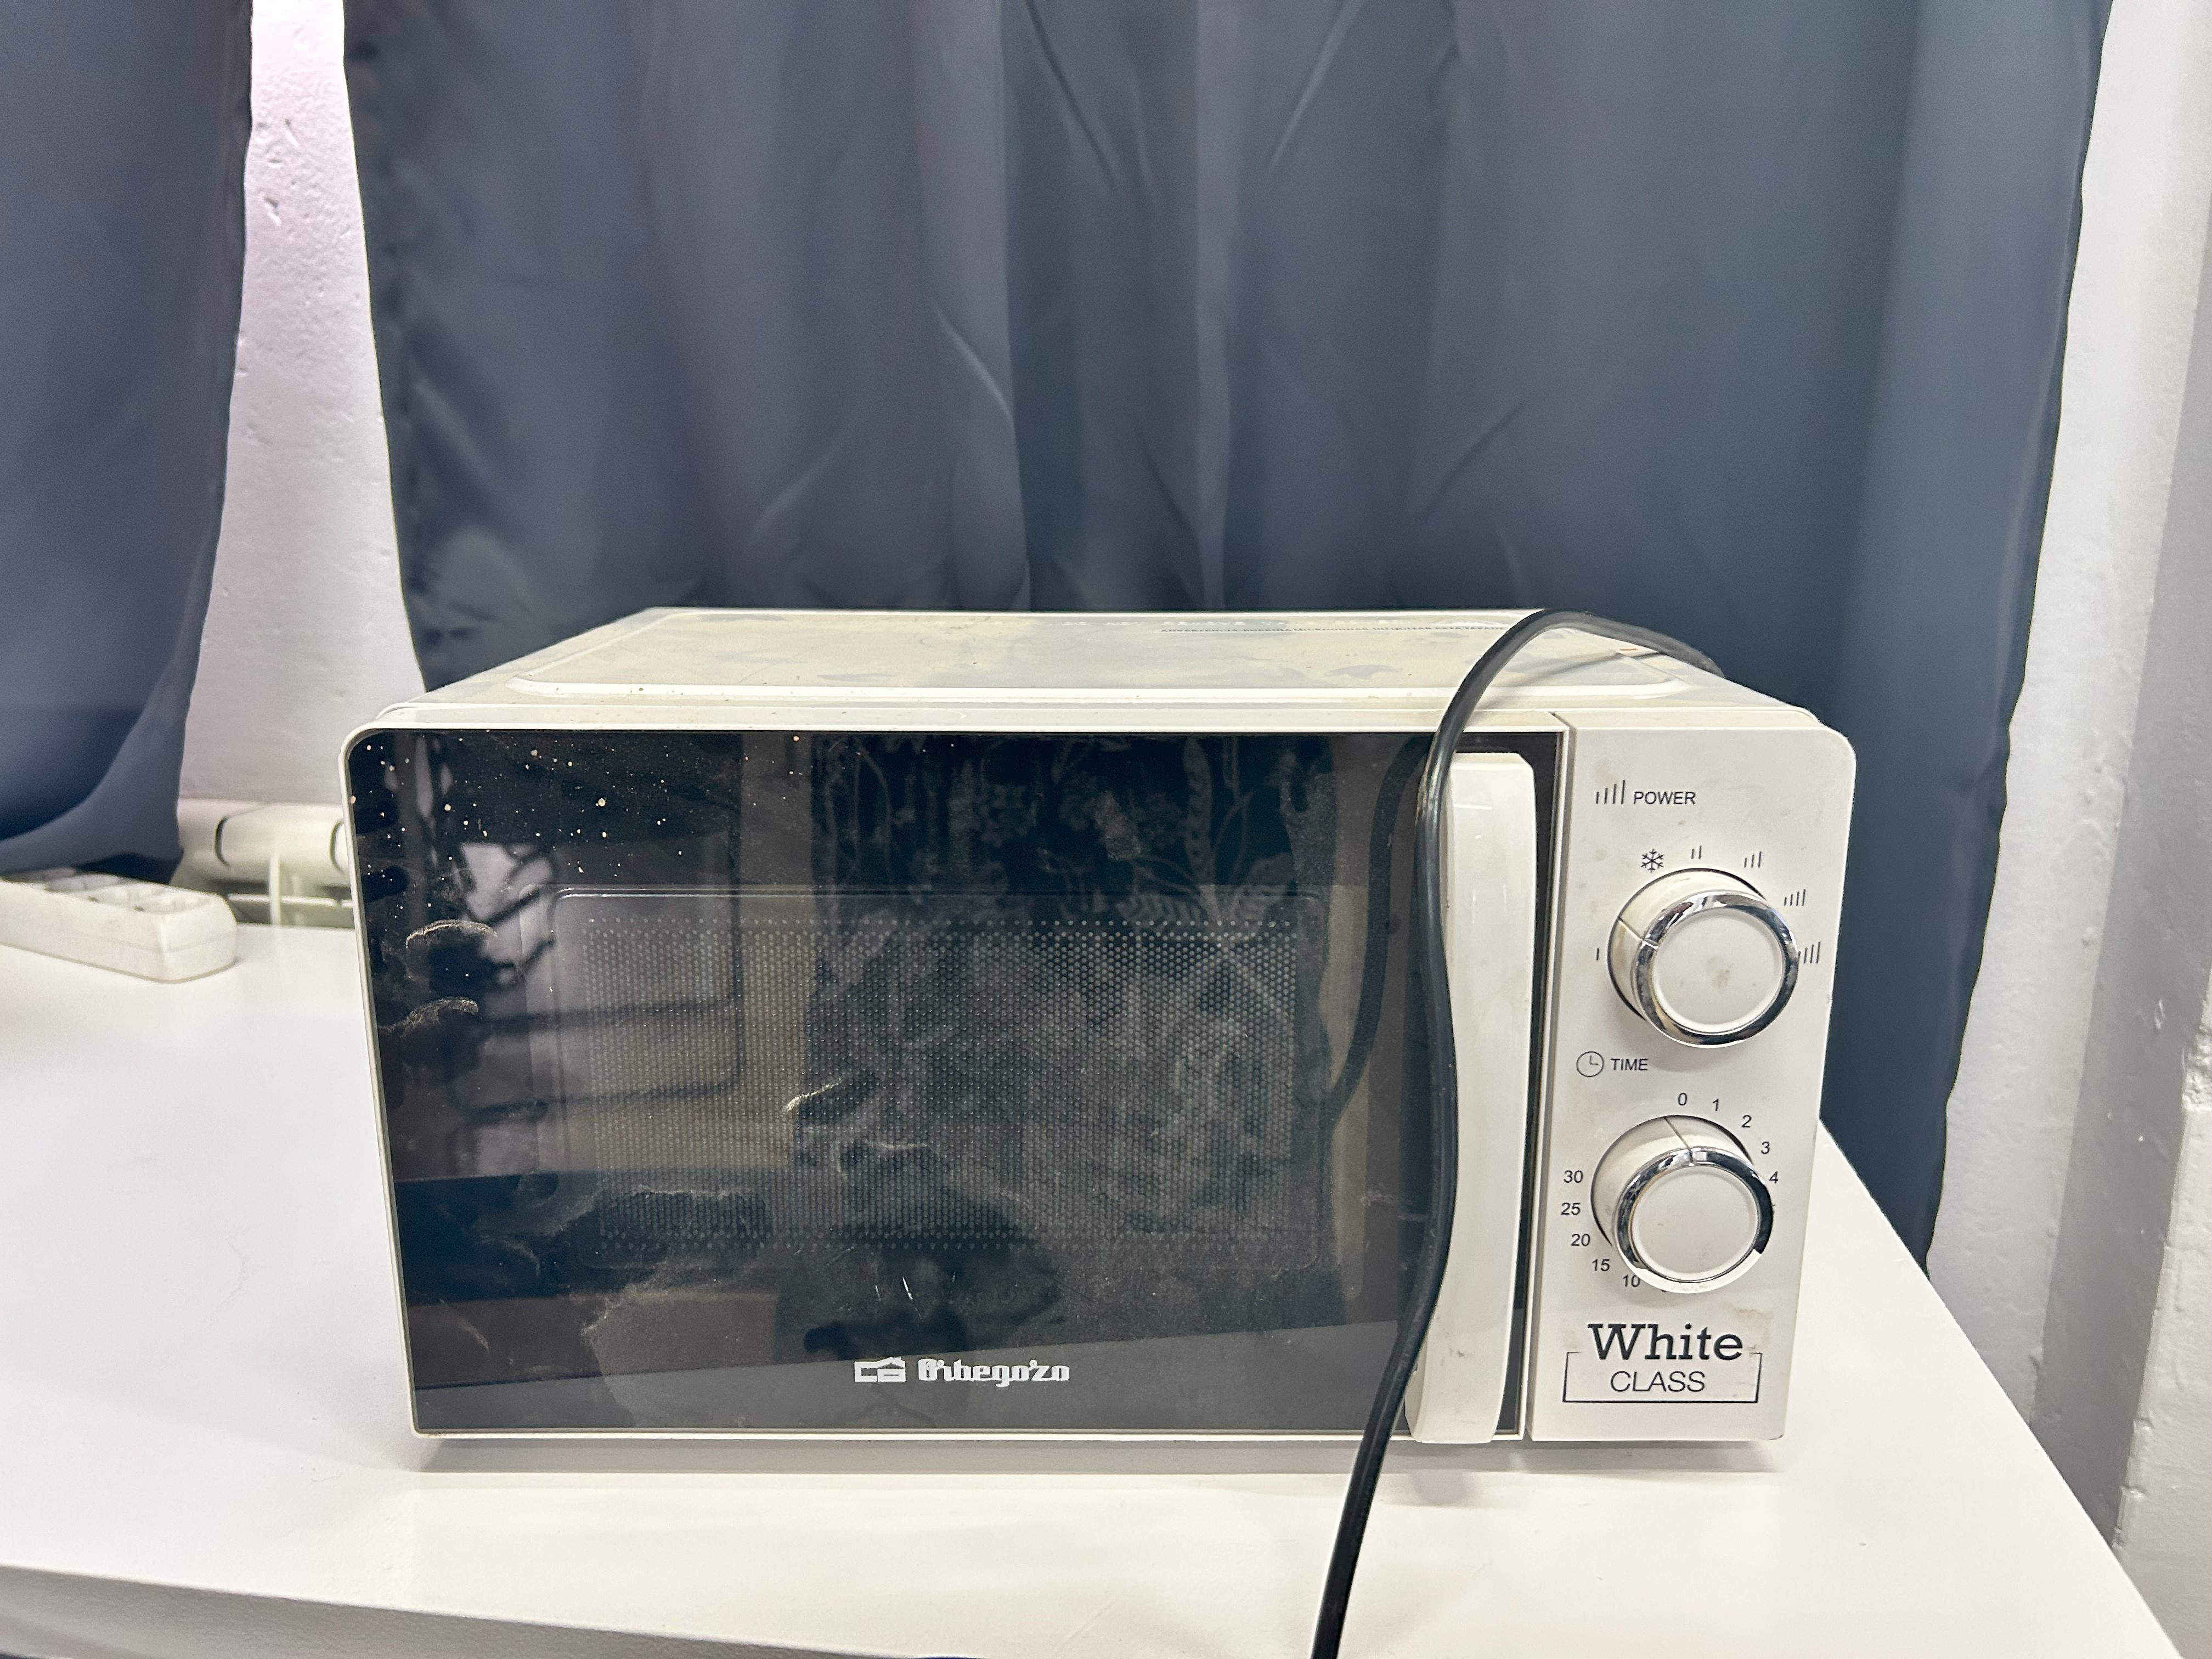
In our different groups we went and picked out a broken machine from the fablab deposit on the main floor of the IAAC building. In our case we chose an old microwave — which was great fun as this is something that most people never think of tearing down as they are such long lasting products, which made it even more interesting to find out why it didn’t work.
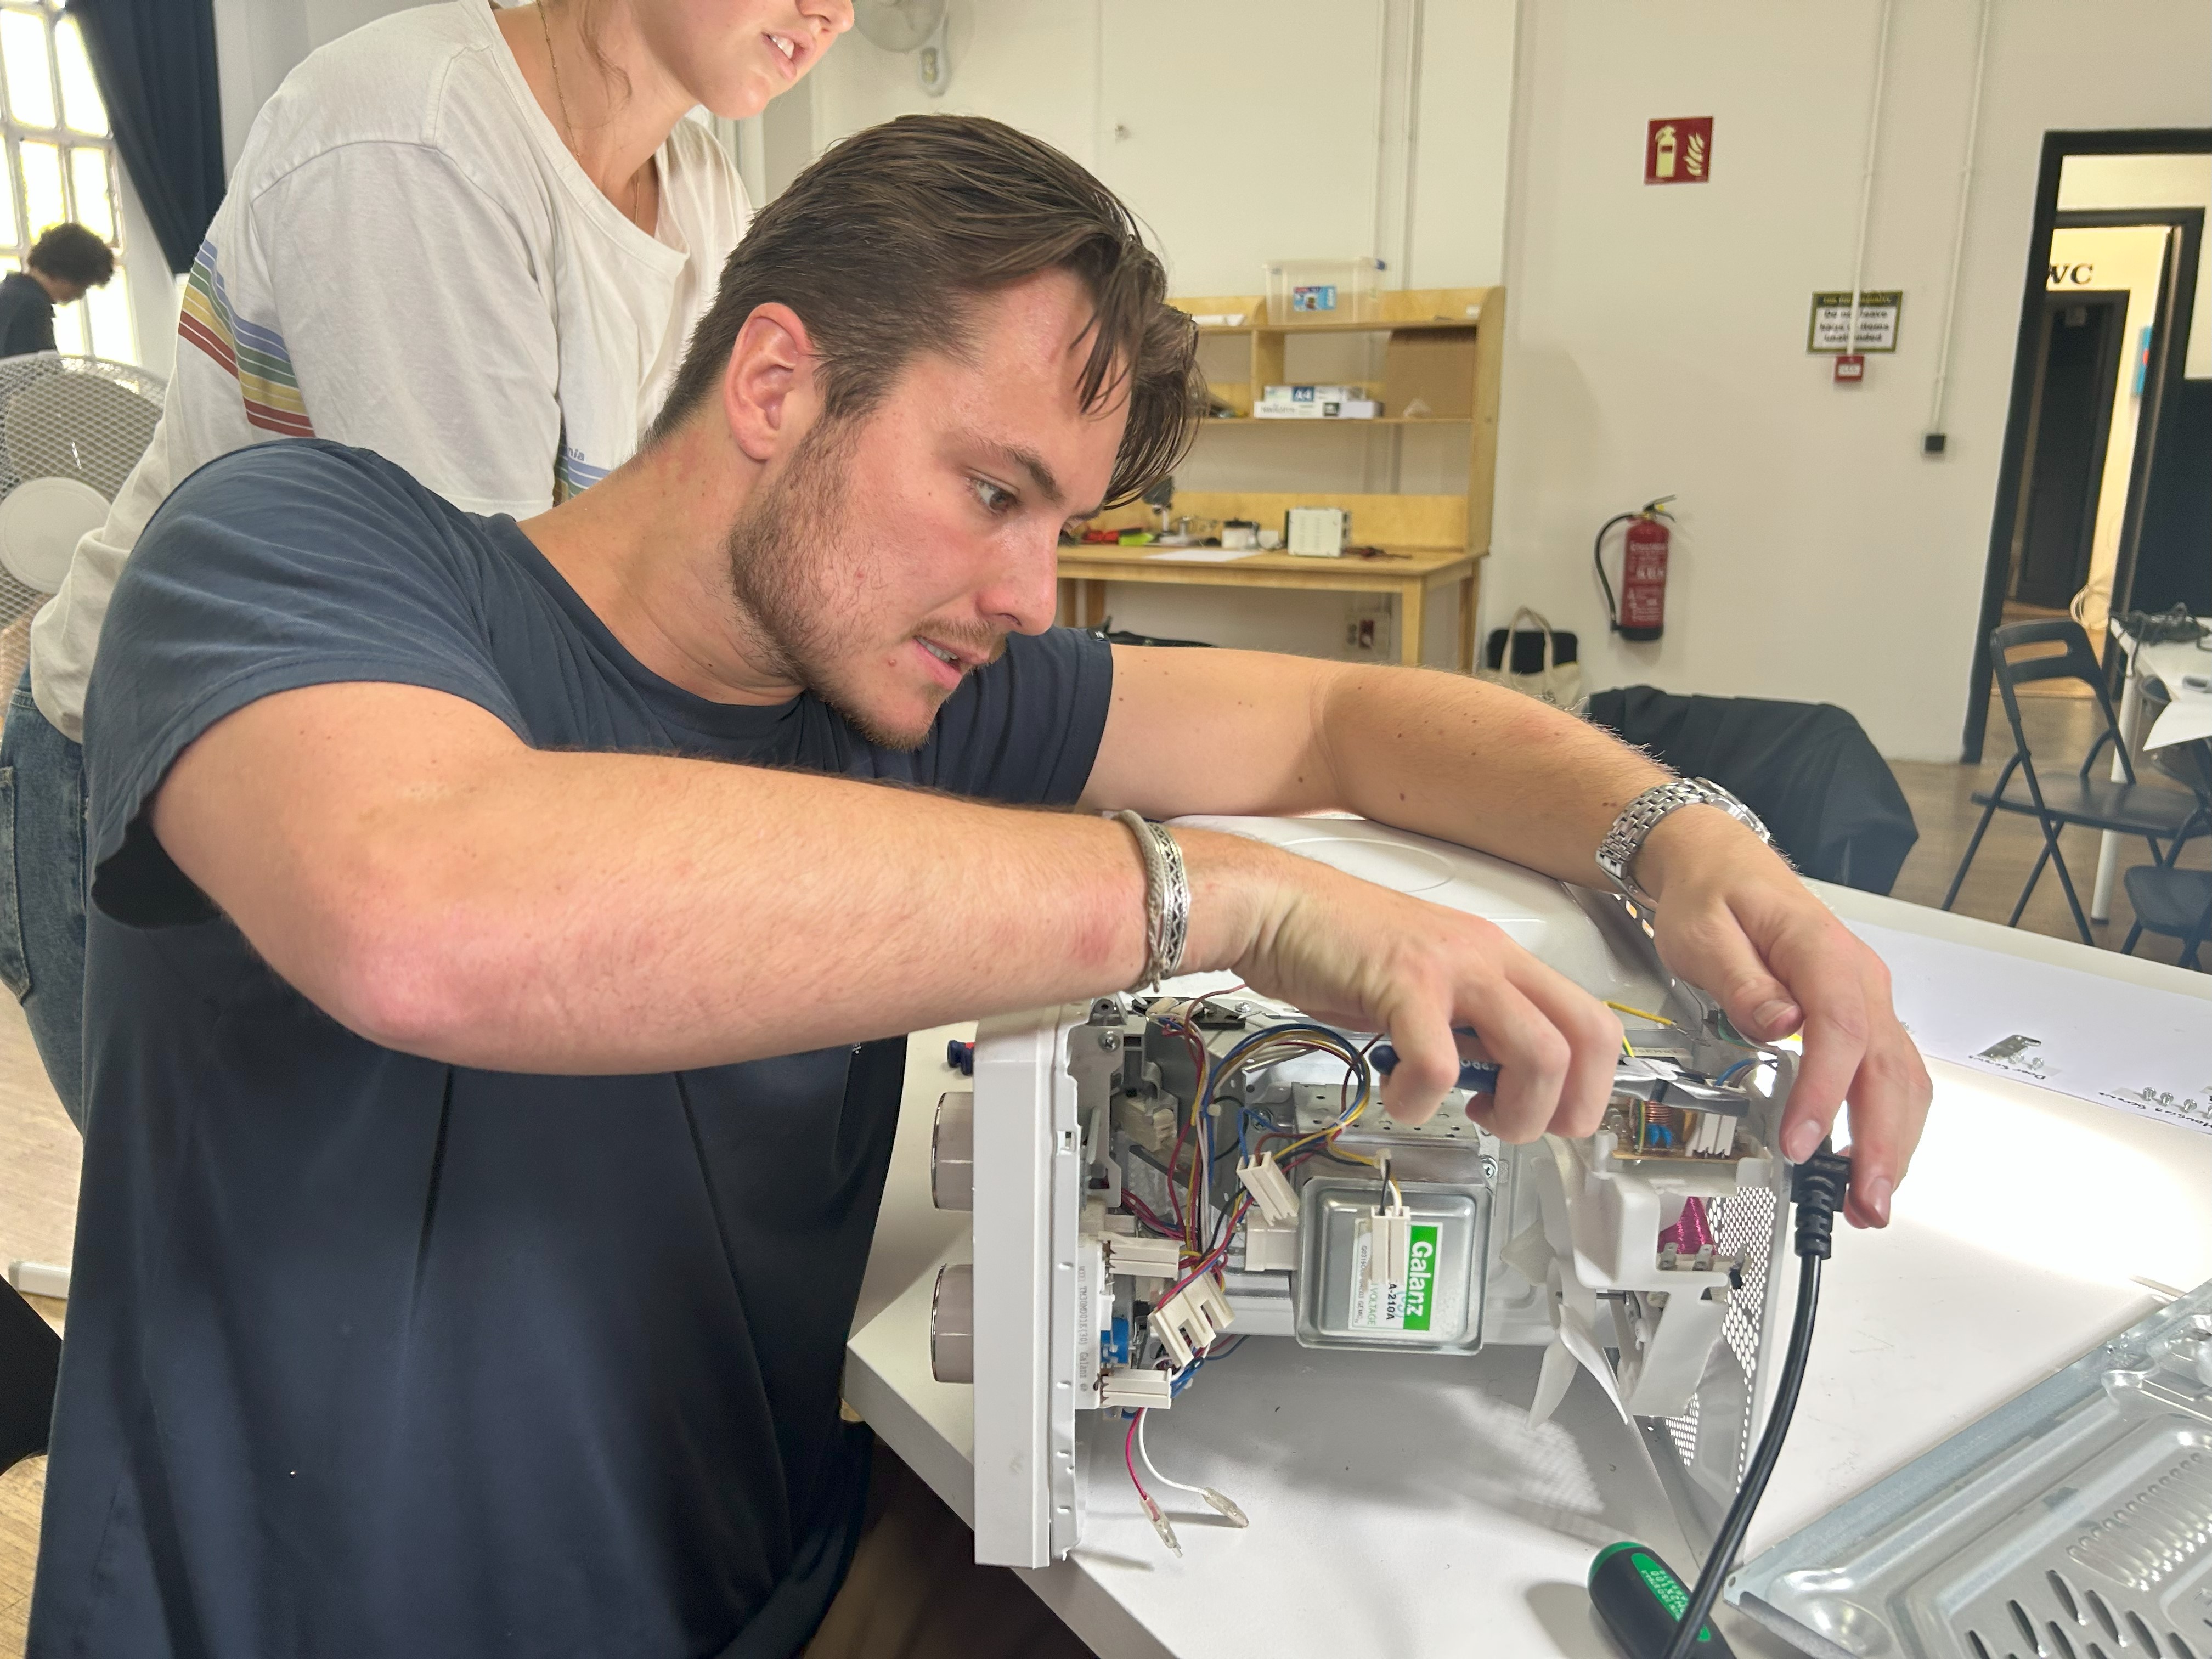
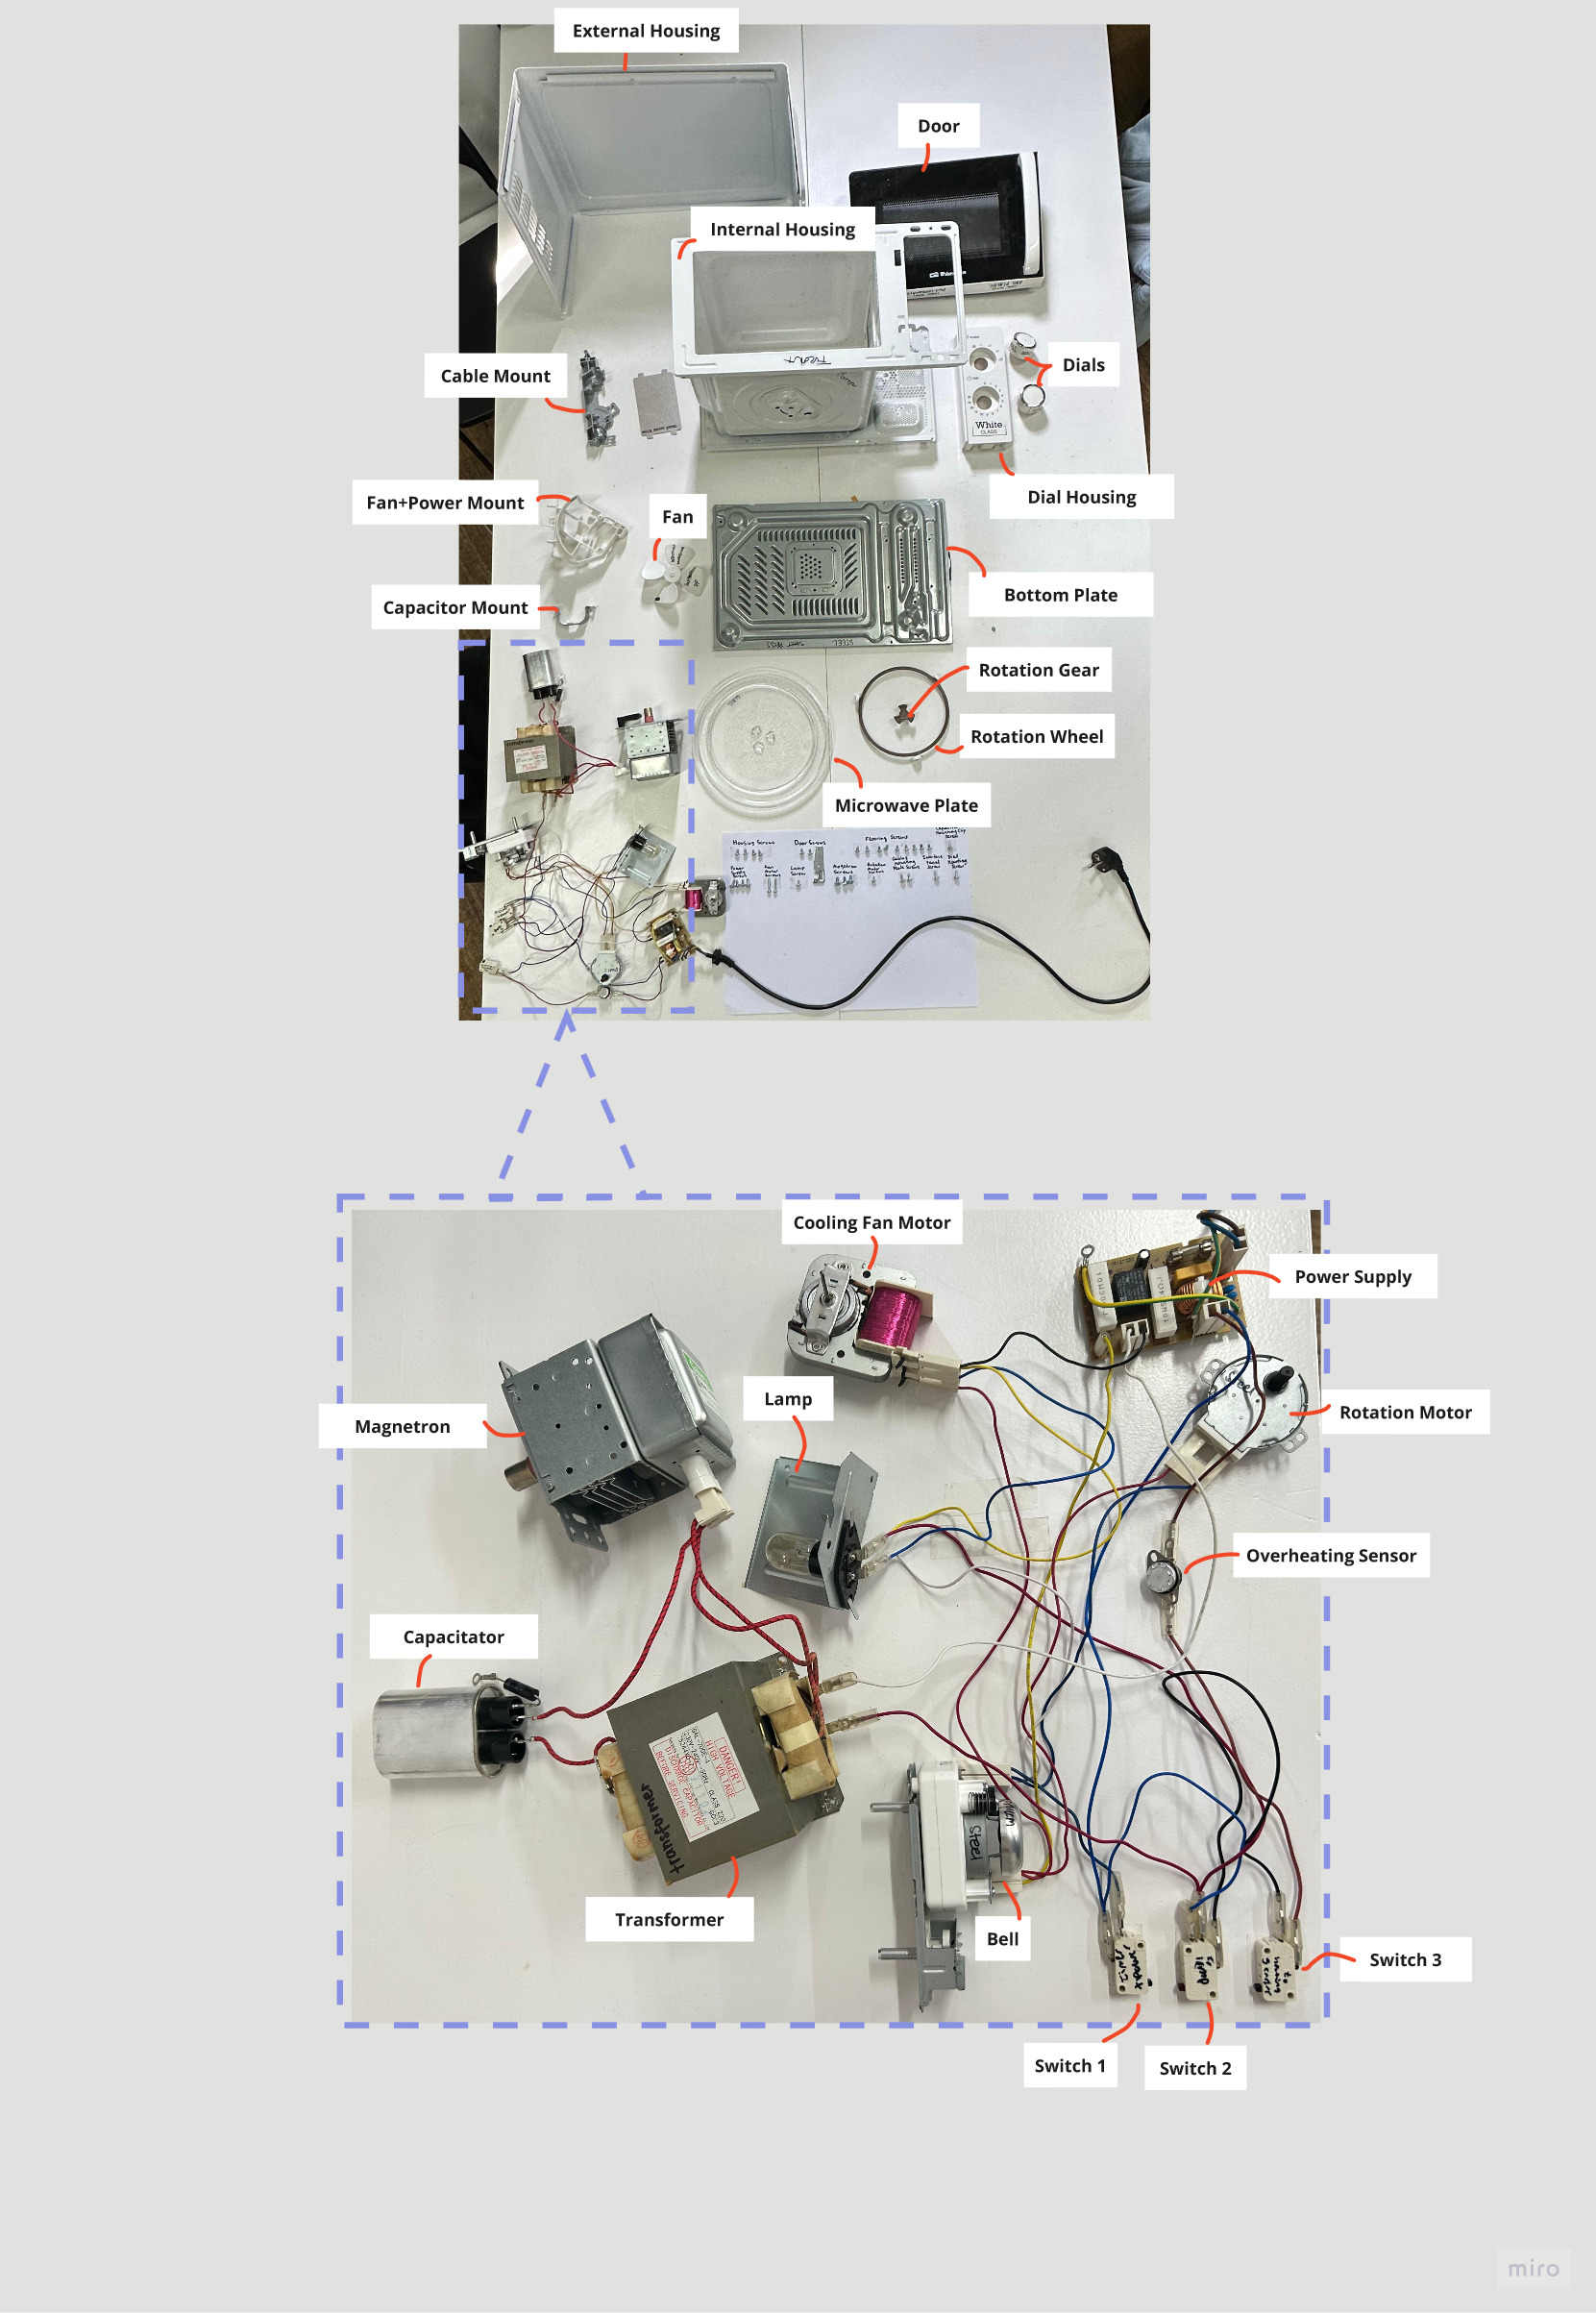
We started to tear down the microwave to get access to it’s insides and began our analysis of the individual parts. Inside we found as expected, a magnetron (the microwave emitter) , a transformer that powered the magnetron and provided it with the high amounts of power it needed, various switches that activated the different functions of the microwave, two motors and a lightbulb. What surprised us (which in hindsight probably shouldn’t have as it’s quite old) was just how simple the insides of the microwave actually was. with most of the connectors being removable clips it showed us that this analogue machine (by which I mean it didn’t have a digital computer acting as a brain behind it) was designed to have multiple components easily replaced as nothing was soldered directly to the board (except components making up the power supply). While it wasn’t exactly easy to access some of the components (like the switches) it was nice to see that this product was indeed designed to be replaced if needed. The only thing that wasn’t fully easily replaceable was the power cable, and only it was because it was directly soldered to the board.
We started to combine our findings from the teardown into a “forensic report” where we began to detail exactly what we found out about our product, how the different pieces were manufactured, where they were made, how they fit together and just exactly what was wrong with it.
So far this has been a really great exercise in reframing the way we understand the products we interface with and how we can repurpose and change the technologies around us to truly attempt to give them a second life.
Day 2 (18/10/2023) - Fault testing forensics
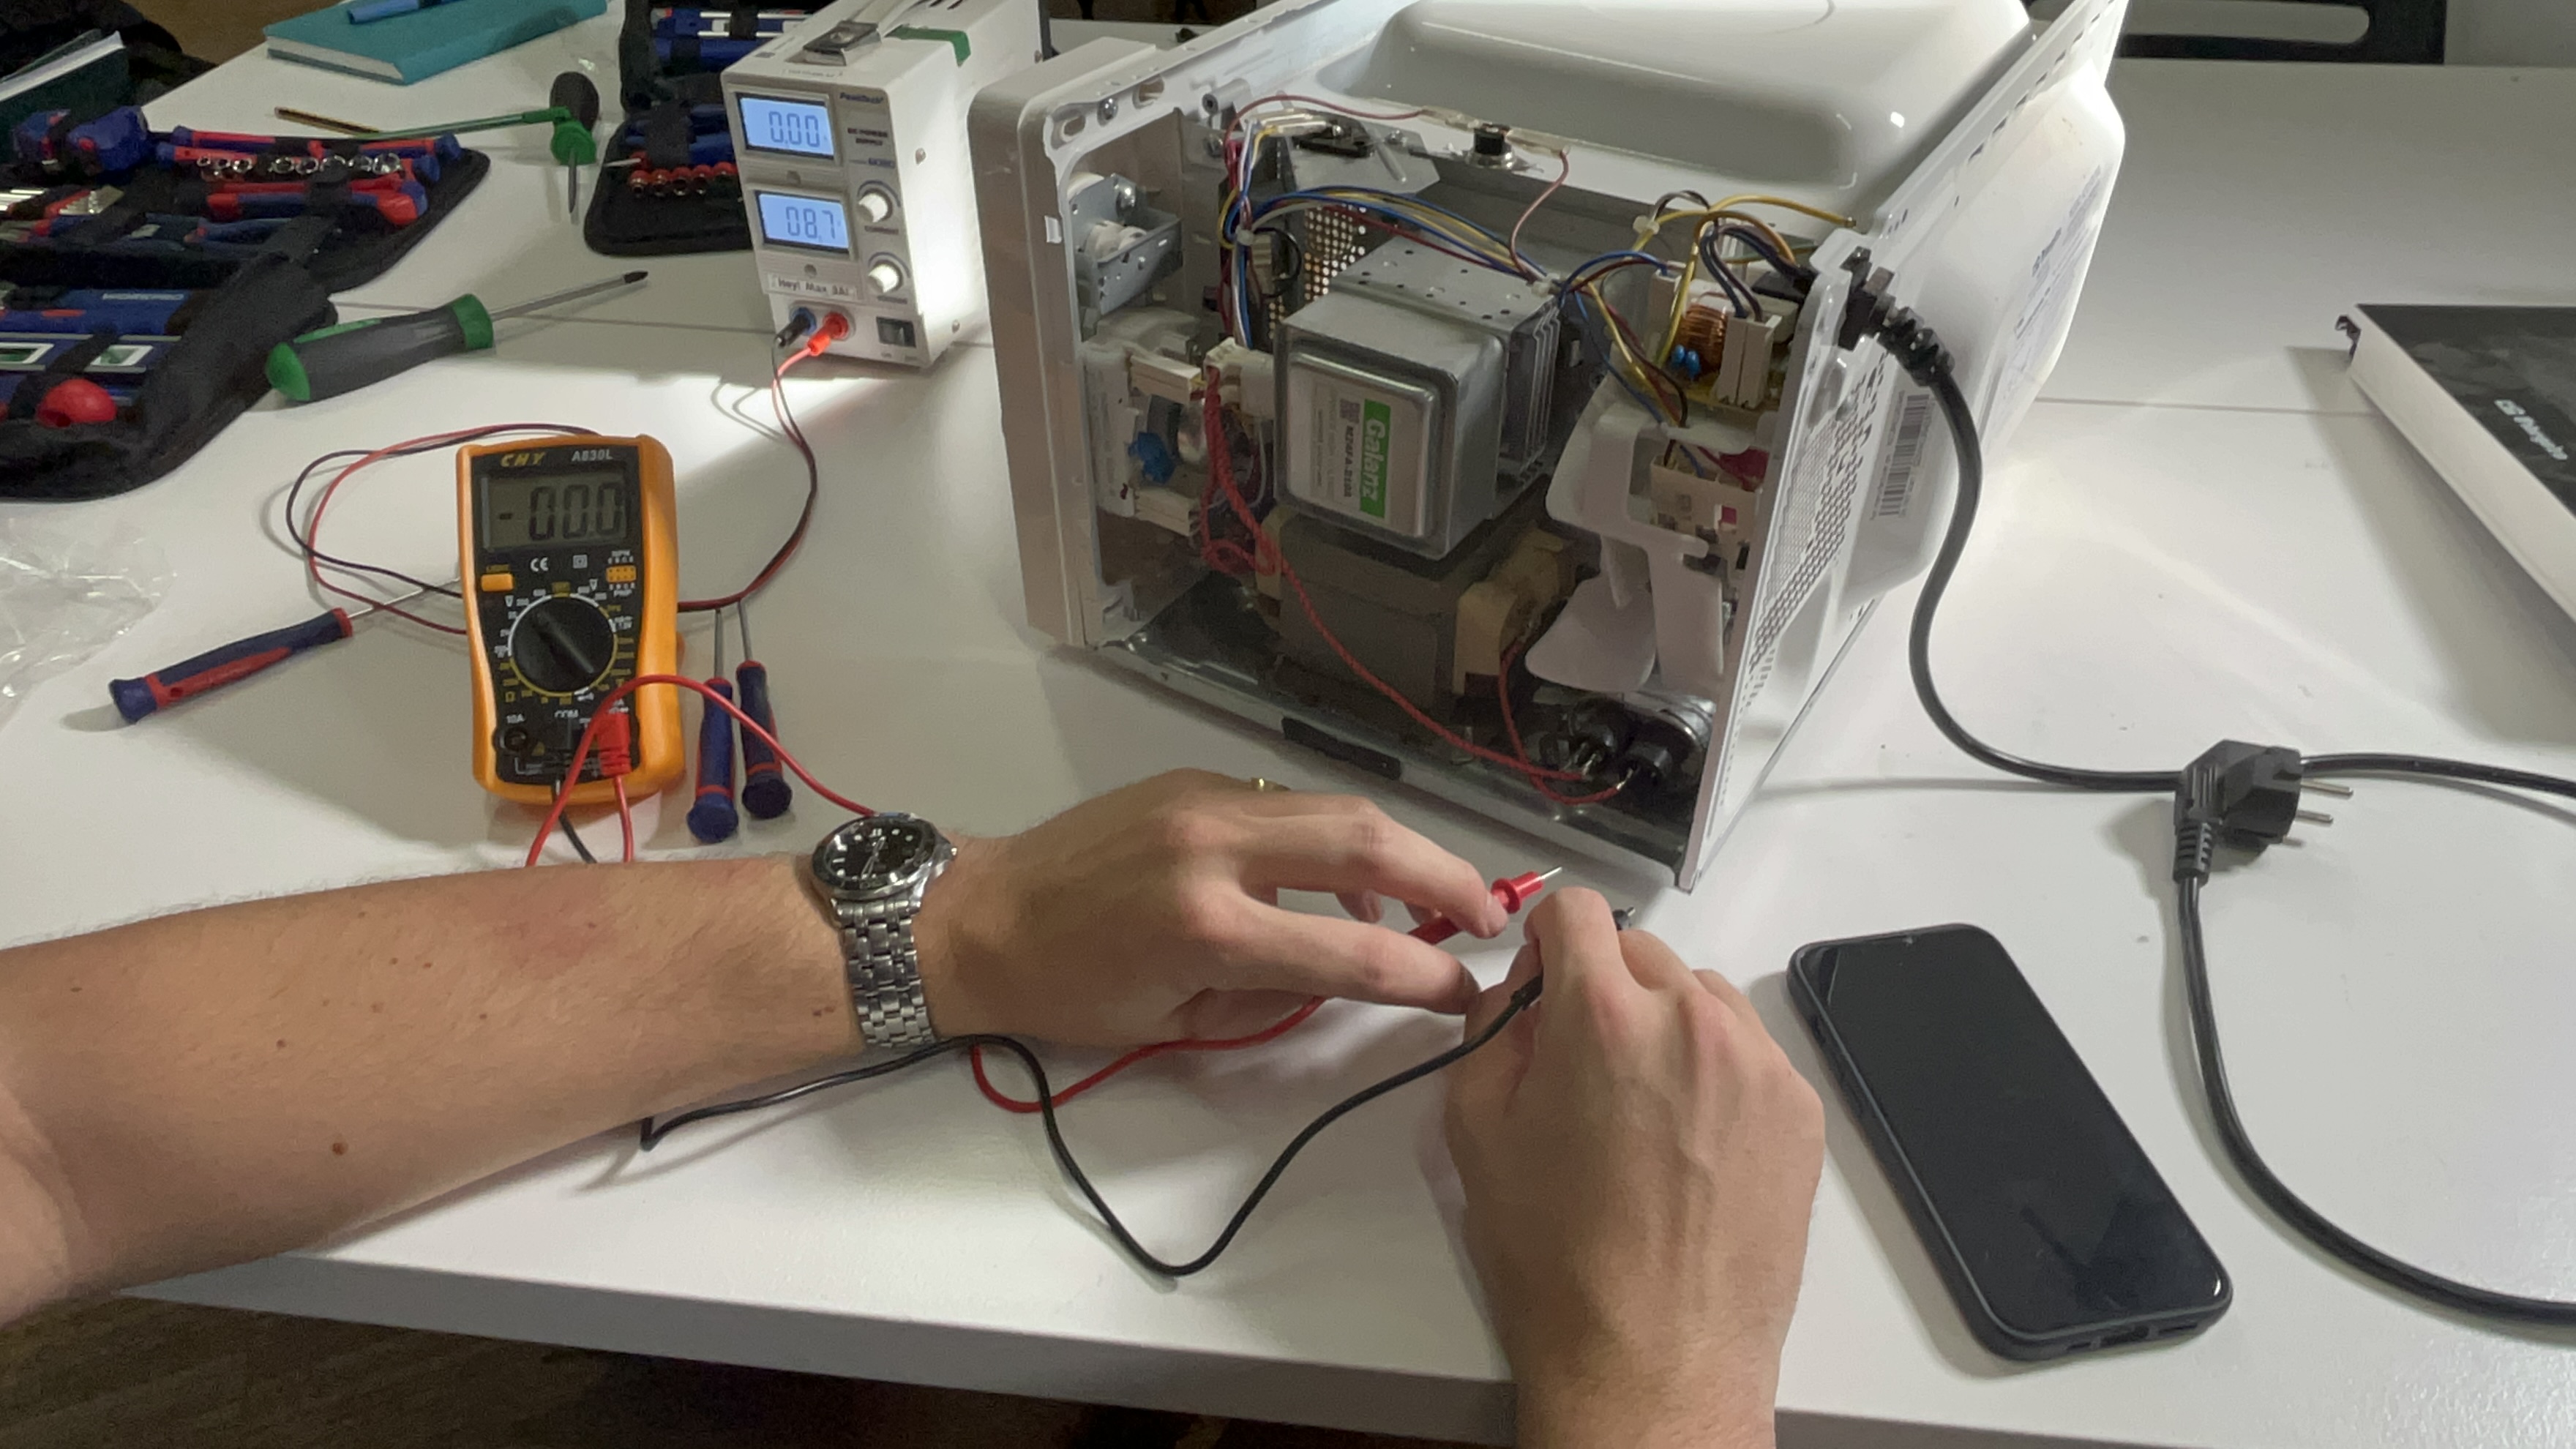
Today we began testing each of the microwave components to see what was working and what wasn’t. Most of the microwave components rely on AC power instead of usual DC, with only a few small components requiring DC which made testing components easy and slightly dangerous at the same time as we tested the different AC components using a power cable connected to the mains, which would be soldered or attached with various crocodile clips to the components we were testing.
Through our testing we discovered that the fault lay with the microwave emitter or the transformer, as every other component would function as intended or turn on when power was supplied — our shouts of joy as the microwave light turned on for the first time as we powered it on were enough to show how much we were enjoying ourselves.
I was surprised to learn that the entire system of the microwave had been wired in series, which meant that if one component failed (even something as small as the light bulb) the entire system would shut down and stop working. I now know that this was probable done for safety, as you wouldn’t want a microwave magnetron to continue to perform it’s function if the door sensor was broken and couldn’t tell if it was open or closed, but still, this machine was clearly not designed for for easy repairability despite the abundance of spare parts available.
We continued to finish off the forensics report to document everything we’d discovered so far as well as including our discoveries of what worked and what didn’t as well starting to include the videos and photos of our process, and a map we’d created tracing where each component was manufactured and shipped out across the world.
As a final part of the day, we ended up jumping ahead and began to control our components individually, turning them on to create their function.
Day 3 - Hacking and controlling (19/10/2023)
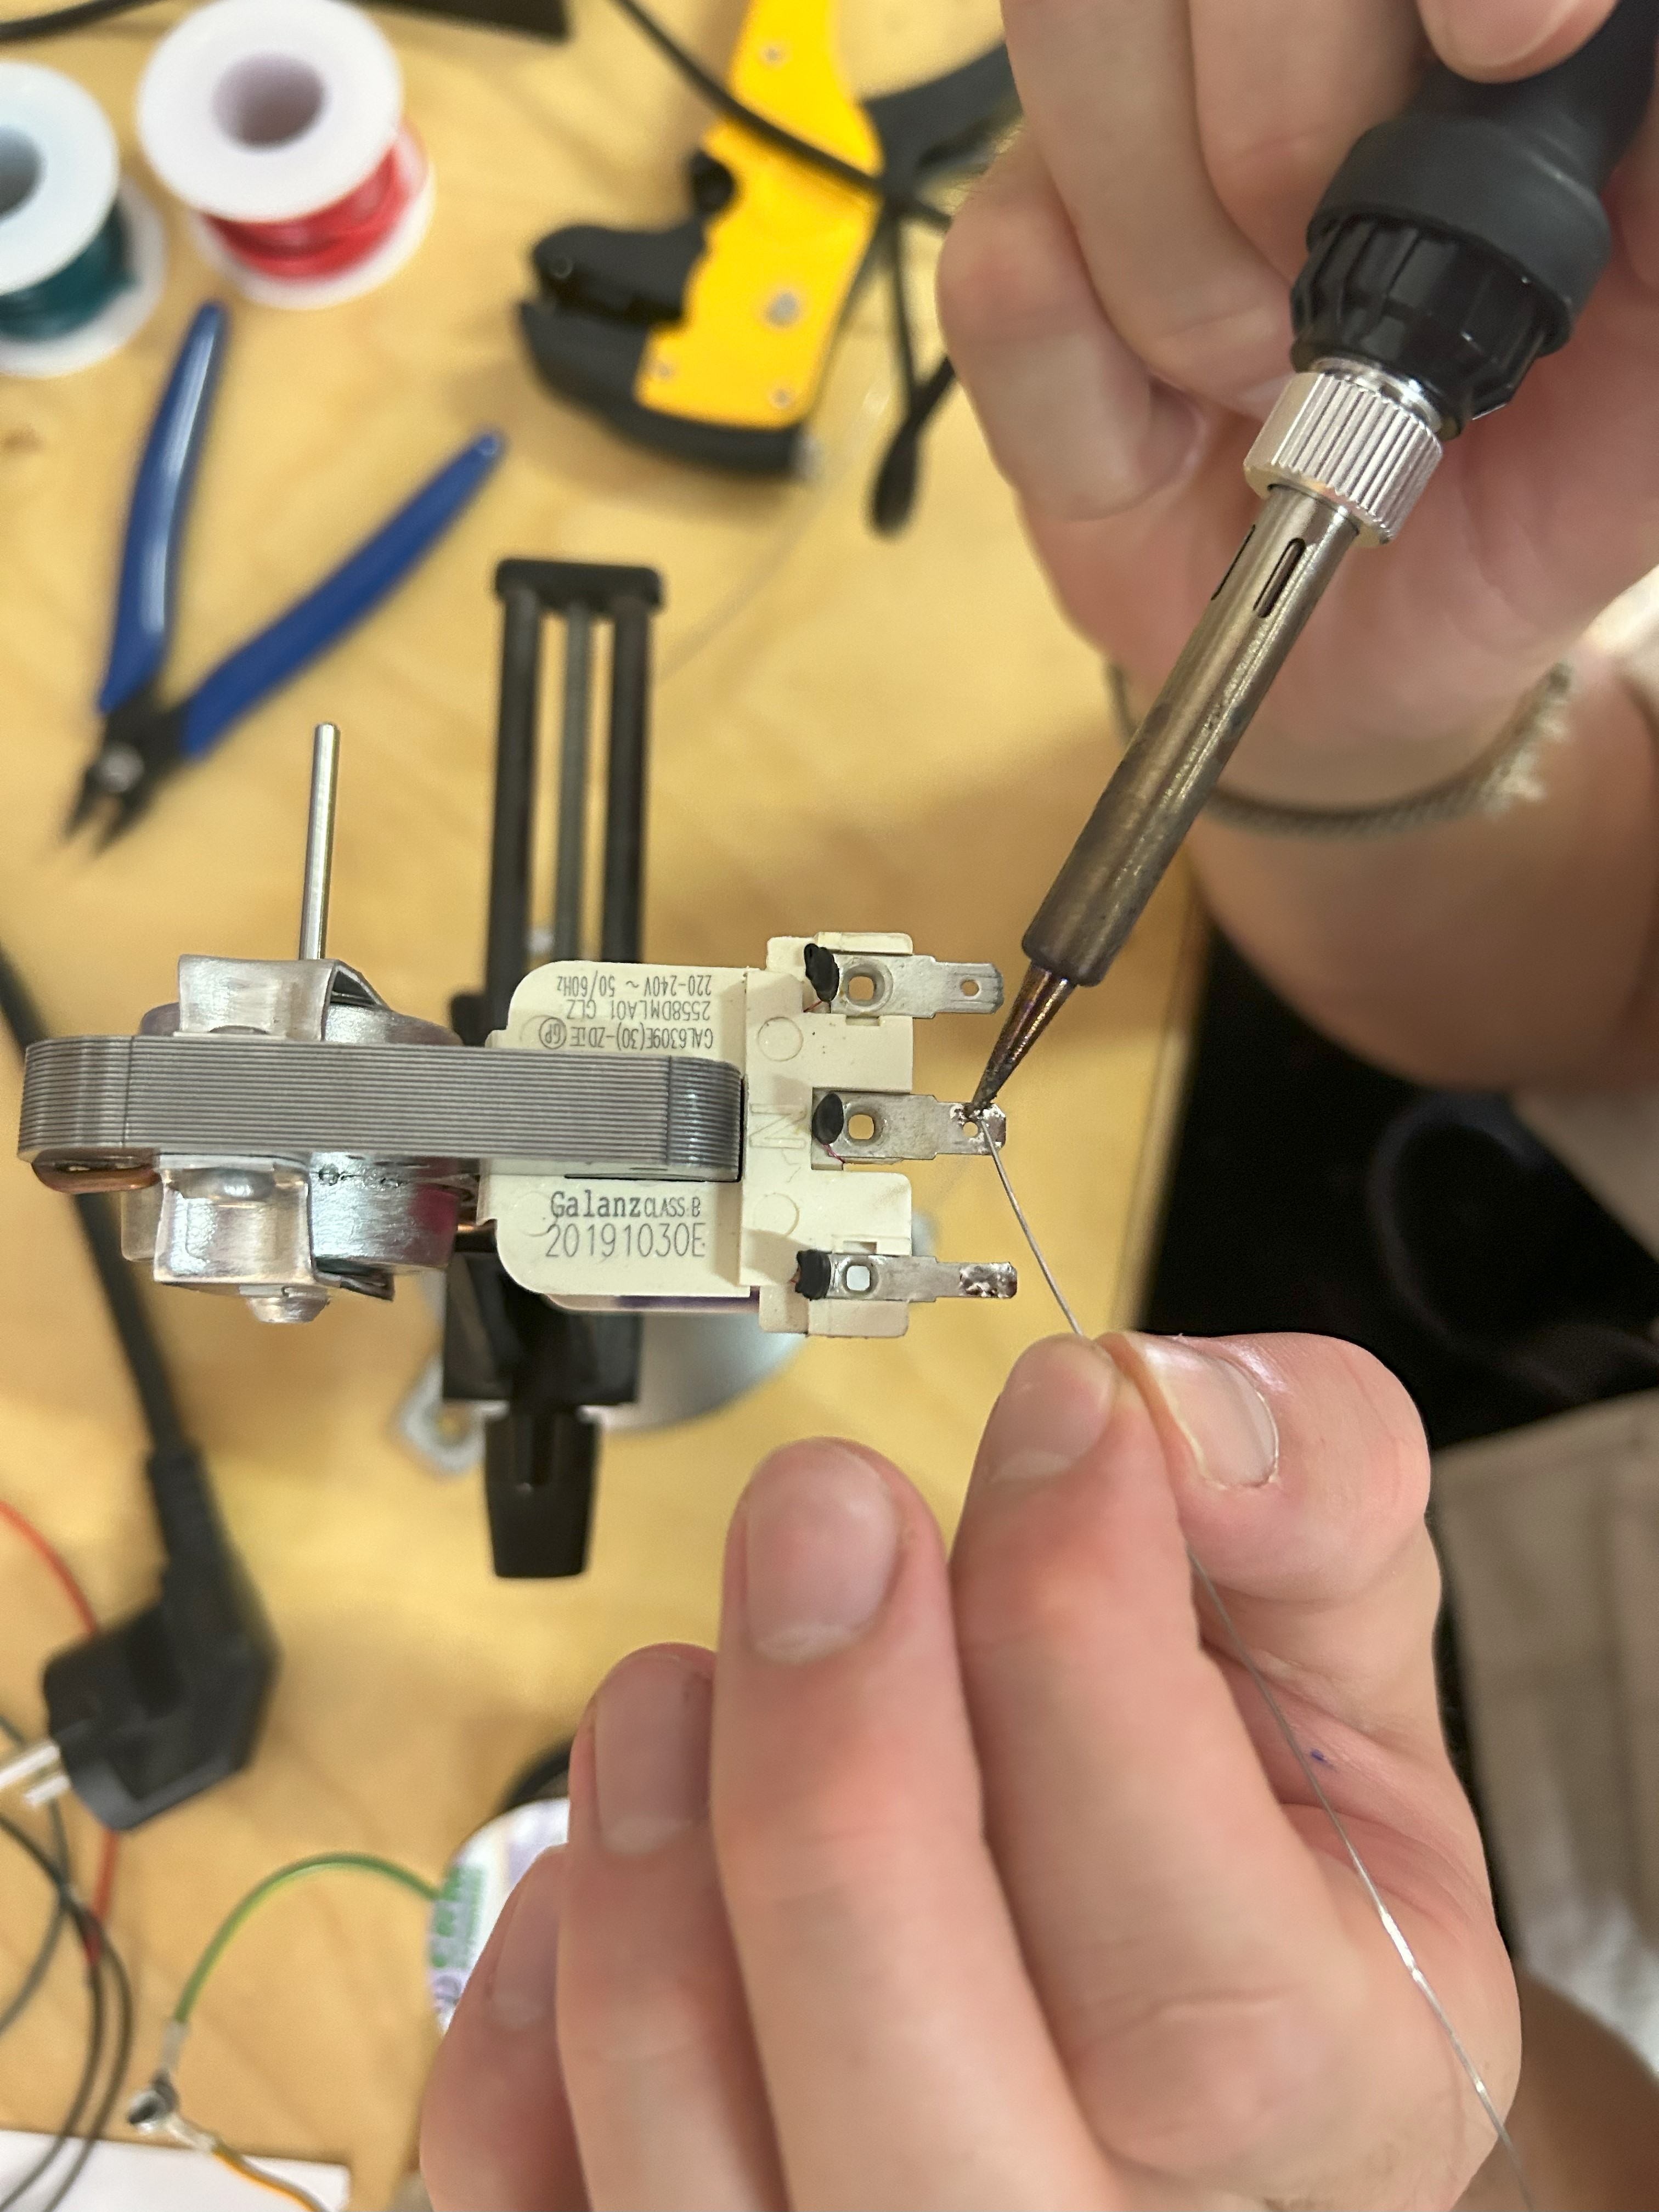
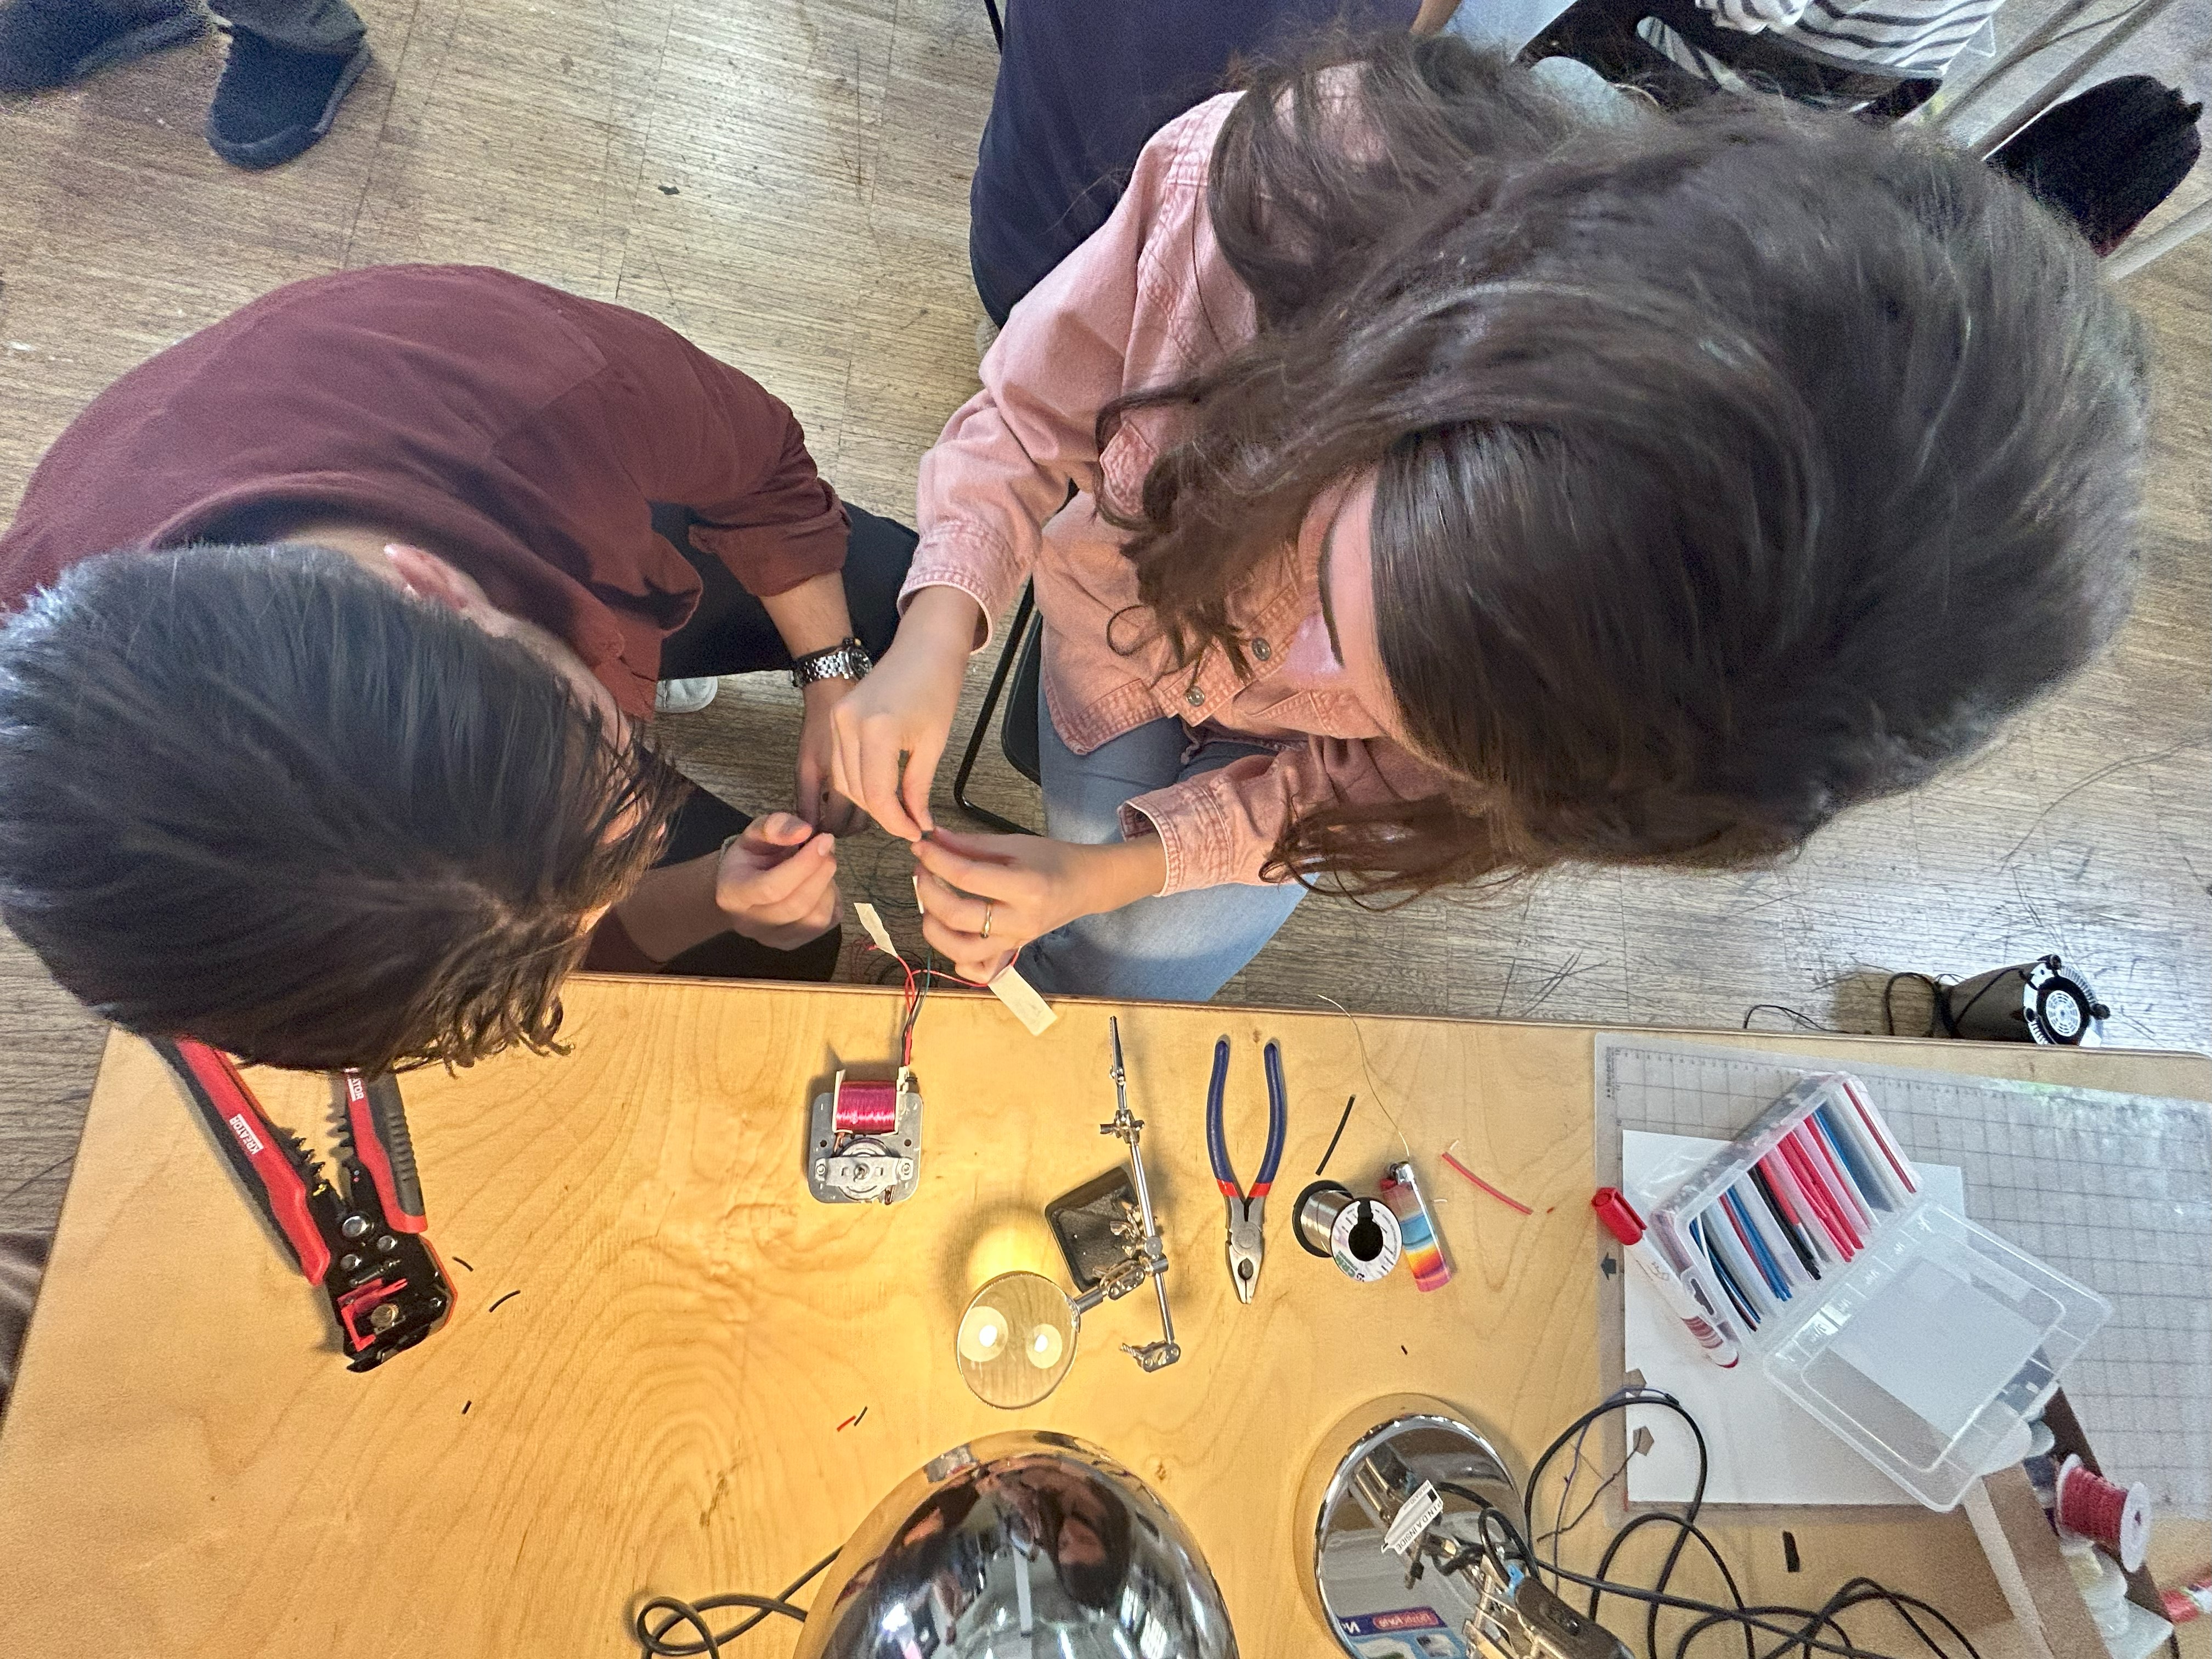
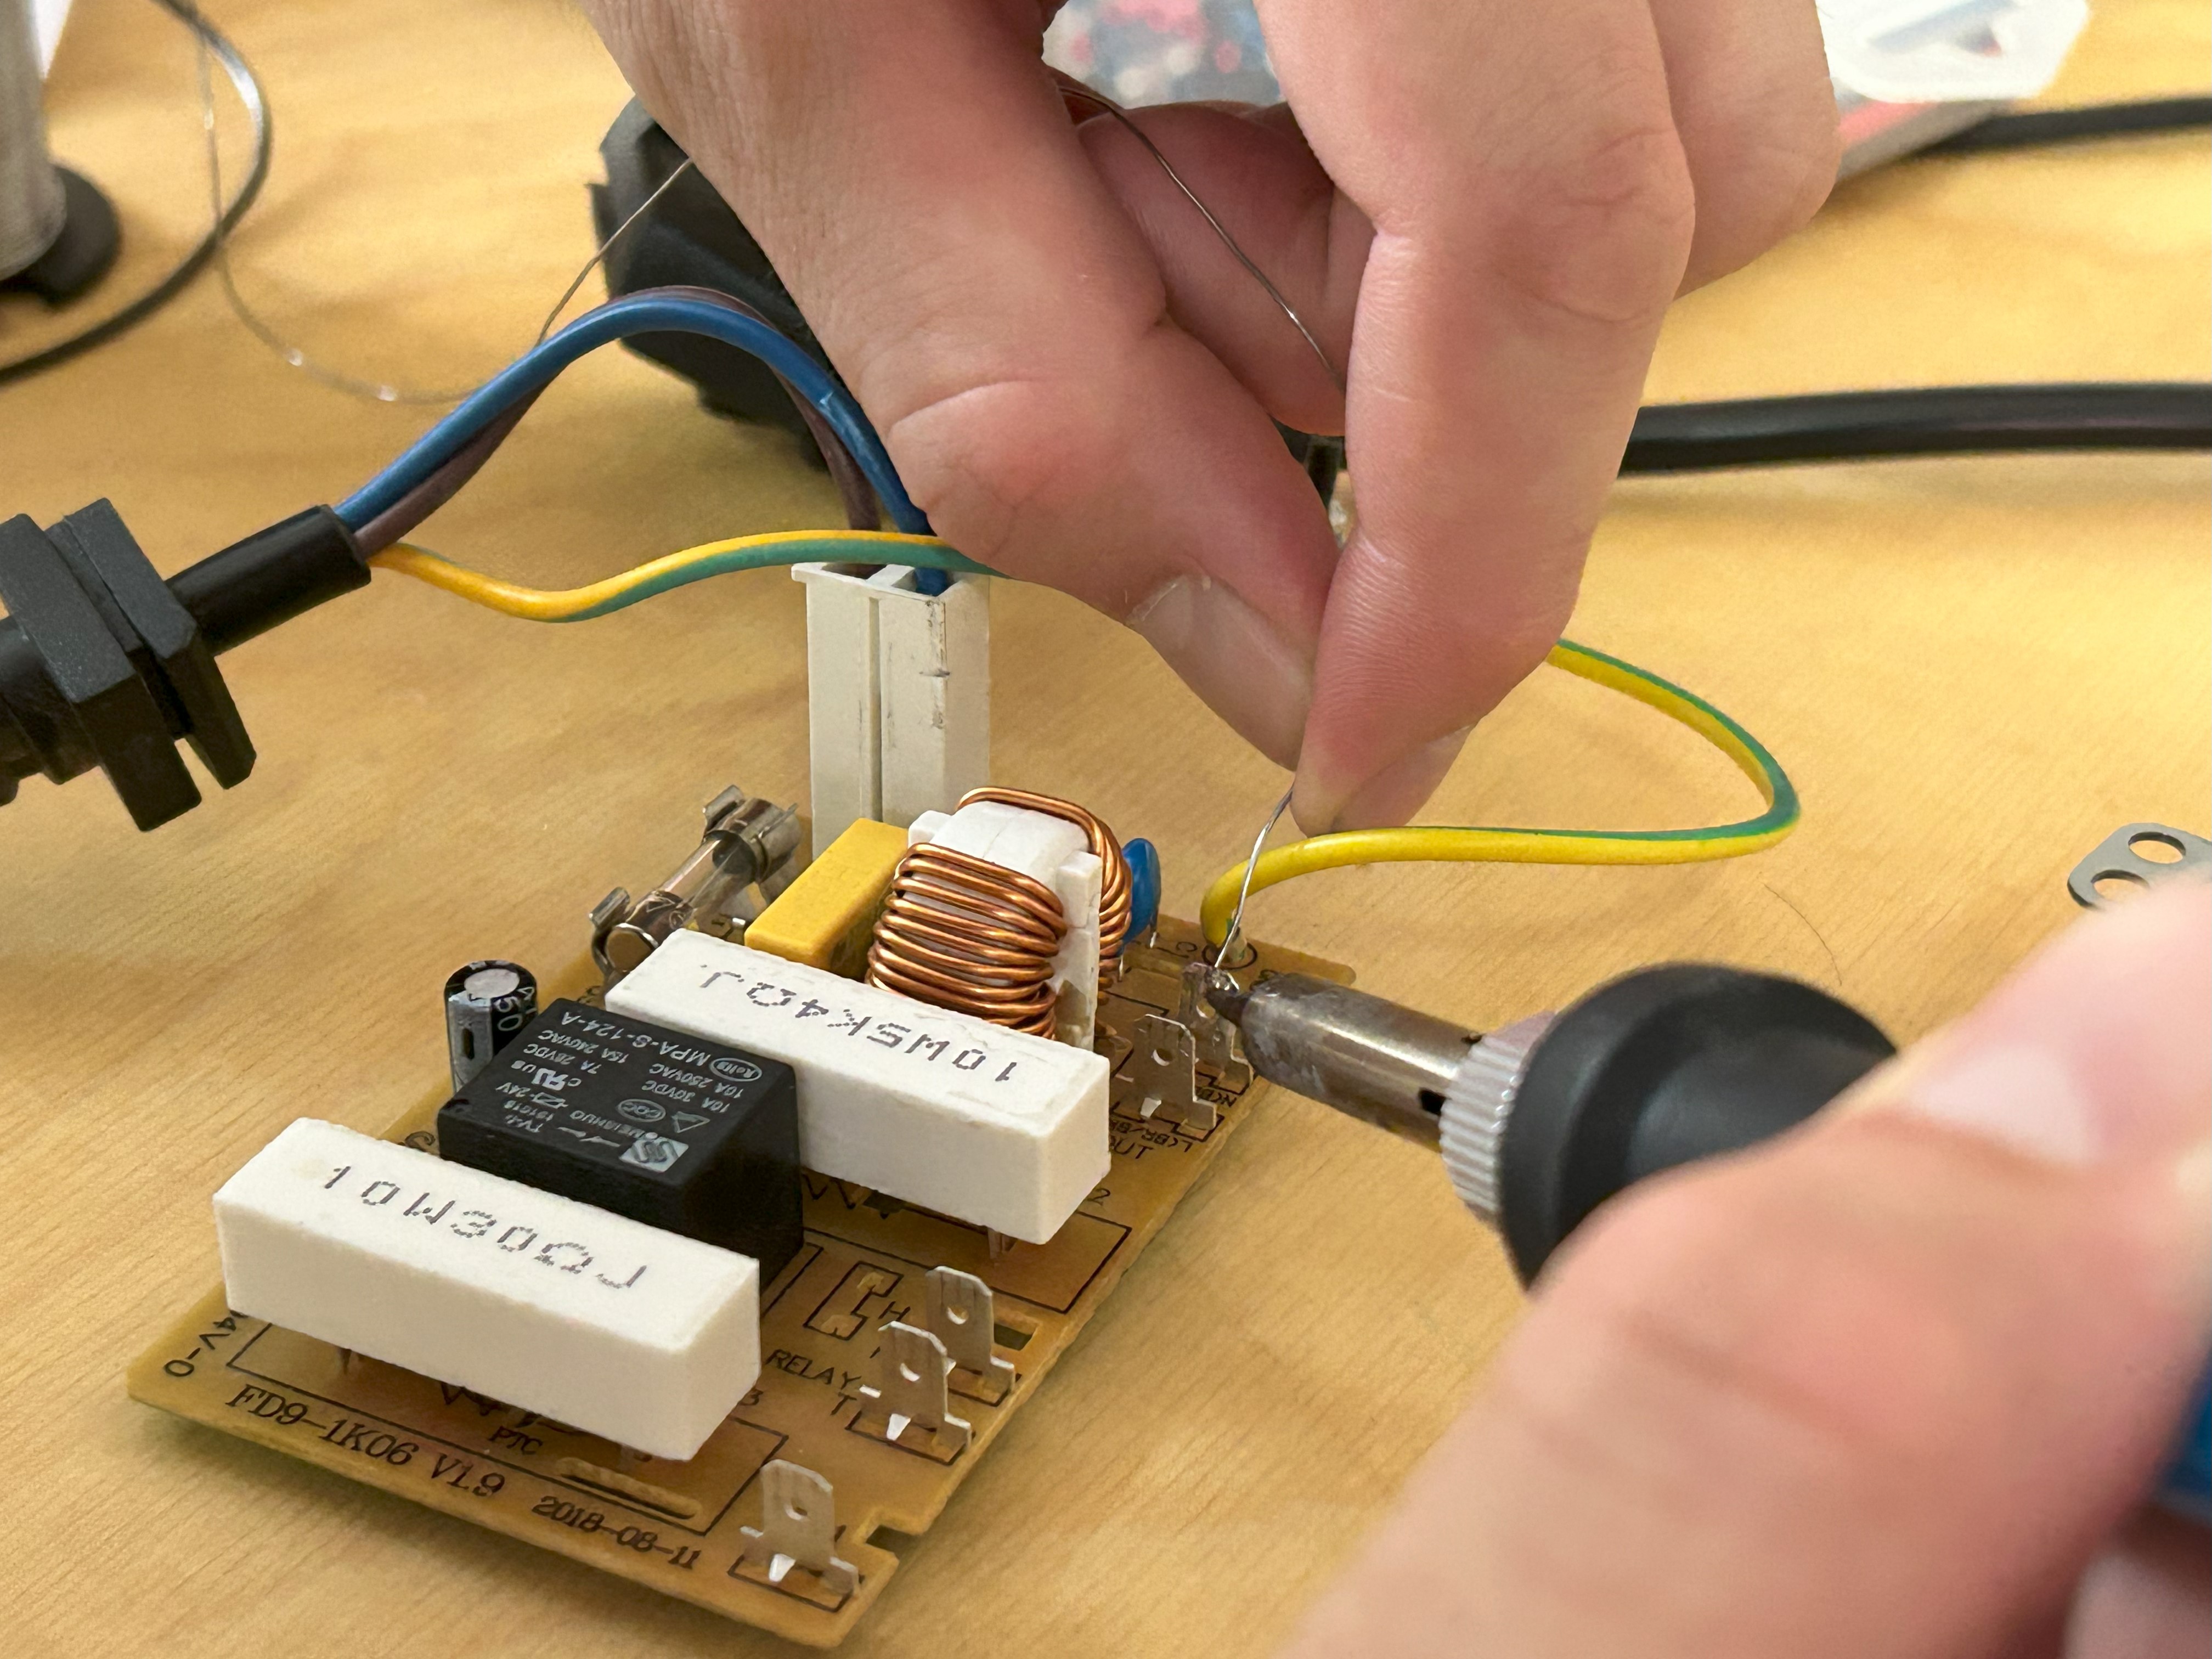
Today we spent time hacking our way into the various electronic components of our microwave, soldering connectors onto the motors so that we could reconnect them to the original AC power supply the microwave used, and then writing what code we could that would allow us to control the various pieces and the circuit we’d created via an Arduino board. We were trying to give an analogue machine a digital brain. After some trial and error it worked! we are able to sideload some instructions onto our system that would allow the circuit to turn on and off on a 10 second timer. Connected via a relay, we are able to control exactly when and how the motors would turn on, the next task (which I assume is coming later in the week) is to figure out a way to separate both motors from each other, as right now, the induction motor we salvaged which was originally used to spin the cooling fan splits the high level of voltage coming from the AC power supply into a two separate streams, with the fan motor pulling the majority of the voltage and leaving 30V over to power the motor that originally span the plate inside the microwave. However, while this is really useful inside a microwave, it means that currently the plate motor can only spin when the fan motor is on. So in our quest to create an almost useful machine — in our case we’ve been thinking of turning the microwave into a spinning disco light — we have to deal with a motor that will only work if the other is powered on and running, which might or might not turn out to be useful. Who knows, maybe our disco light will provide cooling air conditioning at the same time…
In any case, this was a really great exercise in getting to know the intricacies of debugging old analogue components, hacking them to work with the digital interfaces we work with now to create something new, debugging again and repeat until finally we can breathe new life into old tech that would otherwise have gone to waste. If anything can teach about how we can design products to better fit into the repairable and circular models of product design and product that we are moving towards it’s definitely this module! I’m excited to see how this project will turn out and what exactly we will create!
Finally we shared our forensic report we’d written about our microwave with the class, explaining how we’d torn down the machine to get into its inner workings, how we tested each component to find out what was wrong with it, how we’d found out what each component was made from and where it came from and what we’d learned from tearing it down and debugging it. This was a really great way for all of us to learn about our various objects and start to build and see connections between these machines and how they can be redesigned for a better more circular future (I think anyway).
Day 4 - Detailing and designing (20/10/23)
Today we spent the day detailing which of our components worked, what function they performed and what degree of control we could exert over them using an Arduino. Then we we got down to coming up with ideas for what kind of almost useful machine we wanted to create from the components we’d managed to salvage as well as parts we could salvage from some of the other groups (hence the need for the data sheets we’d created so all the groups can see and share them amongst each other to get the parts they needed).

Originally we thought of creating some form of disco light where the entire body of the microwave would turn on the plate motor, we’d drill loads more holes in the body to let the light out and have the fan provide cooling from within the box like some form of really terrible air conditioning. We really leaned into the idea at first and as we began exploring into what we could make we decided to see what else we could come up with. A bunch of ideas were tossed around, from a party in a box that would spray glitter everywhere once you opened the microwave door to a multicoloured dome that would rotate around the light in the microwave for different moods. Eventually we settled on the idea of creating an “anti microwave” that would actively cool your food from above via the cooling fan as you attempted to eat it from the spinning plate below. The whole thing would be supported on a frame that you would have to reach around and make it difficult to eat.
The idea behind it was to create a feeling frustration while eating, frustration at the difficulty of getting at the food and frustration at the fact that your food was actively being cooled while you ate. In a round about way we are trying to create something that allows you to empathise with people who may struggle to eat in a normal way, so it takes them much longer to do so, meaning the food gets cold and unpleasant to eat.
We mocked up a quick idea of how it could work, tested out how we would attach some of our components to the whole system and then presented it to the class for feedback and evaluation from the group. After which we sat down and tried to make a quick plan for how next week is going to go down, when we are going to build everything, film everything (oh yeah, we also have to shoot a 1 minute film for the product to show how it works — that’s going to be great fun we have some cracking ideas for that) and how we are going to split our time within the group based on our strengths.
I’m looking forward to it, we are going to have a great time. So far this has been one of my favourite modules so far and really made me look at and see the value in old technology, understanding how it can be repurposed for better or different uses after it’s served it’s original purpose — though I think that was the point anyway.
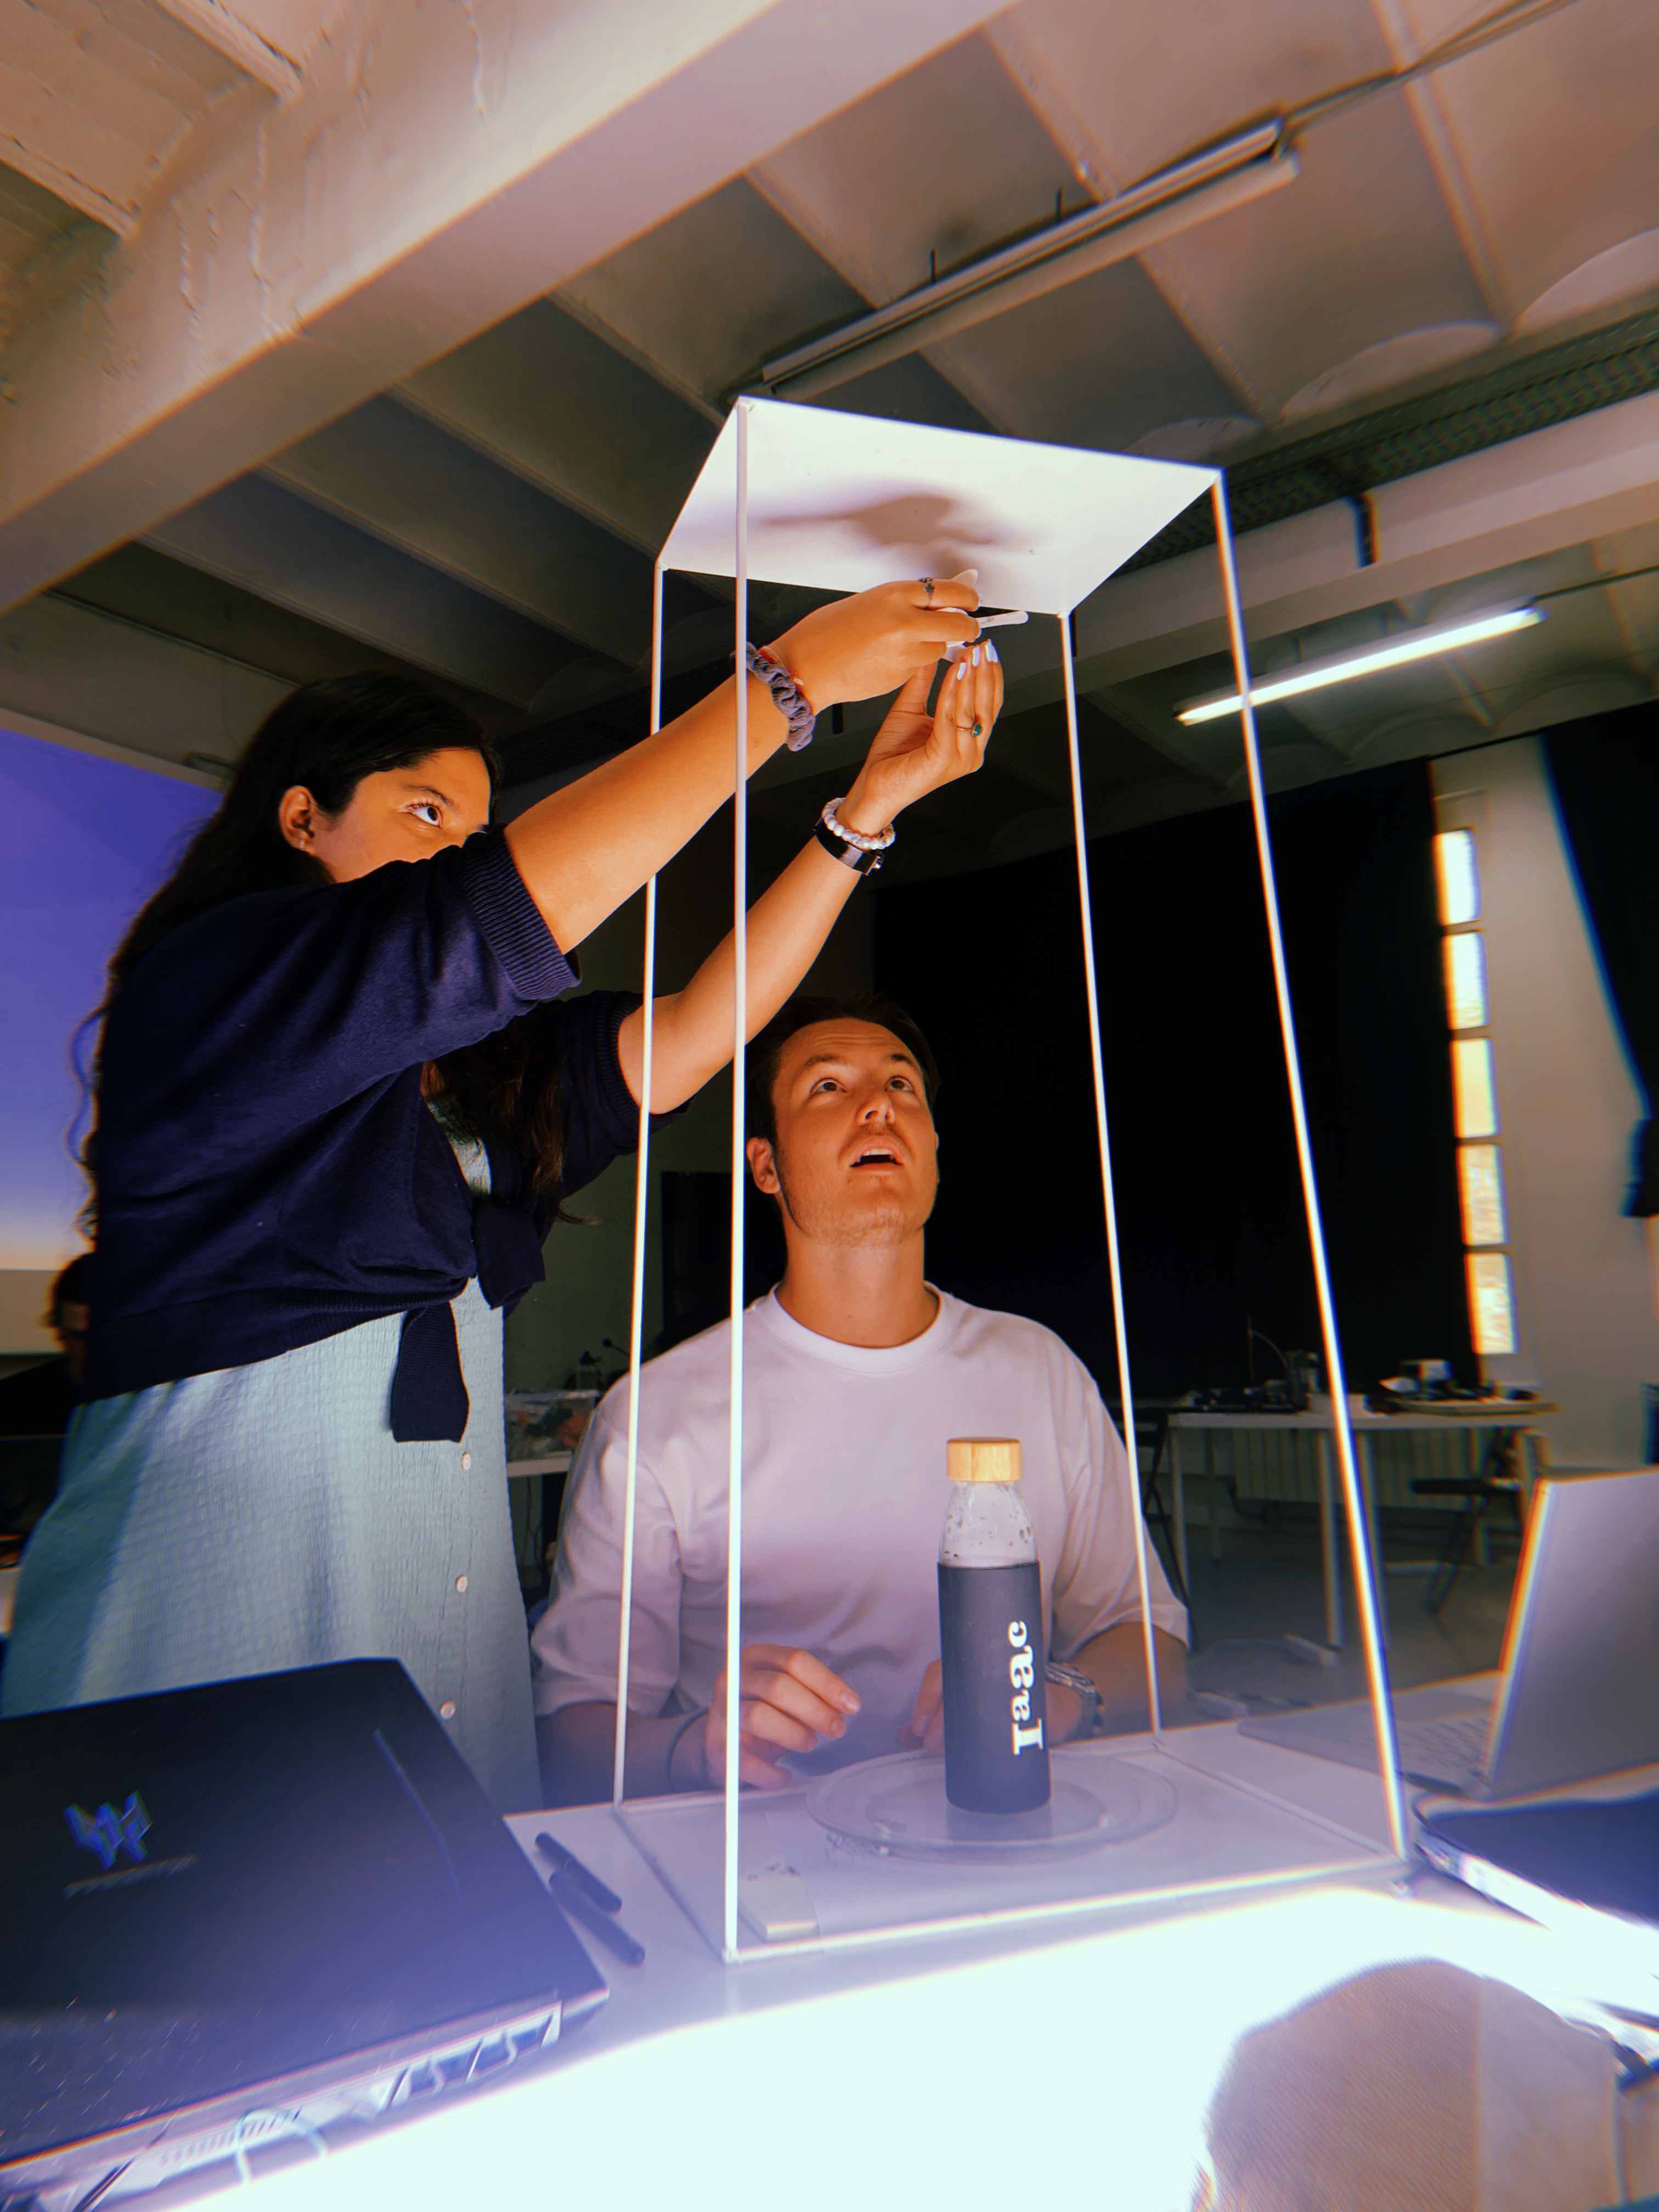
Week 2: The almost useful machine…
This week was all about taking our concept of a nearly useful machine and turning it into a reality. We split ourselves in our groups to focus on different tasks to get the machine built and assembled on time. From coding to laser cutting, soldering, rewiring and repurposing we all got involved to bring our idea to a reality. All of us had different skill sets, with some coming from more hands on, build stuff and break stuff design backgrounds (definitely me) and others having a more logistical and organisational background. We managed to collaborate and play off our skills to work together and build something really fun.

When we first presented the concept for our idea, we wanted to create something that mimicked the struggle to eat, but as we developed the concept of a reverse microwave, we discovered that our concept wouldn’t allow us to get to exactly what we wanted, so we adapted. After discovering that we couldn’t give our AC components any more of a brain with Arduino than just turning it on or off for a period of time, we decided to run two separate circuits. The normal AC one that powered the cooling fan and the plate motor, and a separate DC circuit that would allow us to control a lighting and sound system, designed to illuminate the food with a cool blue light and play a really annoying high pitched sound that would only start when the food was placed down on the rotating plate.
Because you obviously have to have a sound that plays to alert you that your food is being cooled down no?
We scavenged some more parts from our original microwave chassis, specifically the bottom panel of the casing that supported a rotating ring that allowed the plate to spin, so that we didn’t have to make a new one, as well as switch to activate the whole system when weight was added to the plate. These pieces, some laser cut pieces of plywood, a borrowed frame from the Fablab and some 3d printed parts came together to create our final contraption.
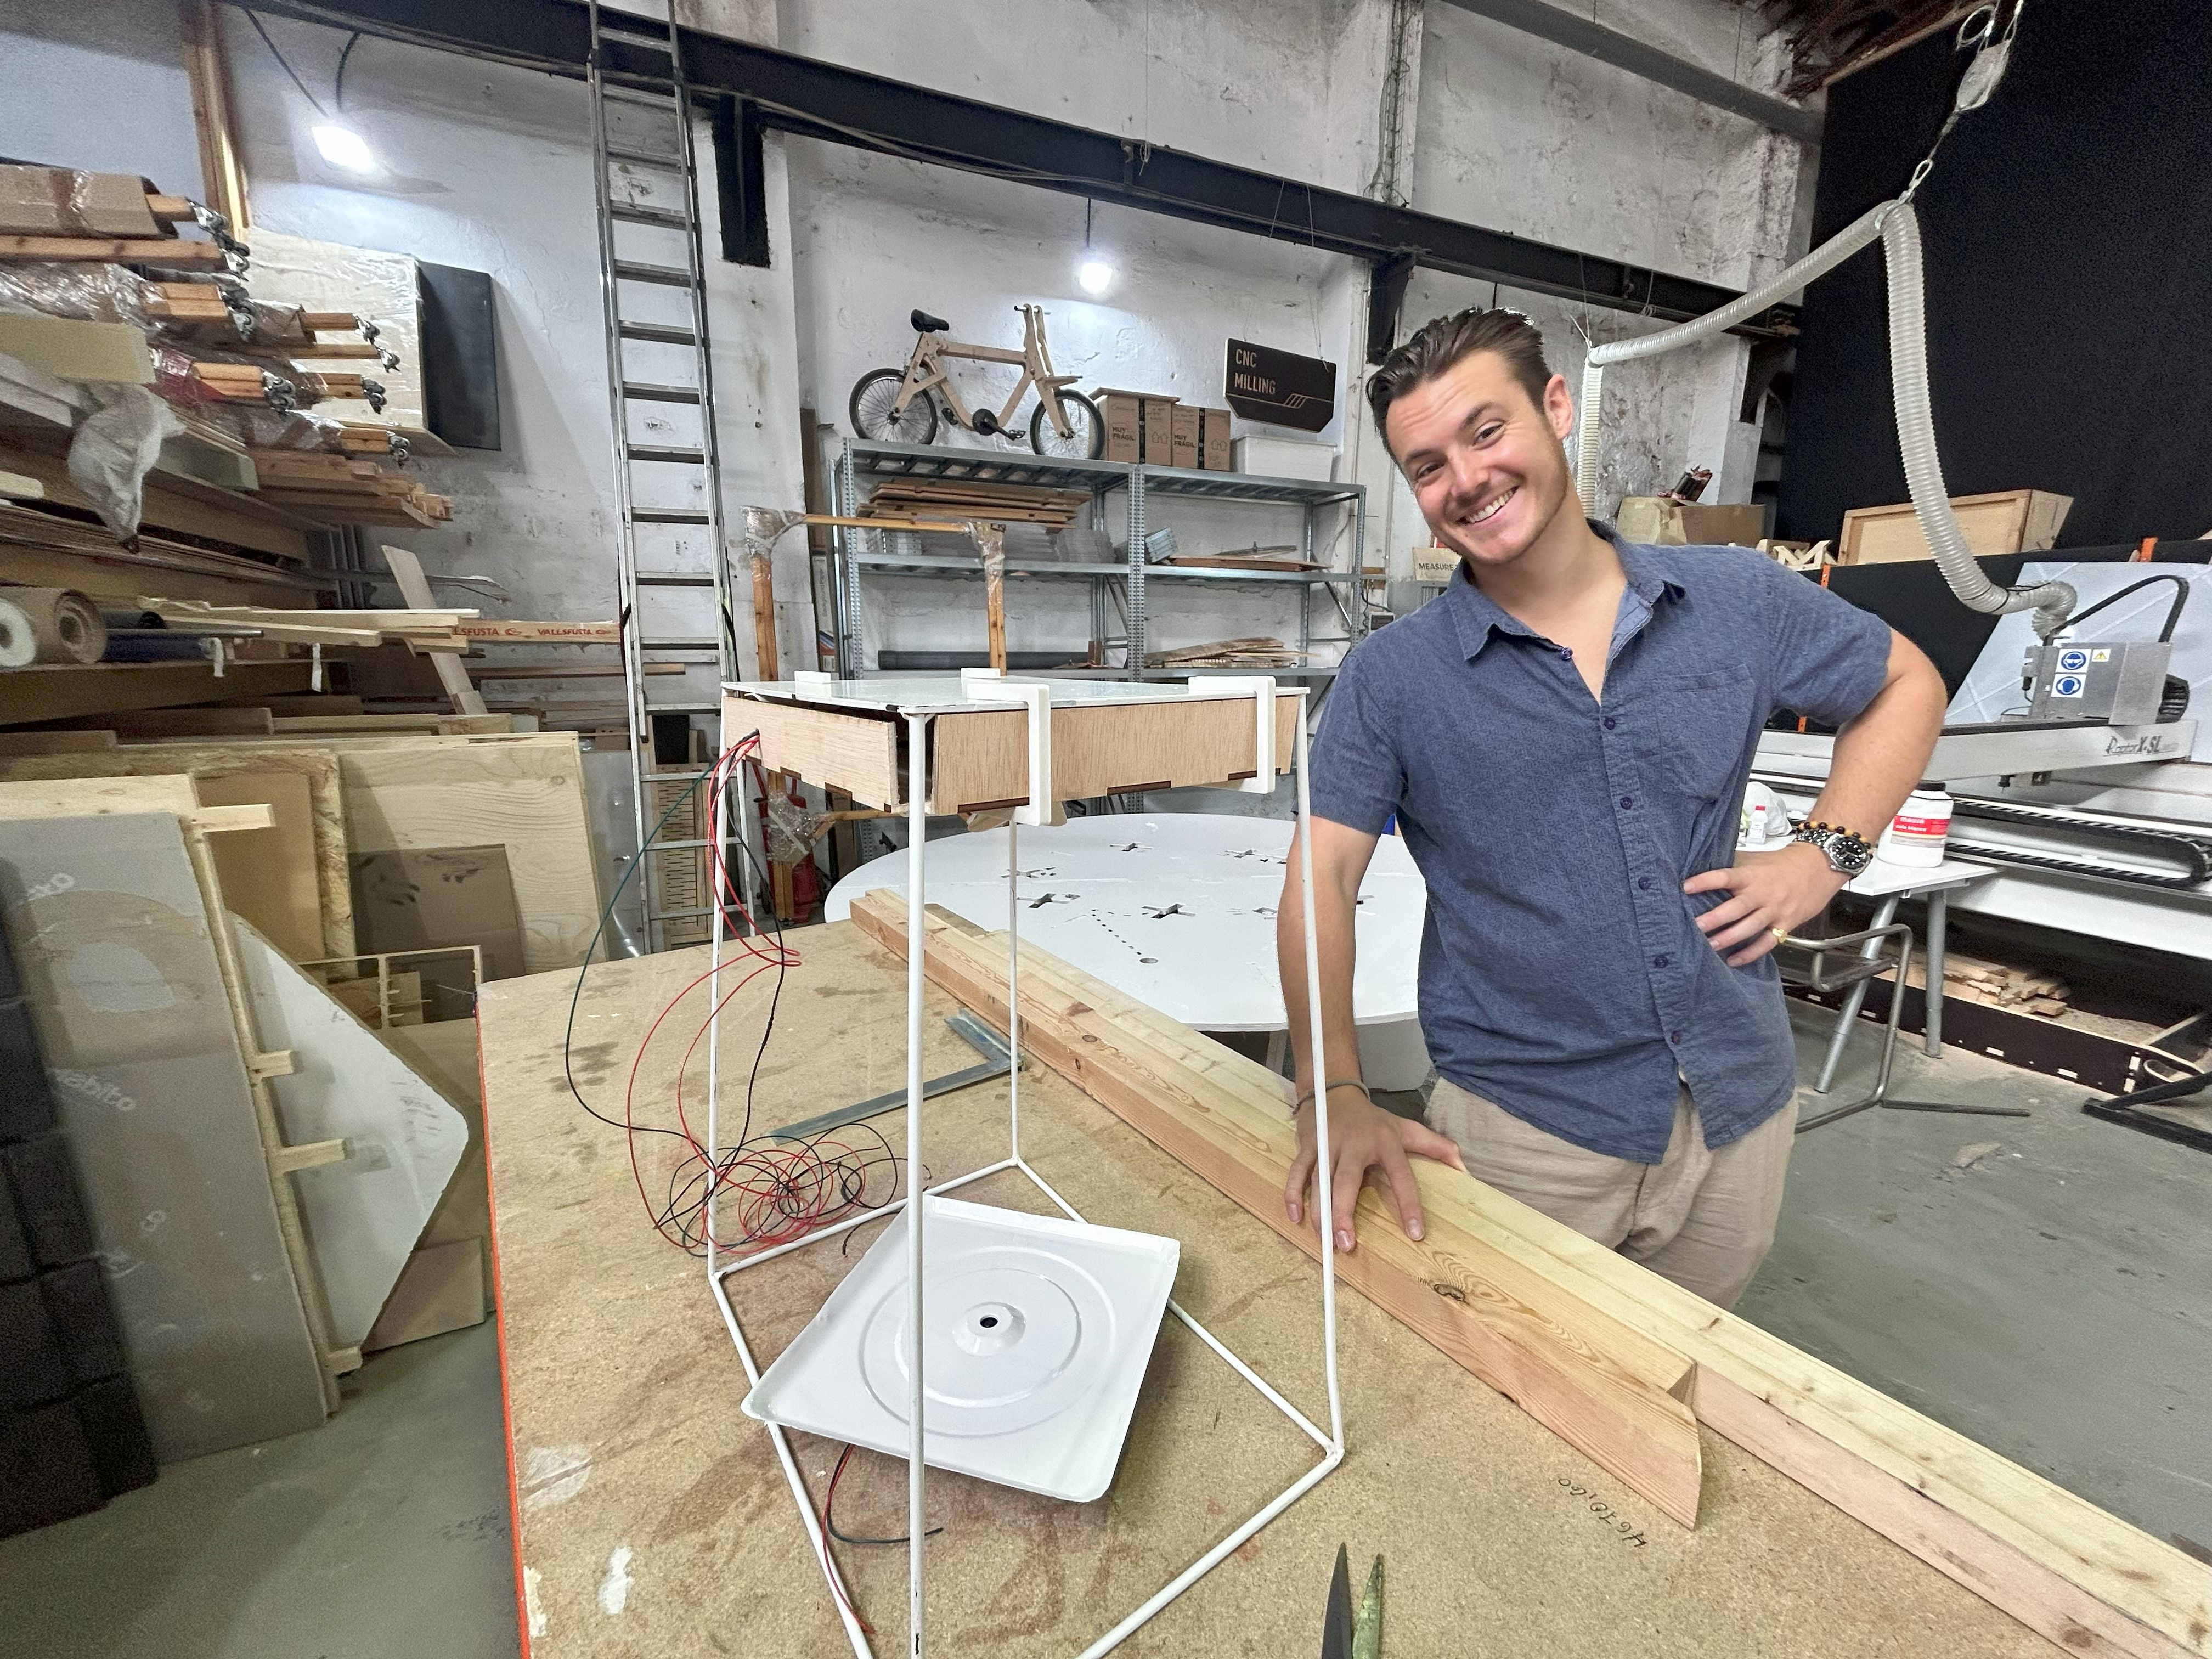

The Anxious Air cooling machine — a machine to cool your food when the microwave is just too hot!
Take a look at our final creation and the process presentation here!
After some touch and go moments where suddenly different components weren’t working properly or when we discovered that we’d stuck the fan in backwards by accident, we managed to put it together in a way that didn’t even look half bad! and it survived all the tests we put it through.
We presented our final machine to the rest of the class and faculty on Friday, sharing with everyone what we had finally managed to put together over the past fast and messy two weeks. We even shot a whole video showing off the entire machine and it’s function in the style of Wes Anderson. It was even better getting to see the machines that all the other groups had developed too!
Final Thoughts
This has been one of my favourite modules of the master’s course so far, not only because it was a really fun challenge to break something and make something new, but also having it as the chance to work together and truly collaborate with people with vastly different areas of expertise, to learn what so much from my team mates and be able to share what I knew as well.
You might think, well what’s the point in making an almost useful machine from an old already useful machine, isn’t that just pointless? But I think it’s just the opposite, yes the machine doesn’t really serve a useful function, but it starts to get us to ask the right questions. Not just, Why did it break? How did it break? and how can it be fixed, but truly asking how to understand the lifecycle of the machine and can we create value from something that others just see as waste?
That’s what I think this module is really designed to do, to shape the way we think about technology, and how when one machine gives up the ghost, it can be saved, repurposed and upcycled into something new that once again has value and meaning, not just another piece of junk to throw on the ever growing landfill.